Lucid Visions ft. 5700XT Liquid Devil/Ryzen 9 3950X (Build Log)
This whole thing started out thanks to PowerColor. They found some pics of my Zen Clarity + build that had their Red Devil 5700XT and really liked it. They offered to send me a Liquid Devil to do a build with and I was admittedly VERY apprehensive.
Custom loops were always something I wanted to do, but I kind of psyched myself out about it. Between worries of leaks and knowing I’d want to jump straight to hard line; I admit I was going to turn them down. There’s one thing that made me do it though. Jayztwocents always makes water cooling builds look like SO MUCH FUN. I sat down and binged a bunch of his videos and said, “you know what, you’re being your own worst enemy… get over it!”
I let PowerColor know I was down for it and did a lot of homework. Huge shout out to EK Water Blocks for also making this possible. They sent over most of what I needed to get the build done. Between their configurator and advice from a very experienced friend, I picked out all I needed and set to work.
Parts:
PC
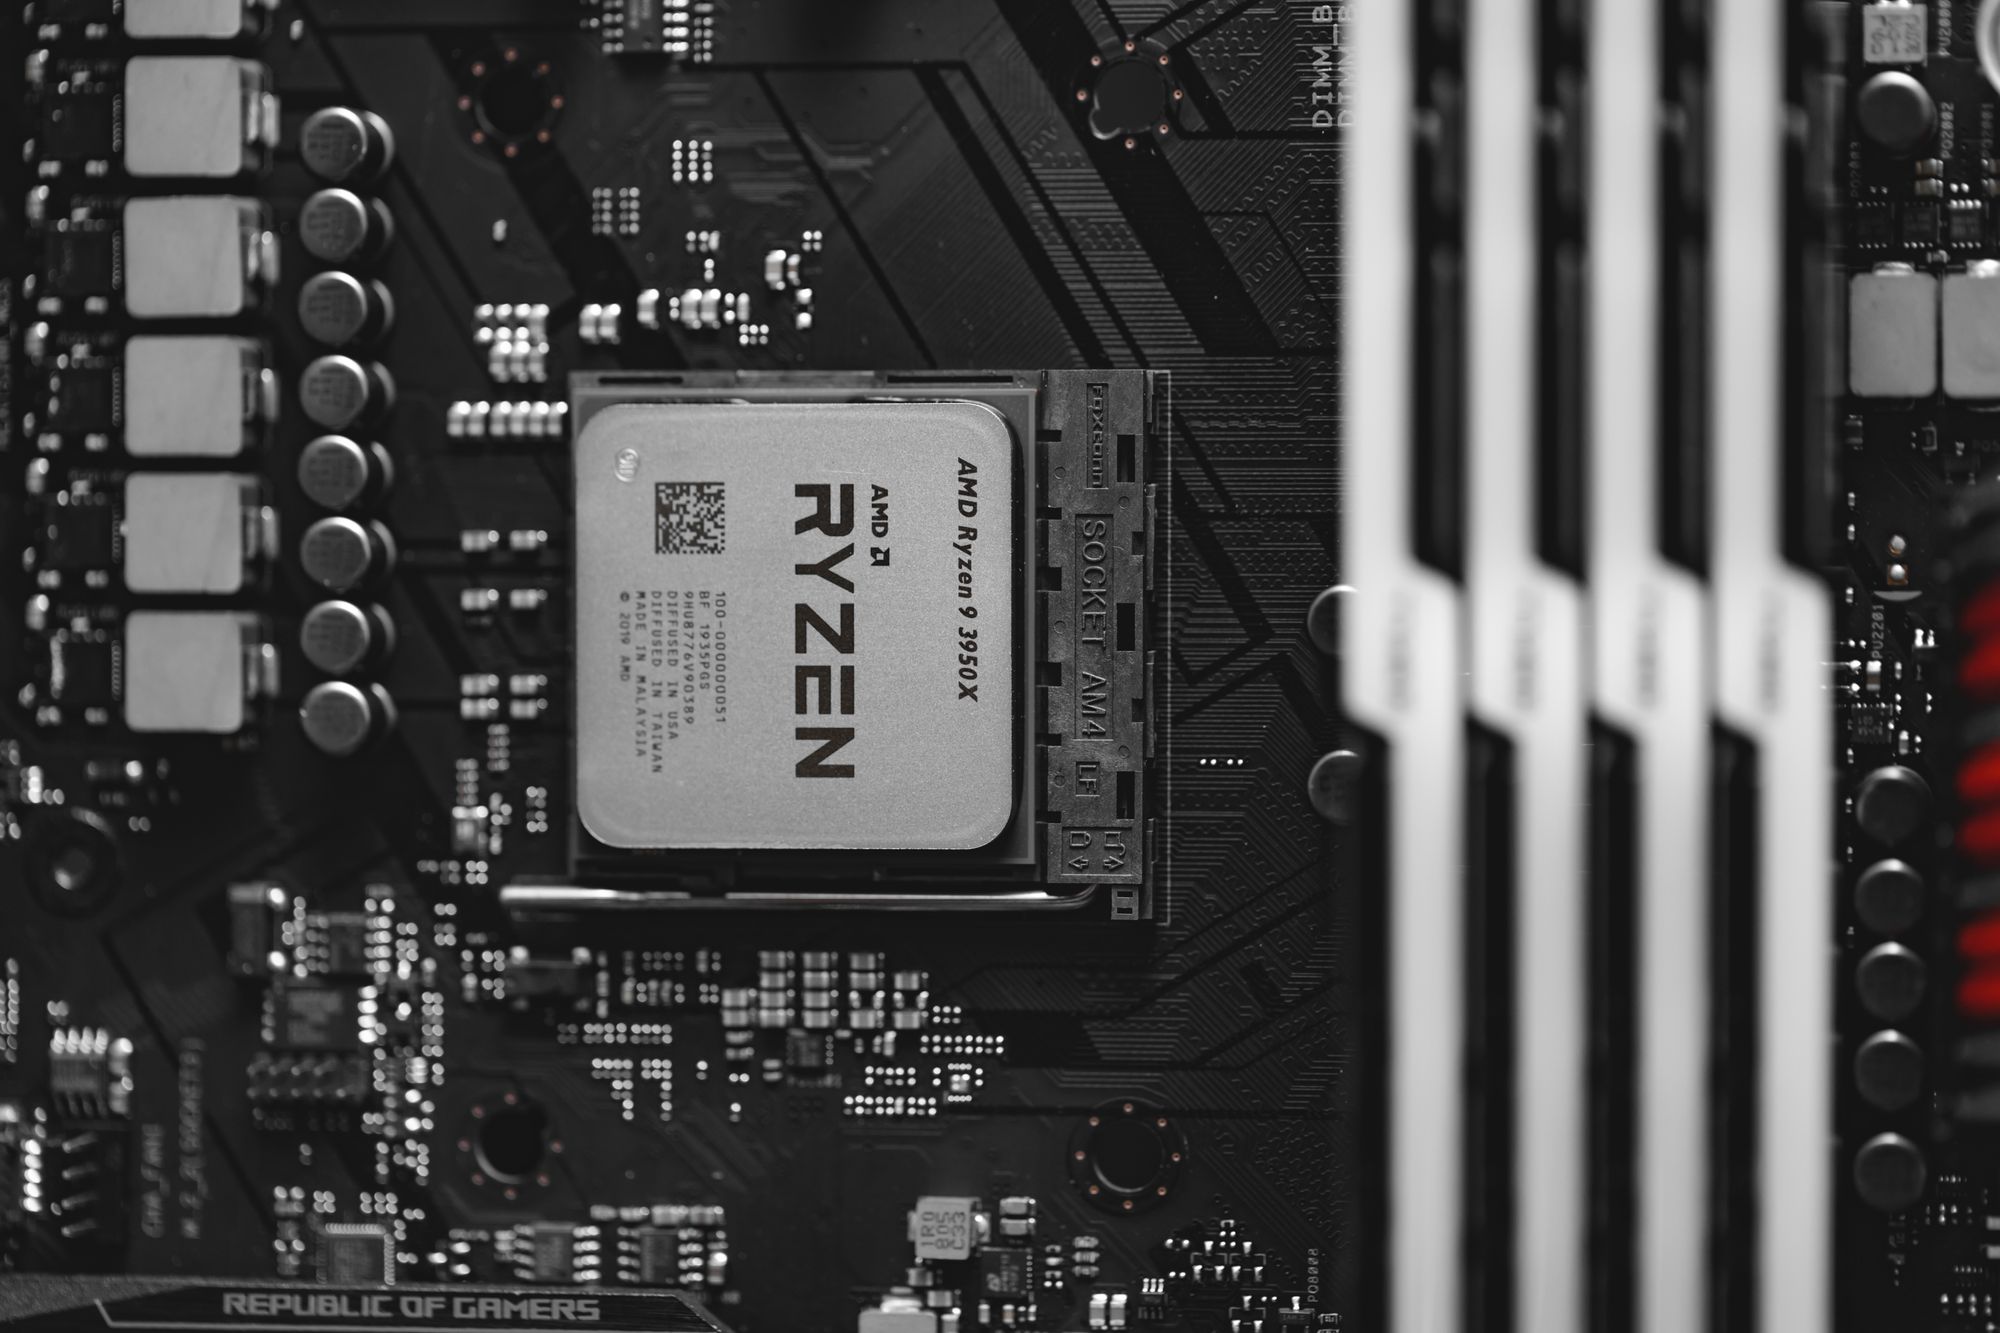
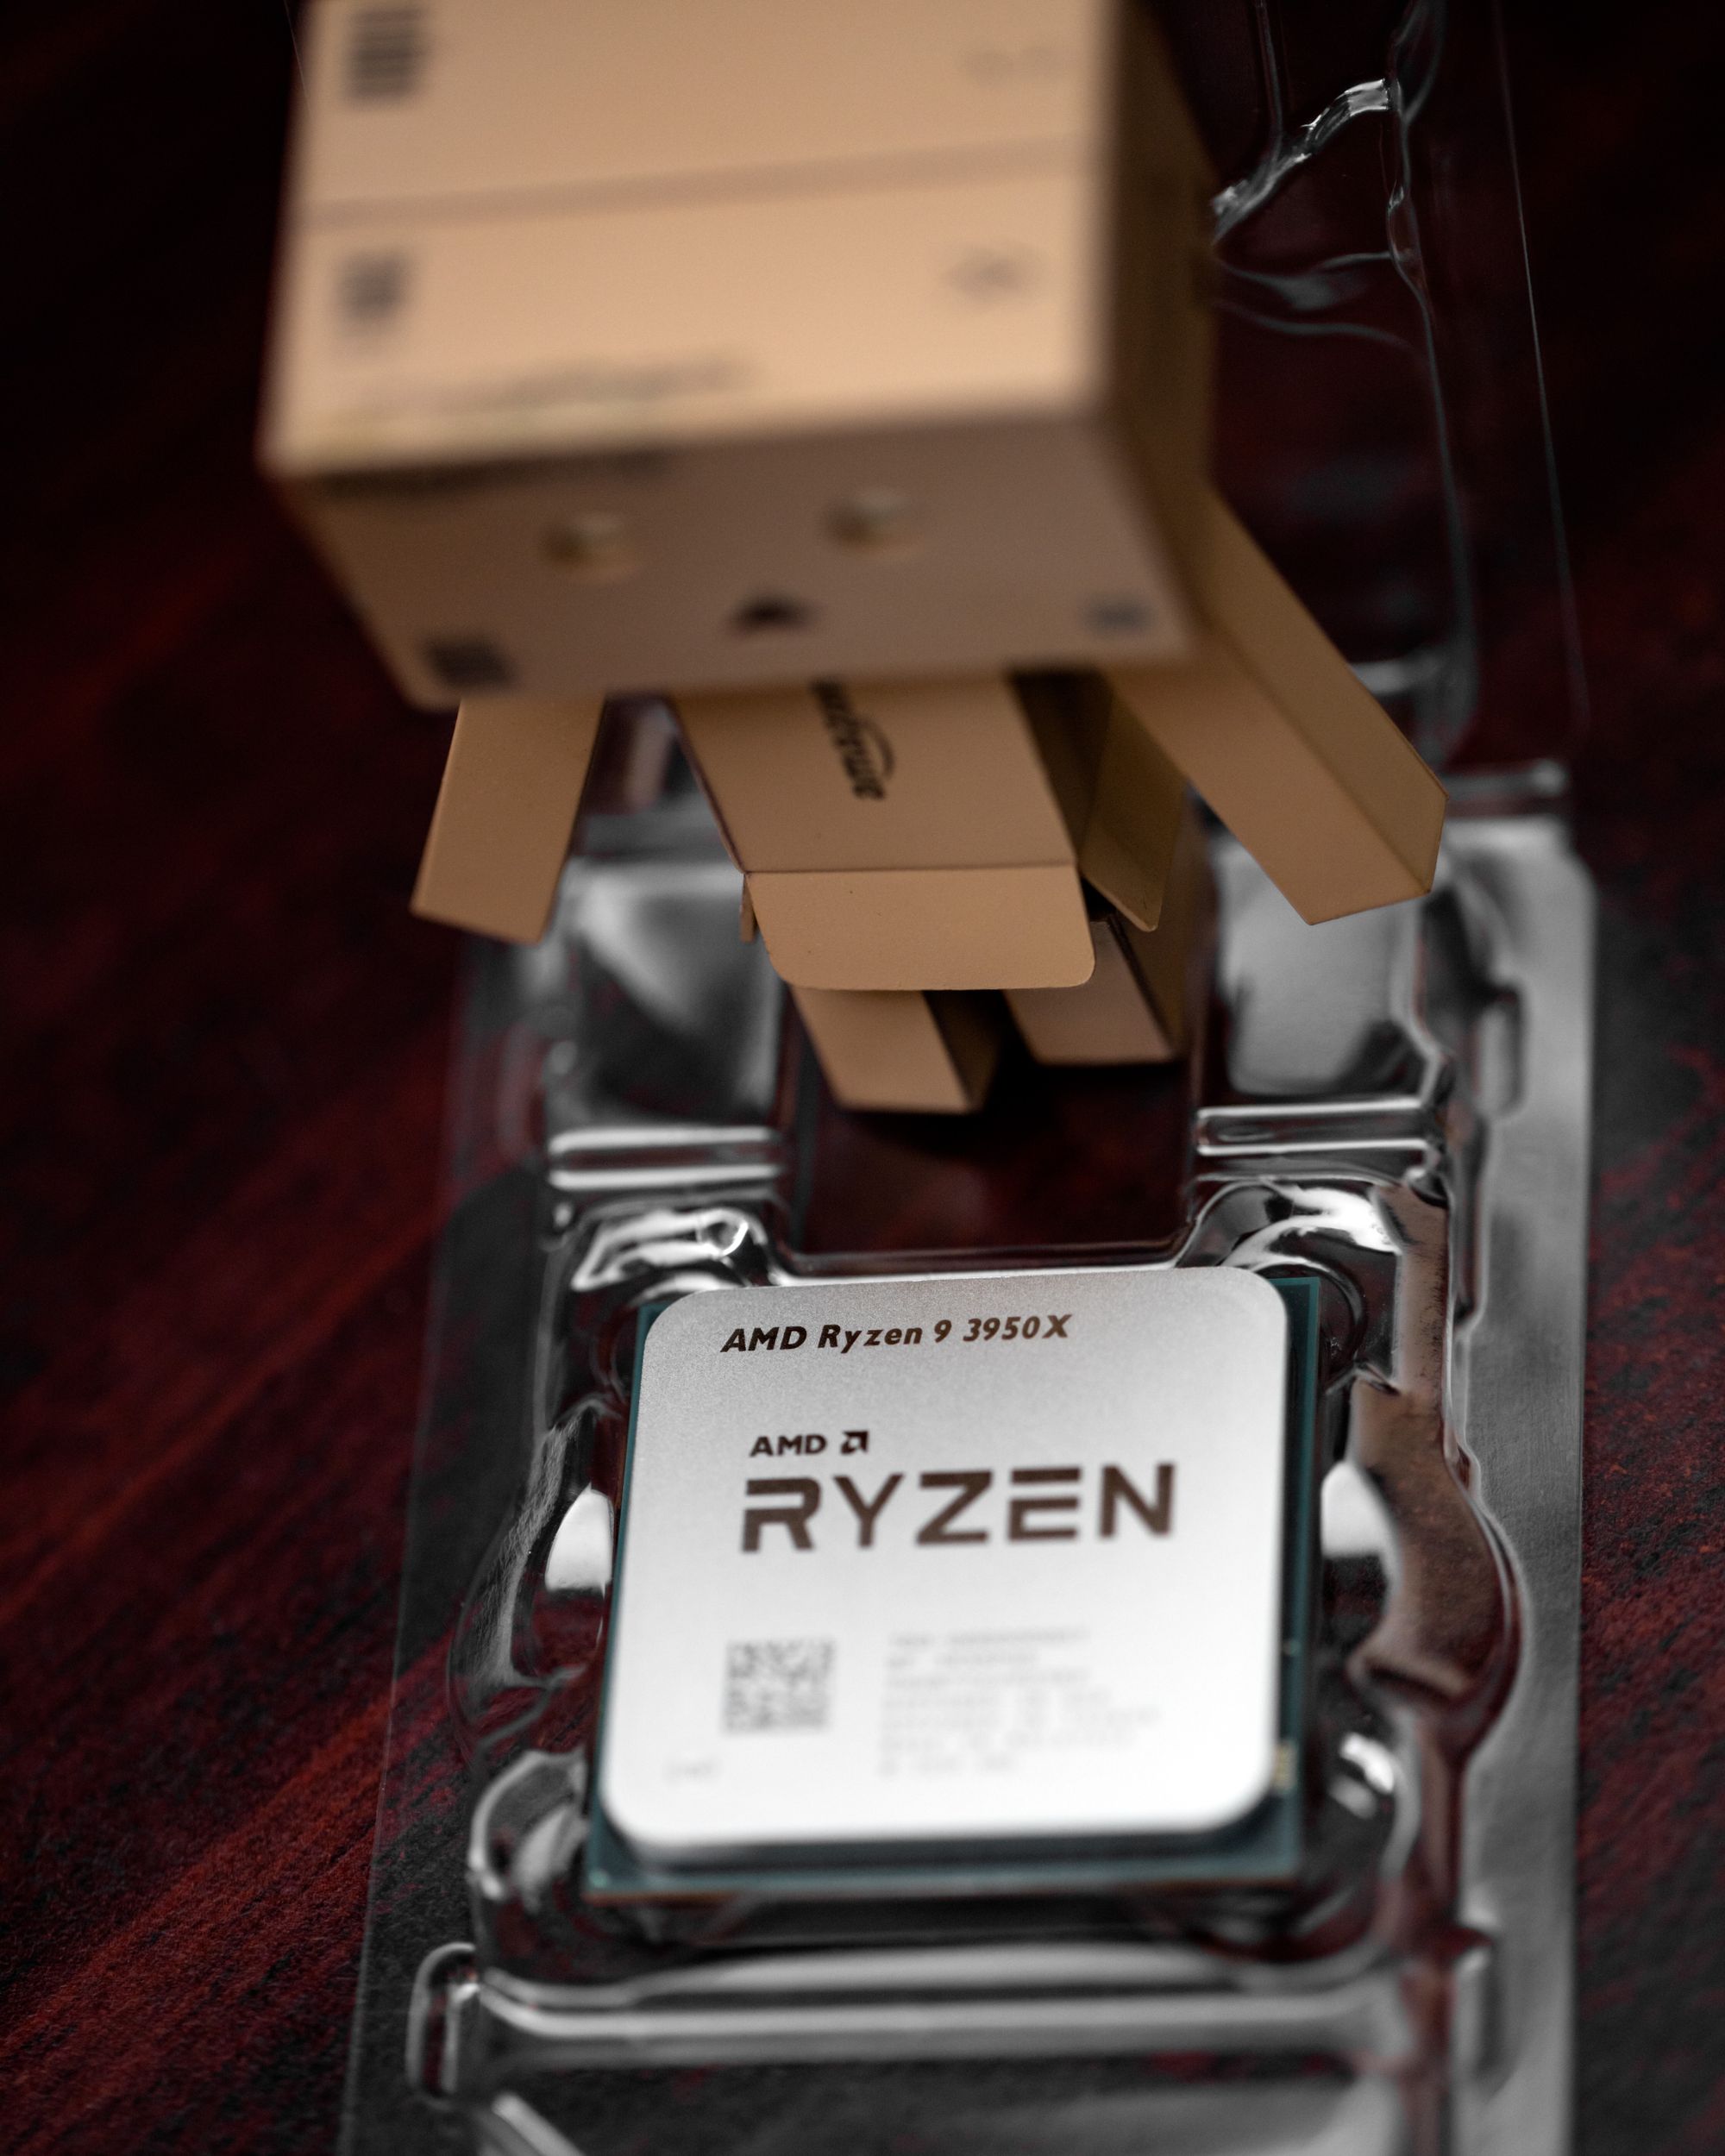
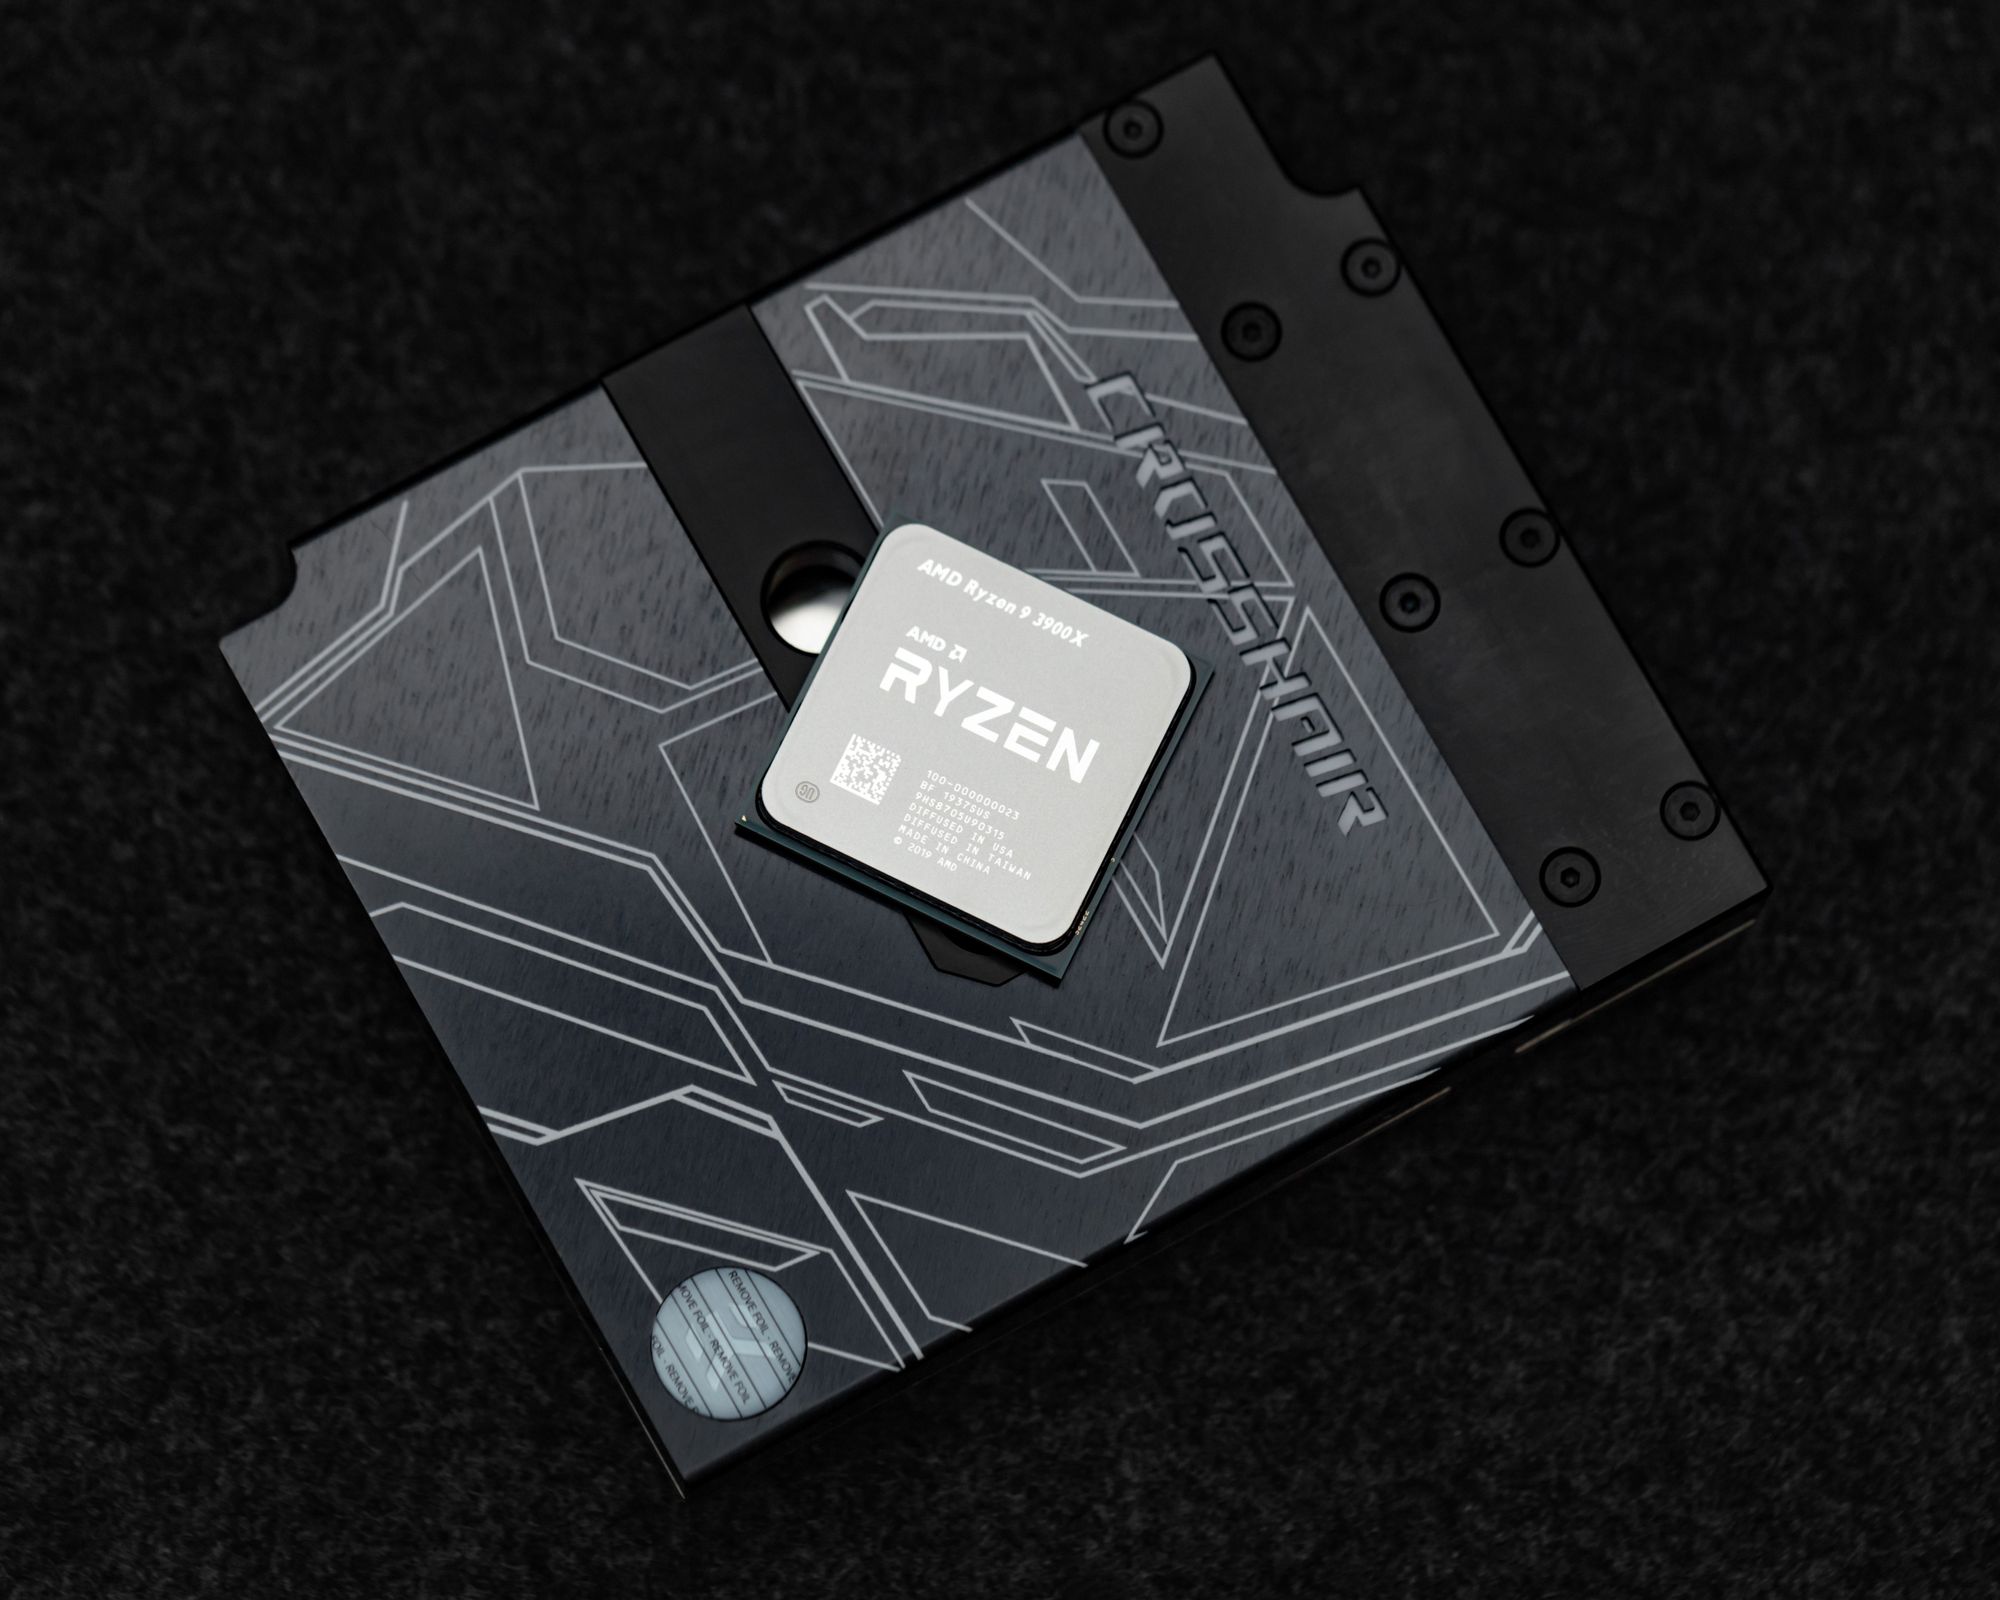
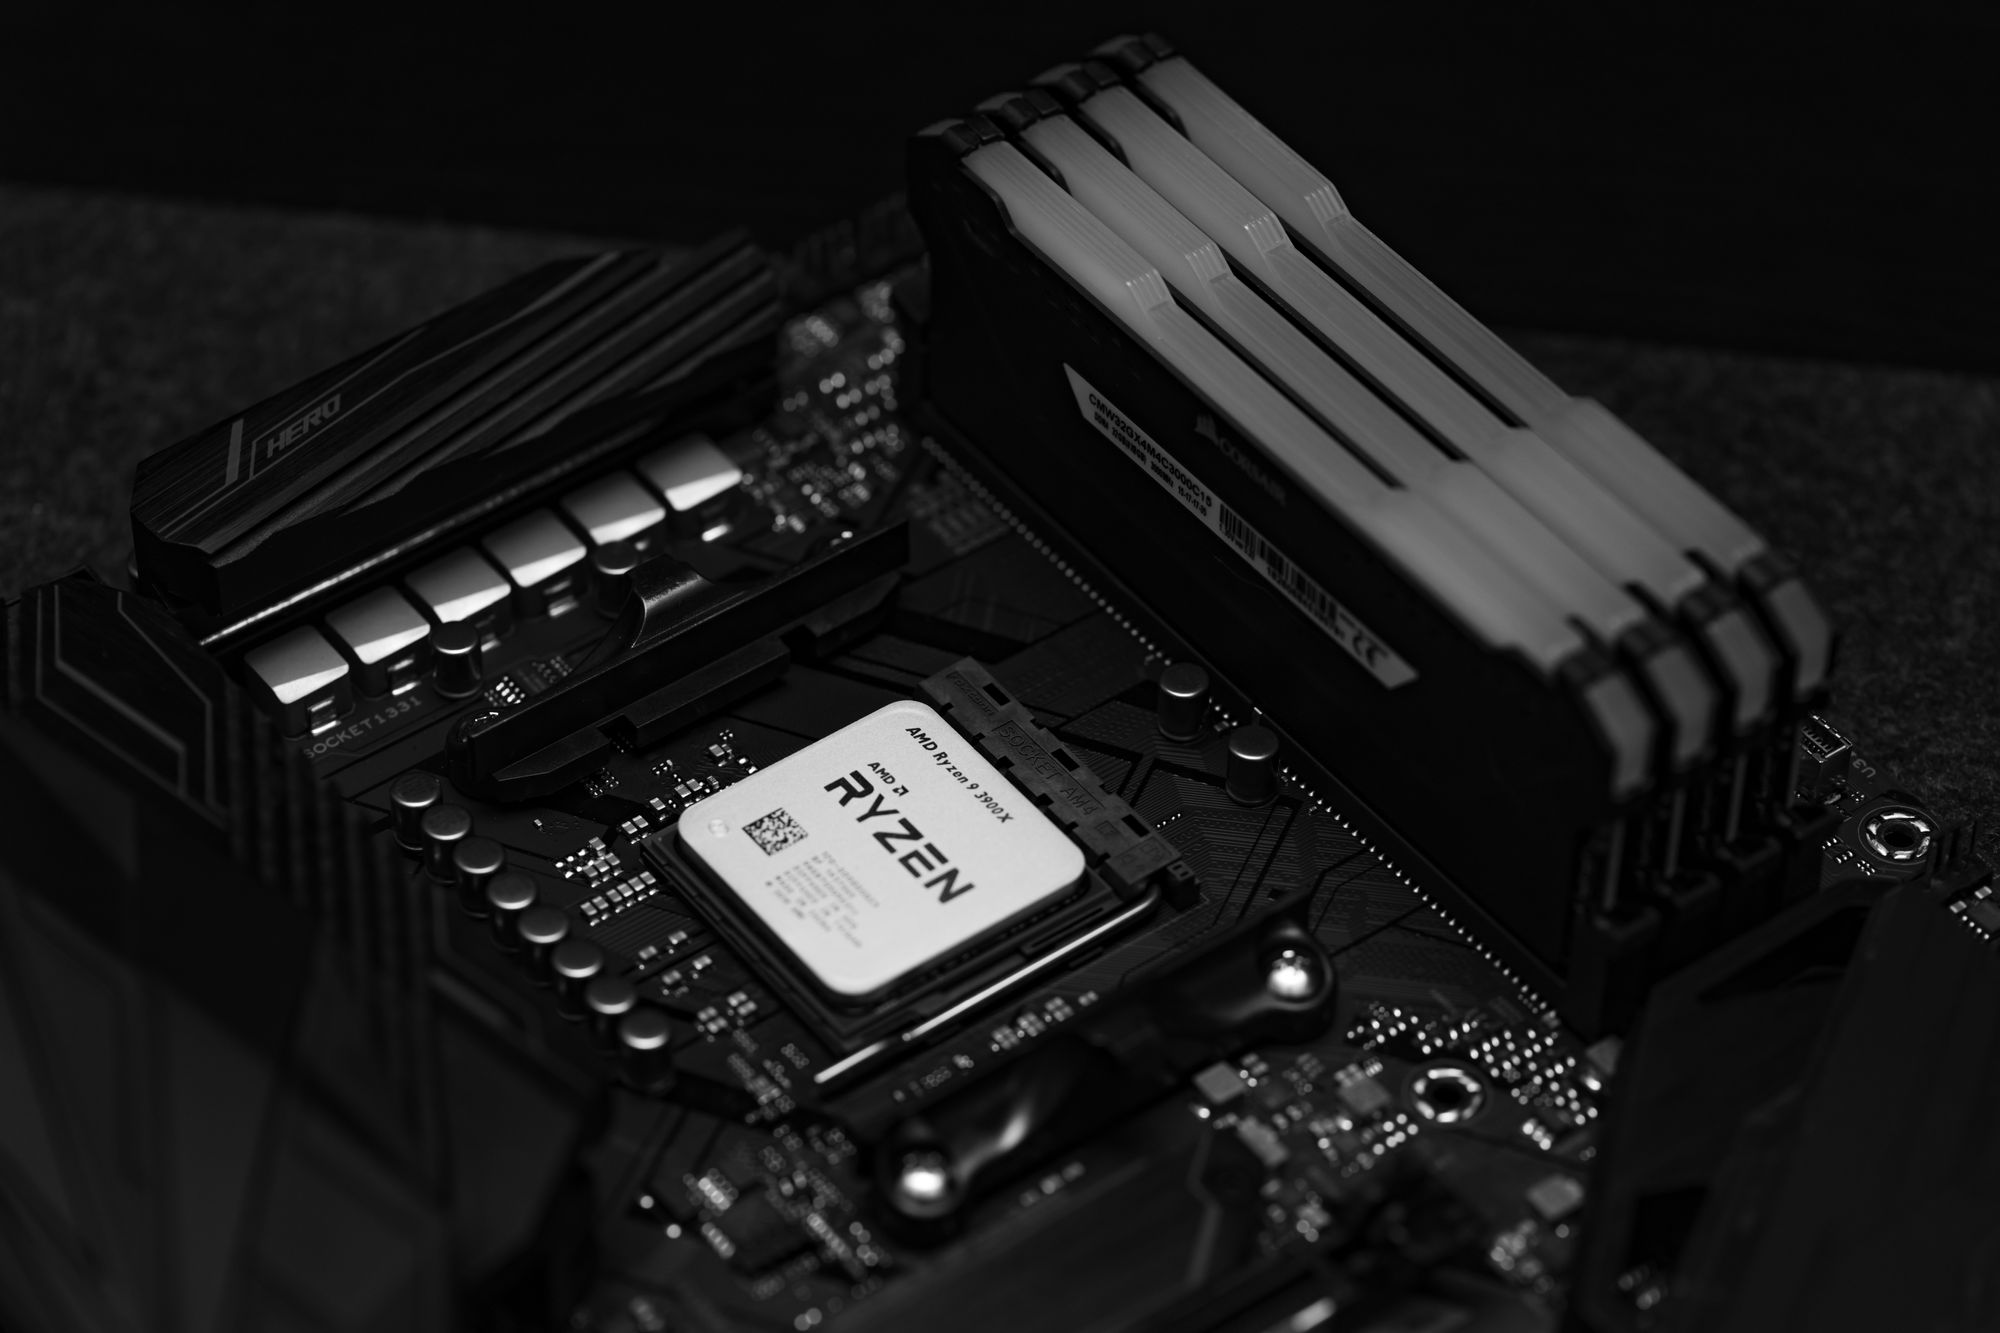
AMD Ryzen 9 3950X 16-core
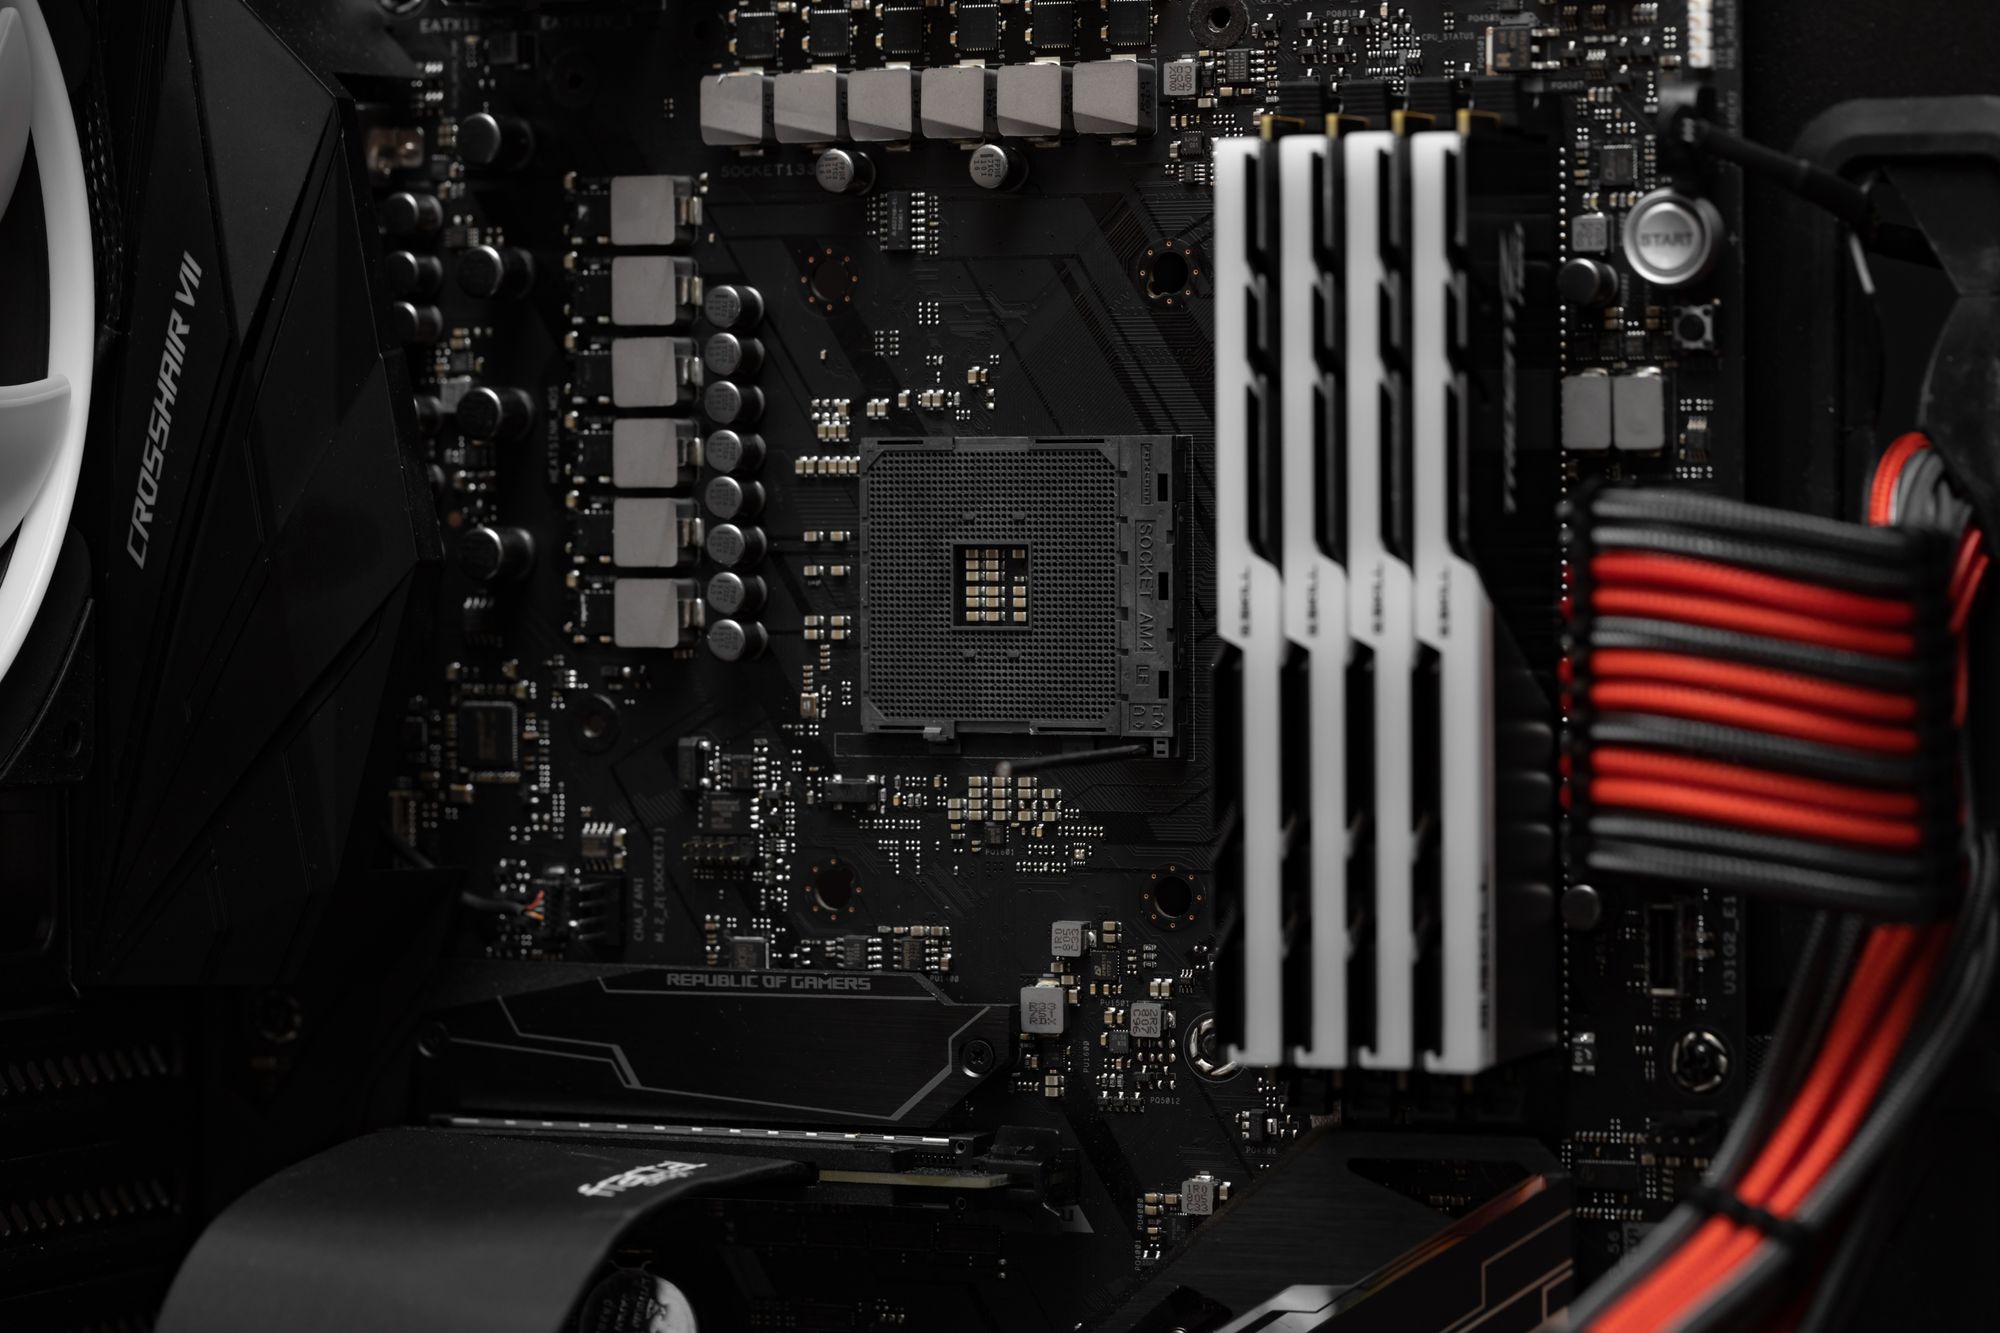
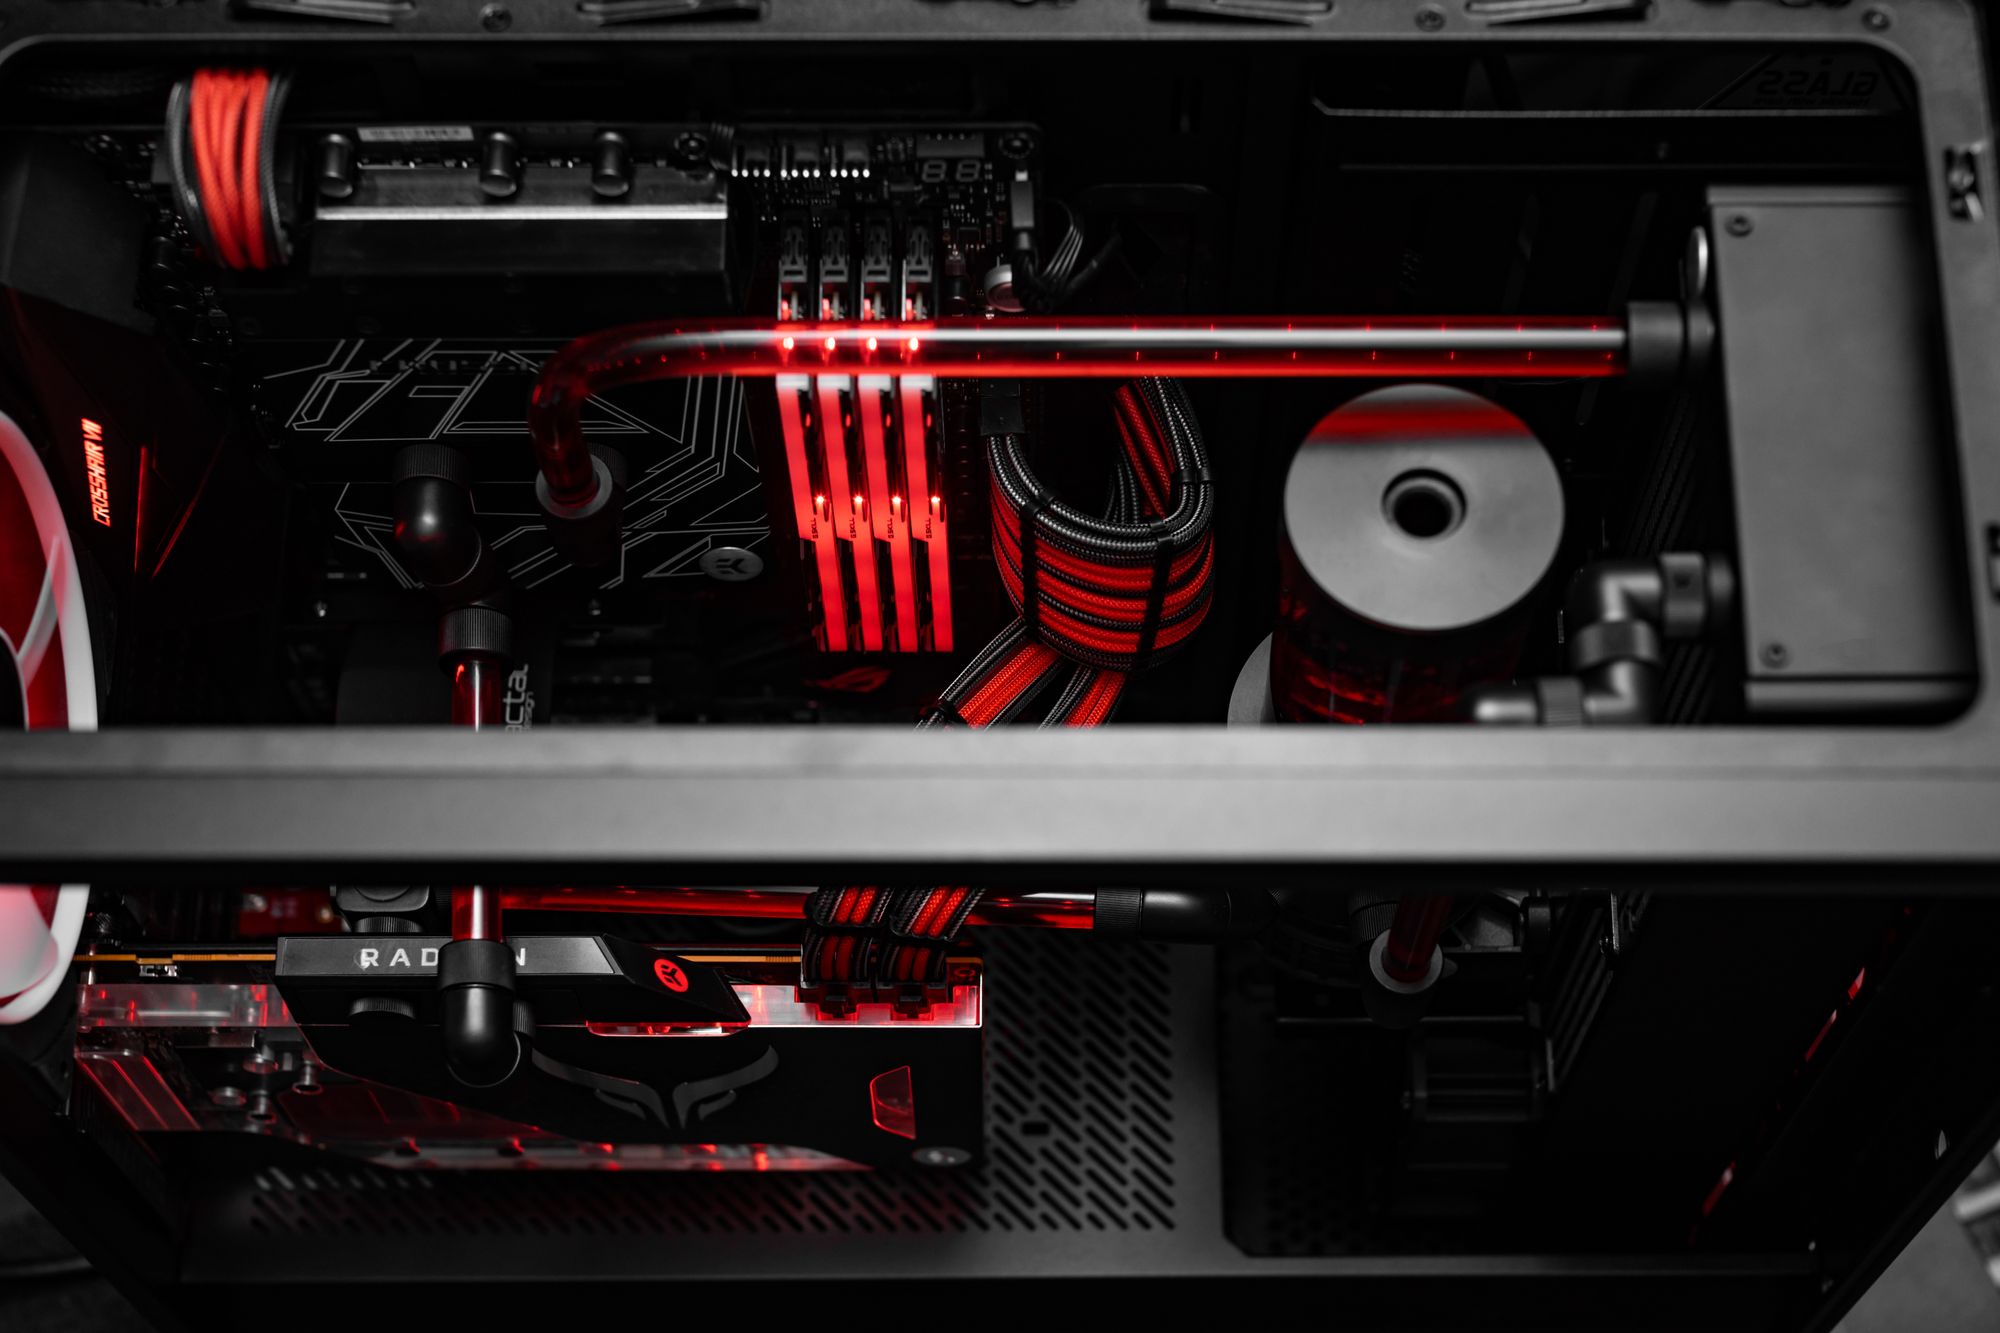
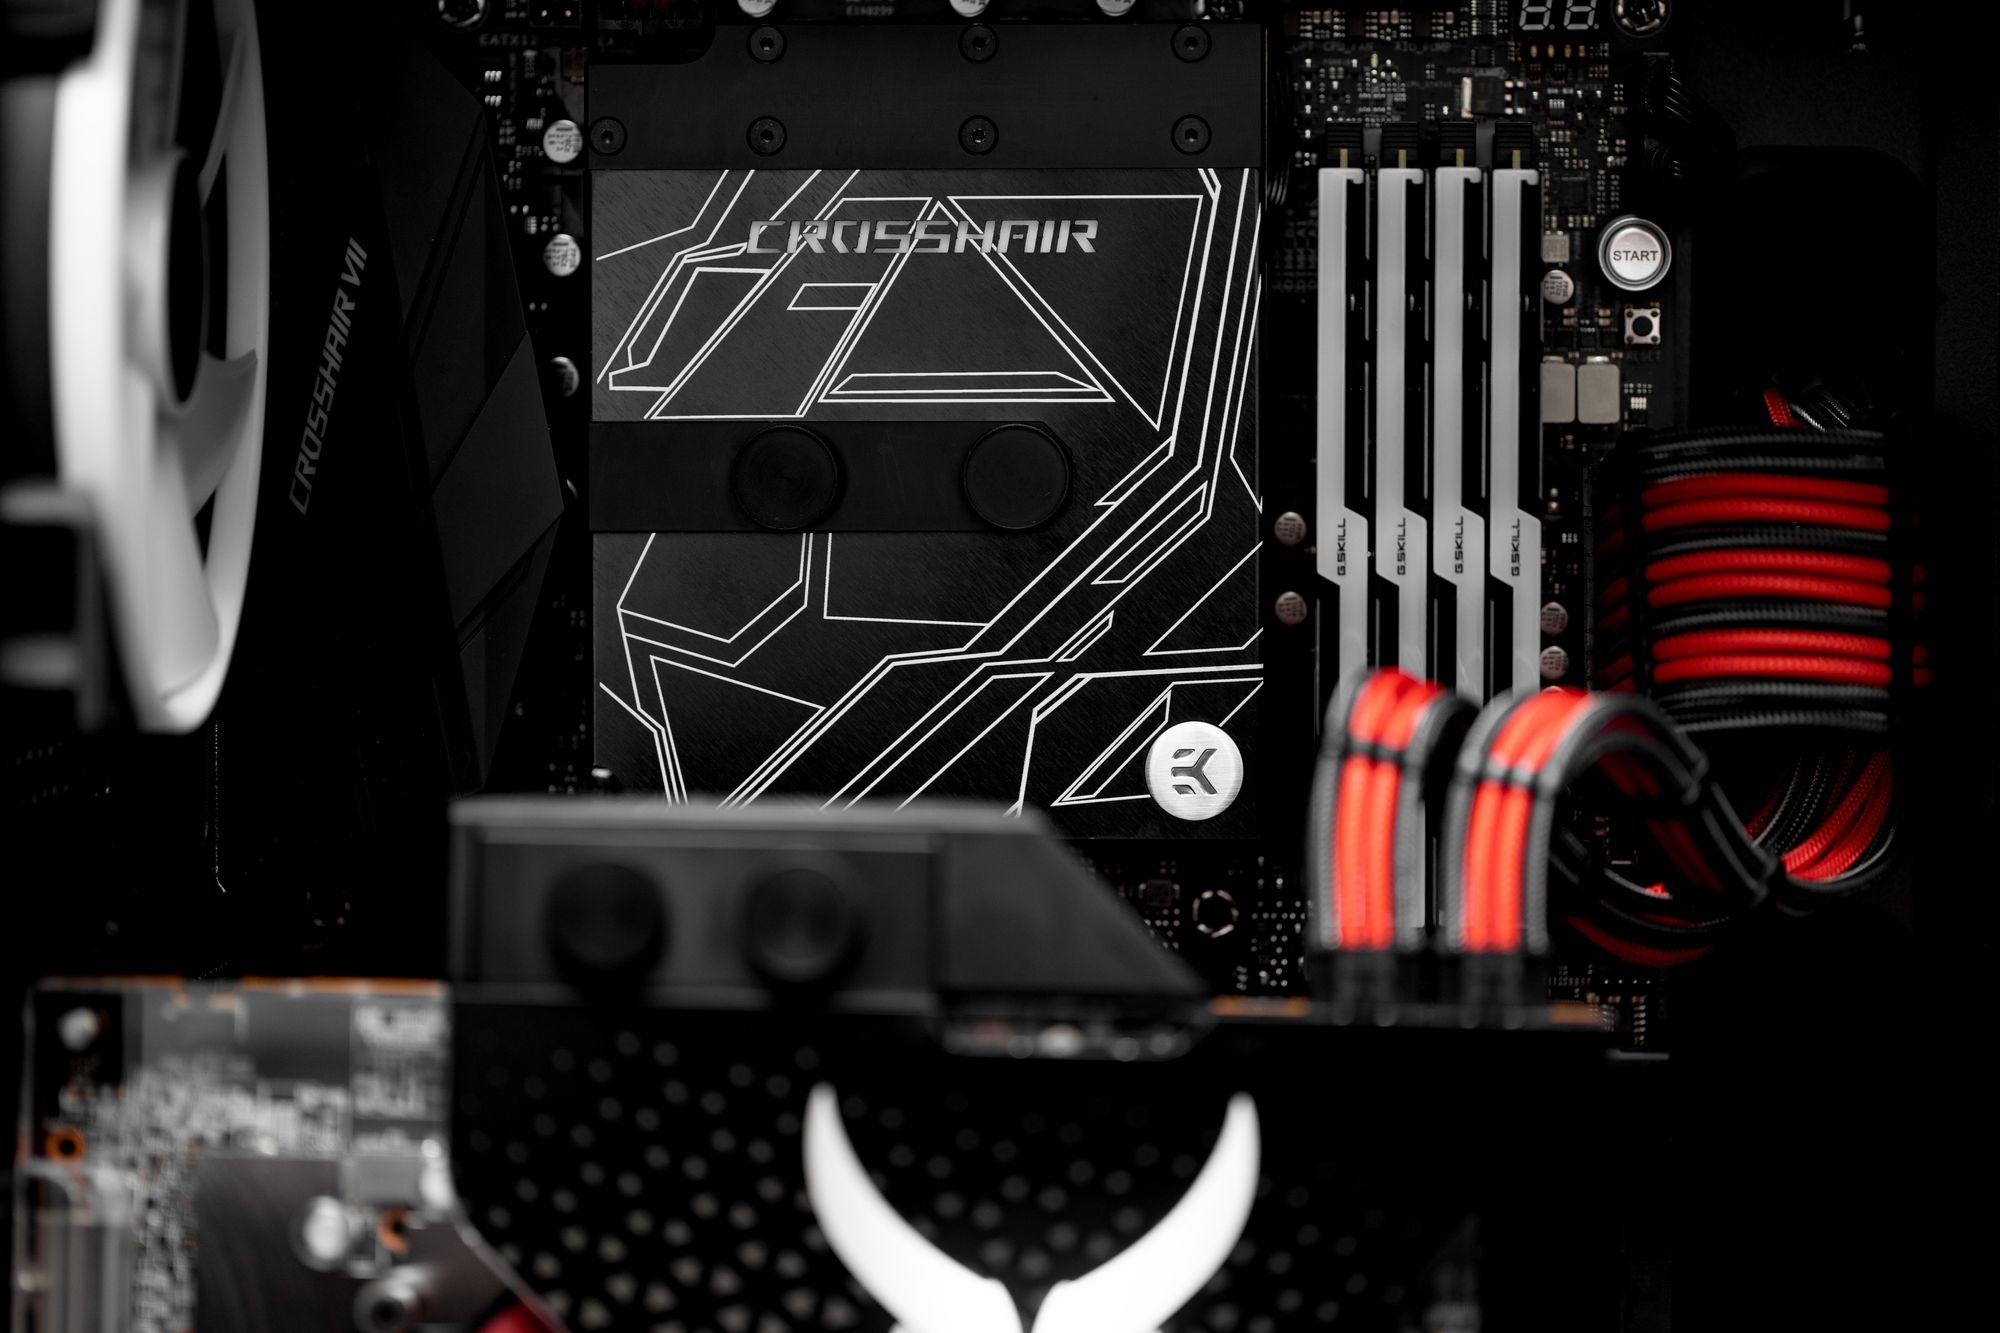
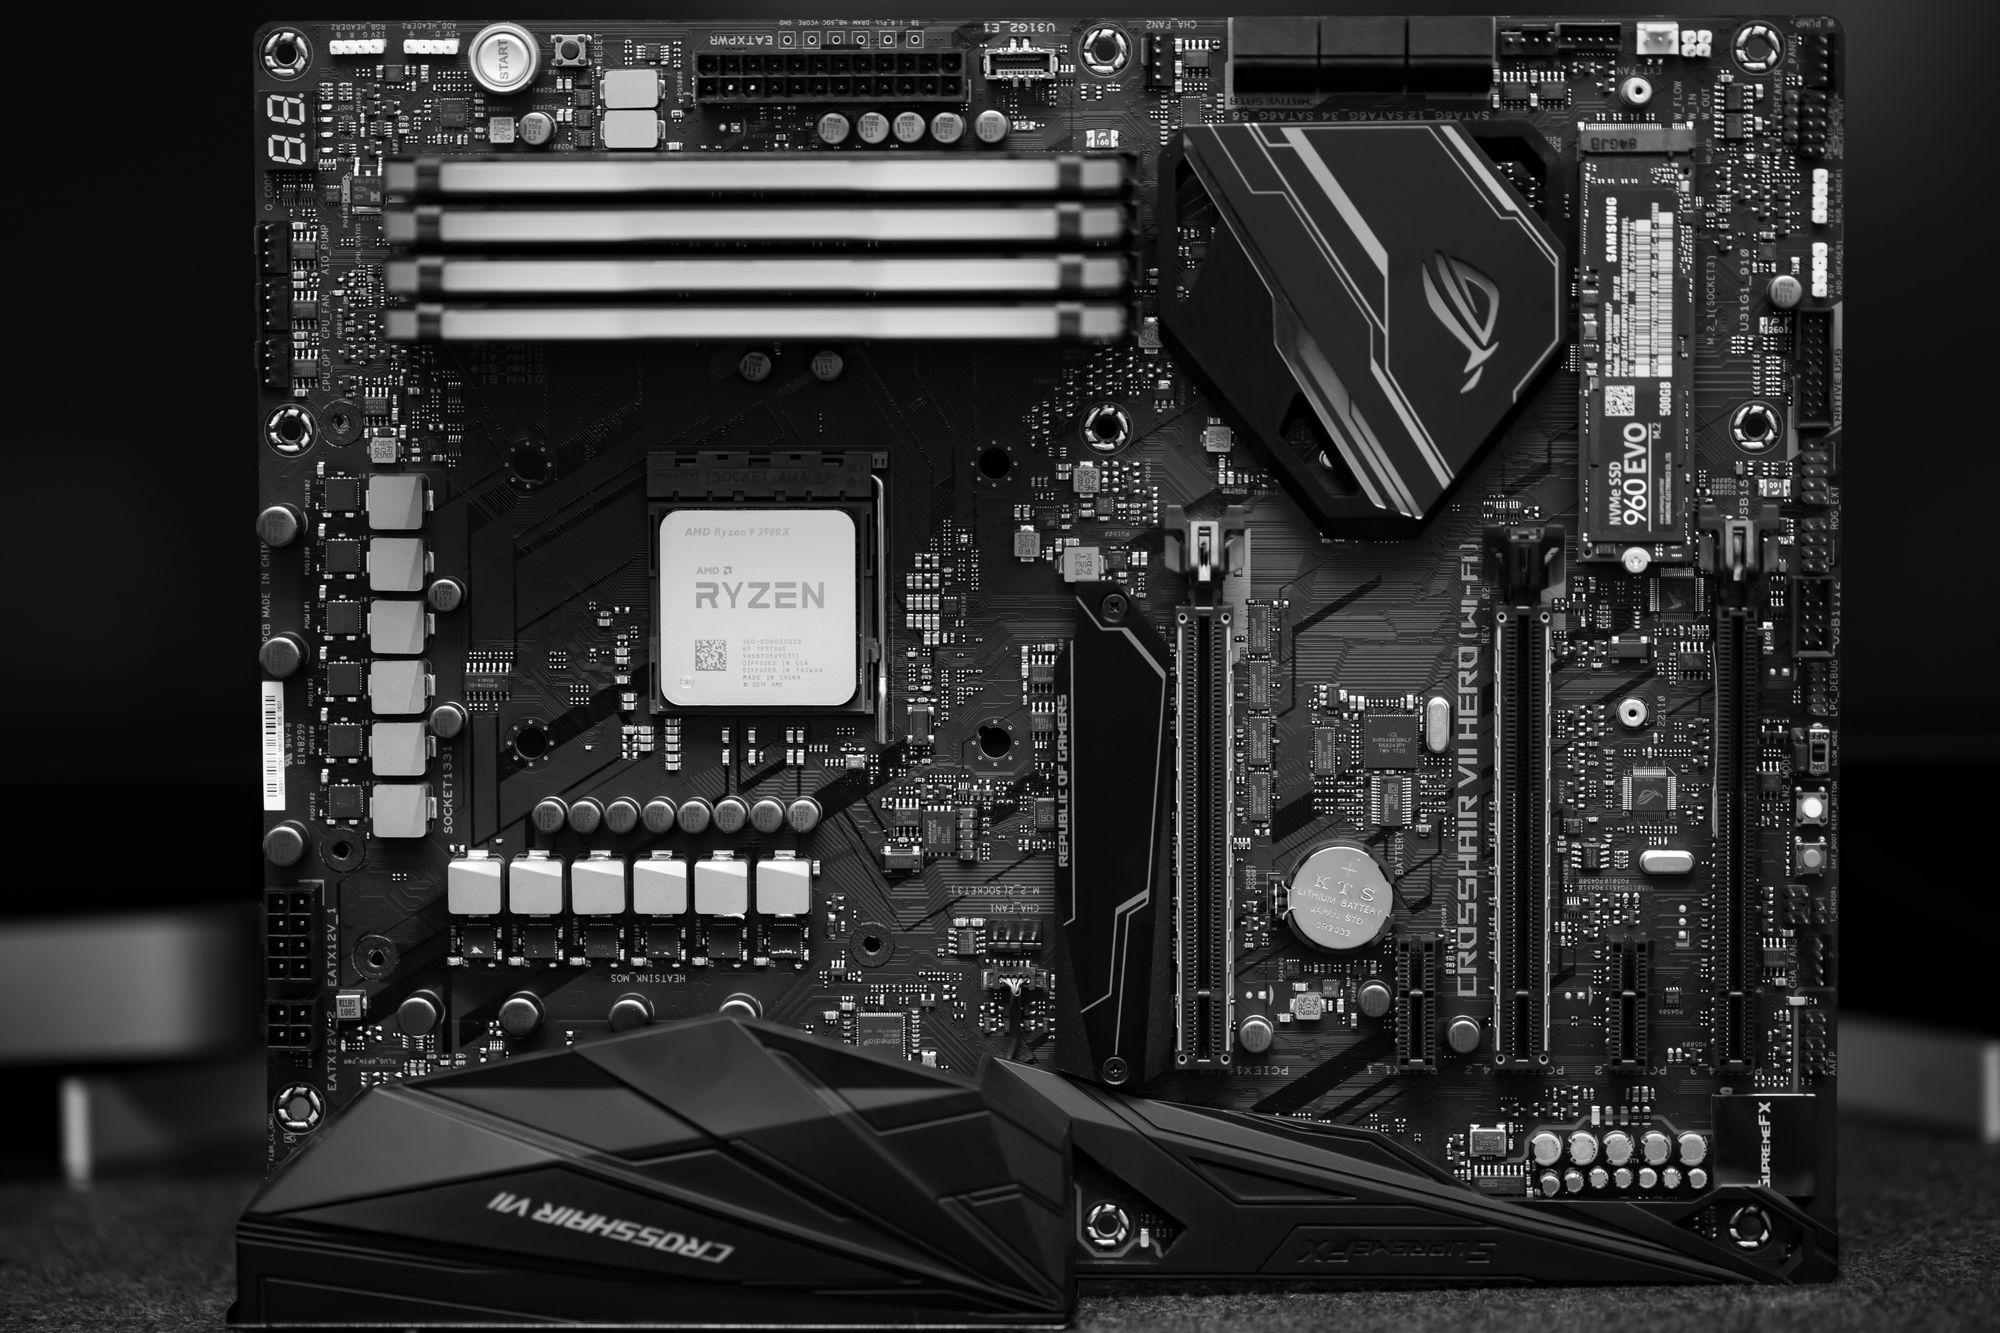
Asus ROG Crosshair VII Hero (Wi-Fi) ATX AM4 Motherboard
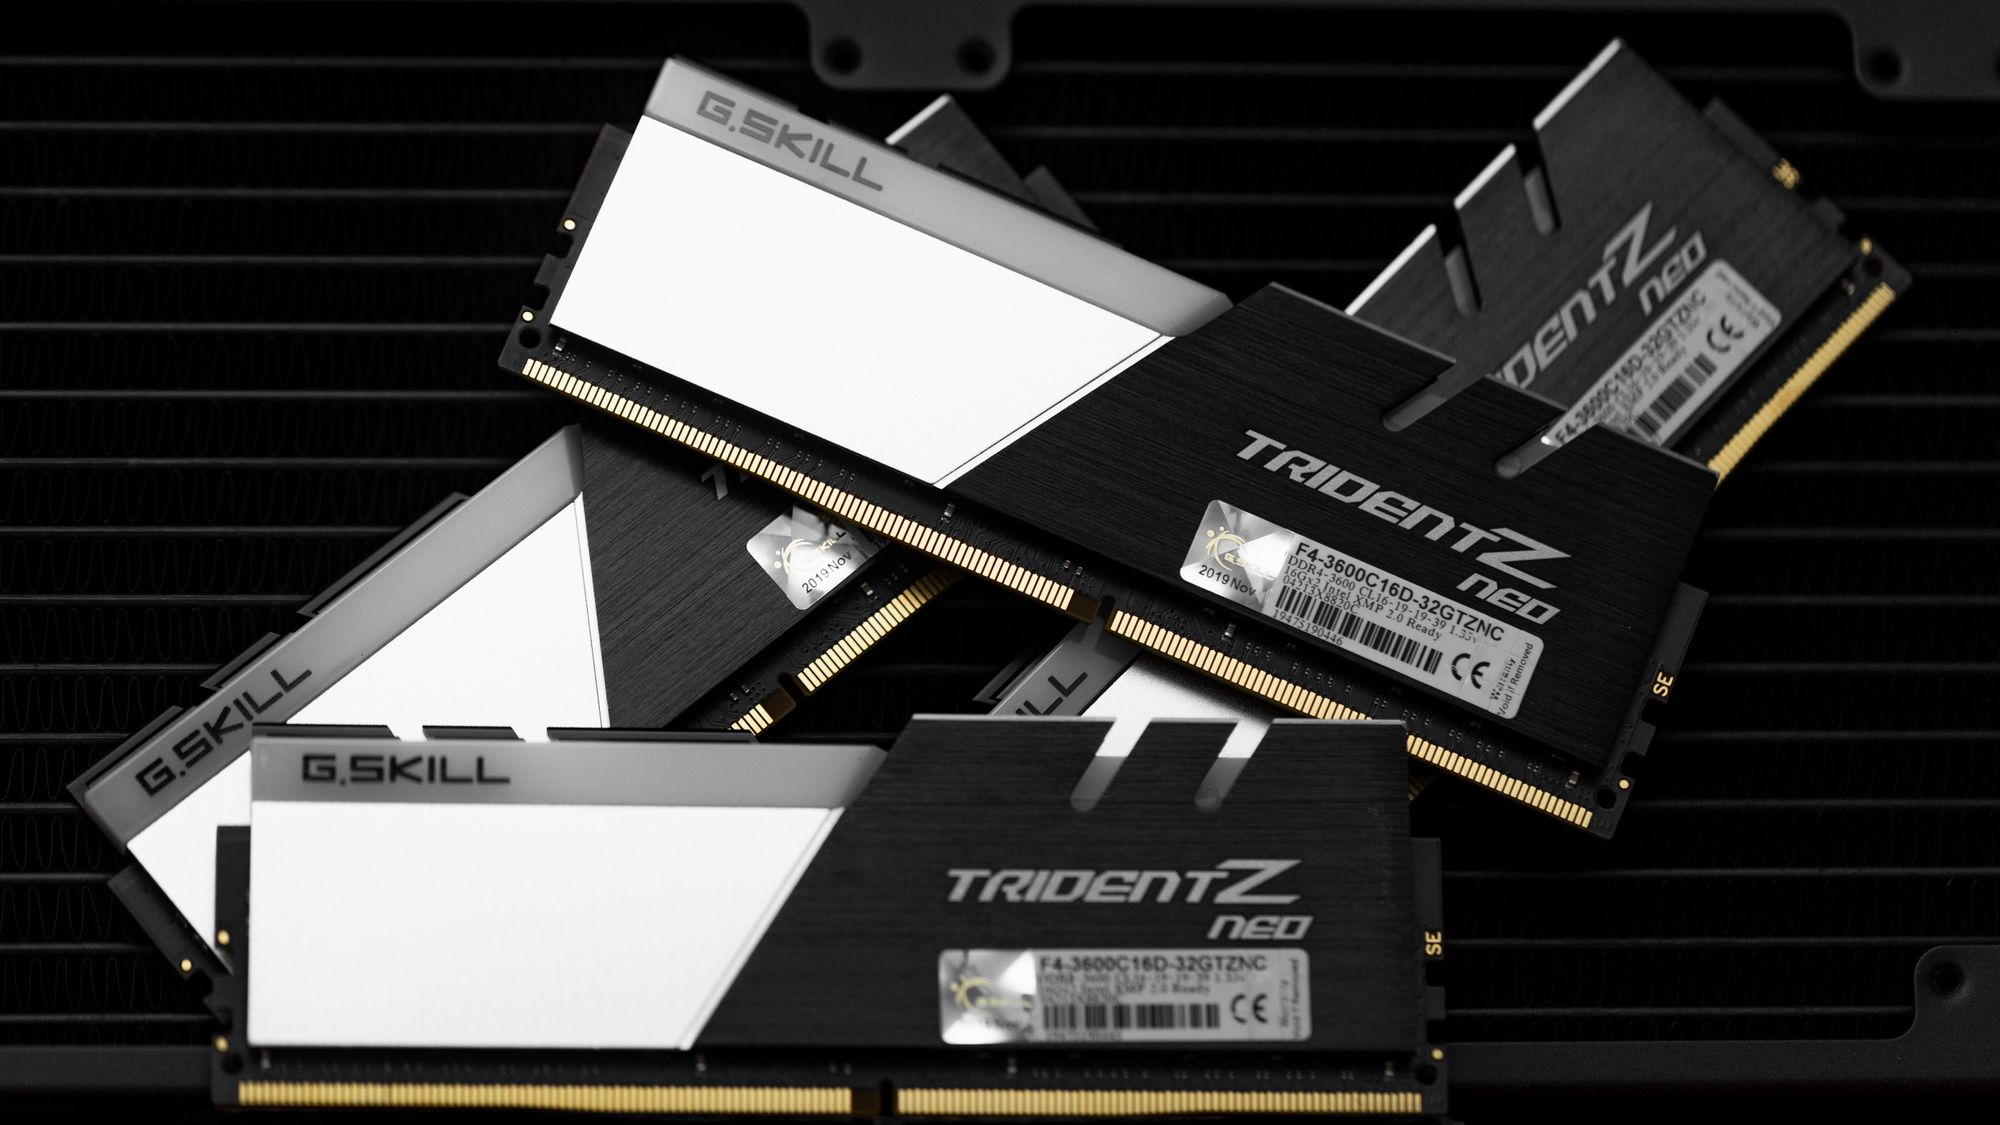
Corsair Vengeance RGB Pro 64GB (4x 16GB) @ 3733MHz
Samsung 960 EVO 500 GB M.2-2280 NVME Solid State Drive
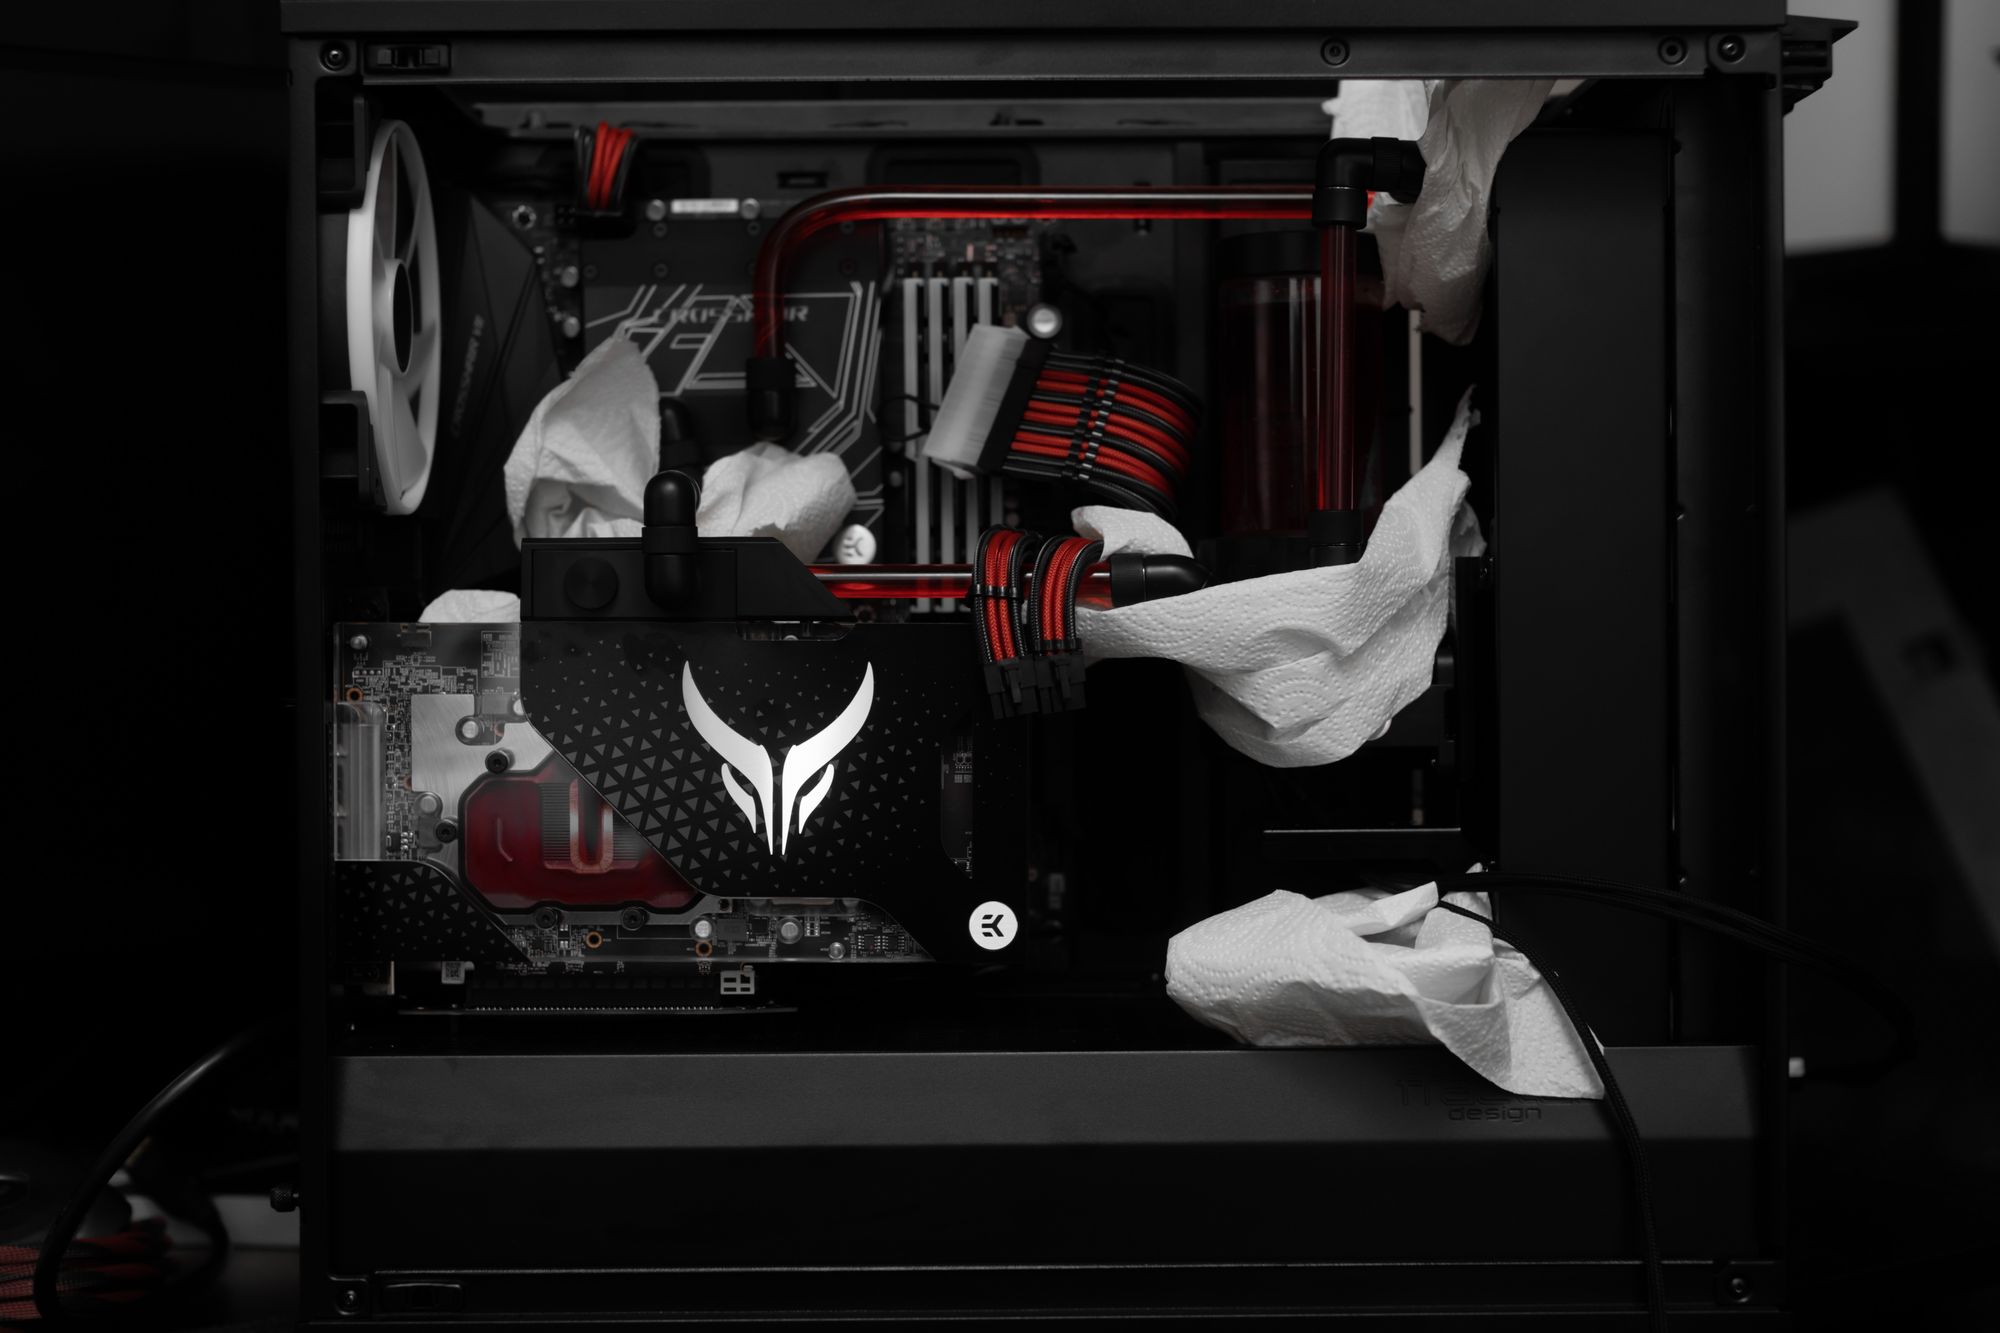
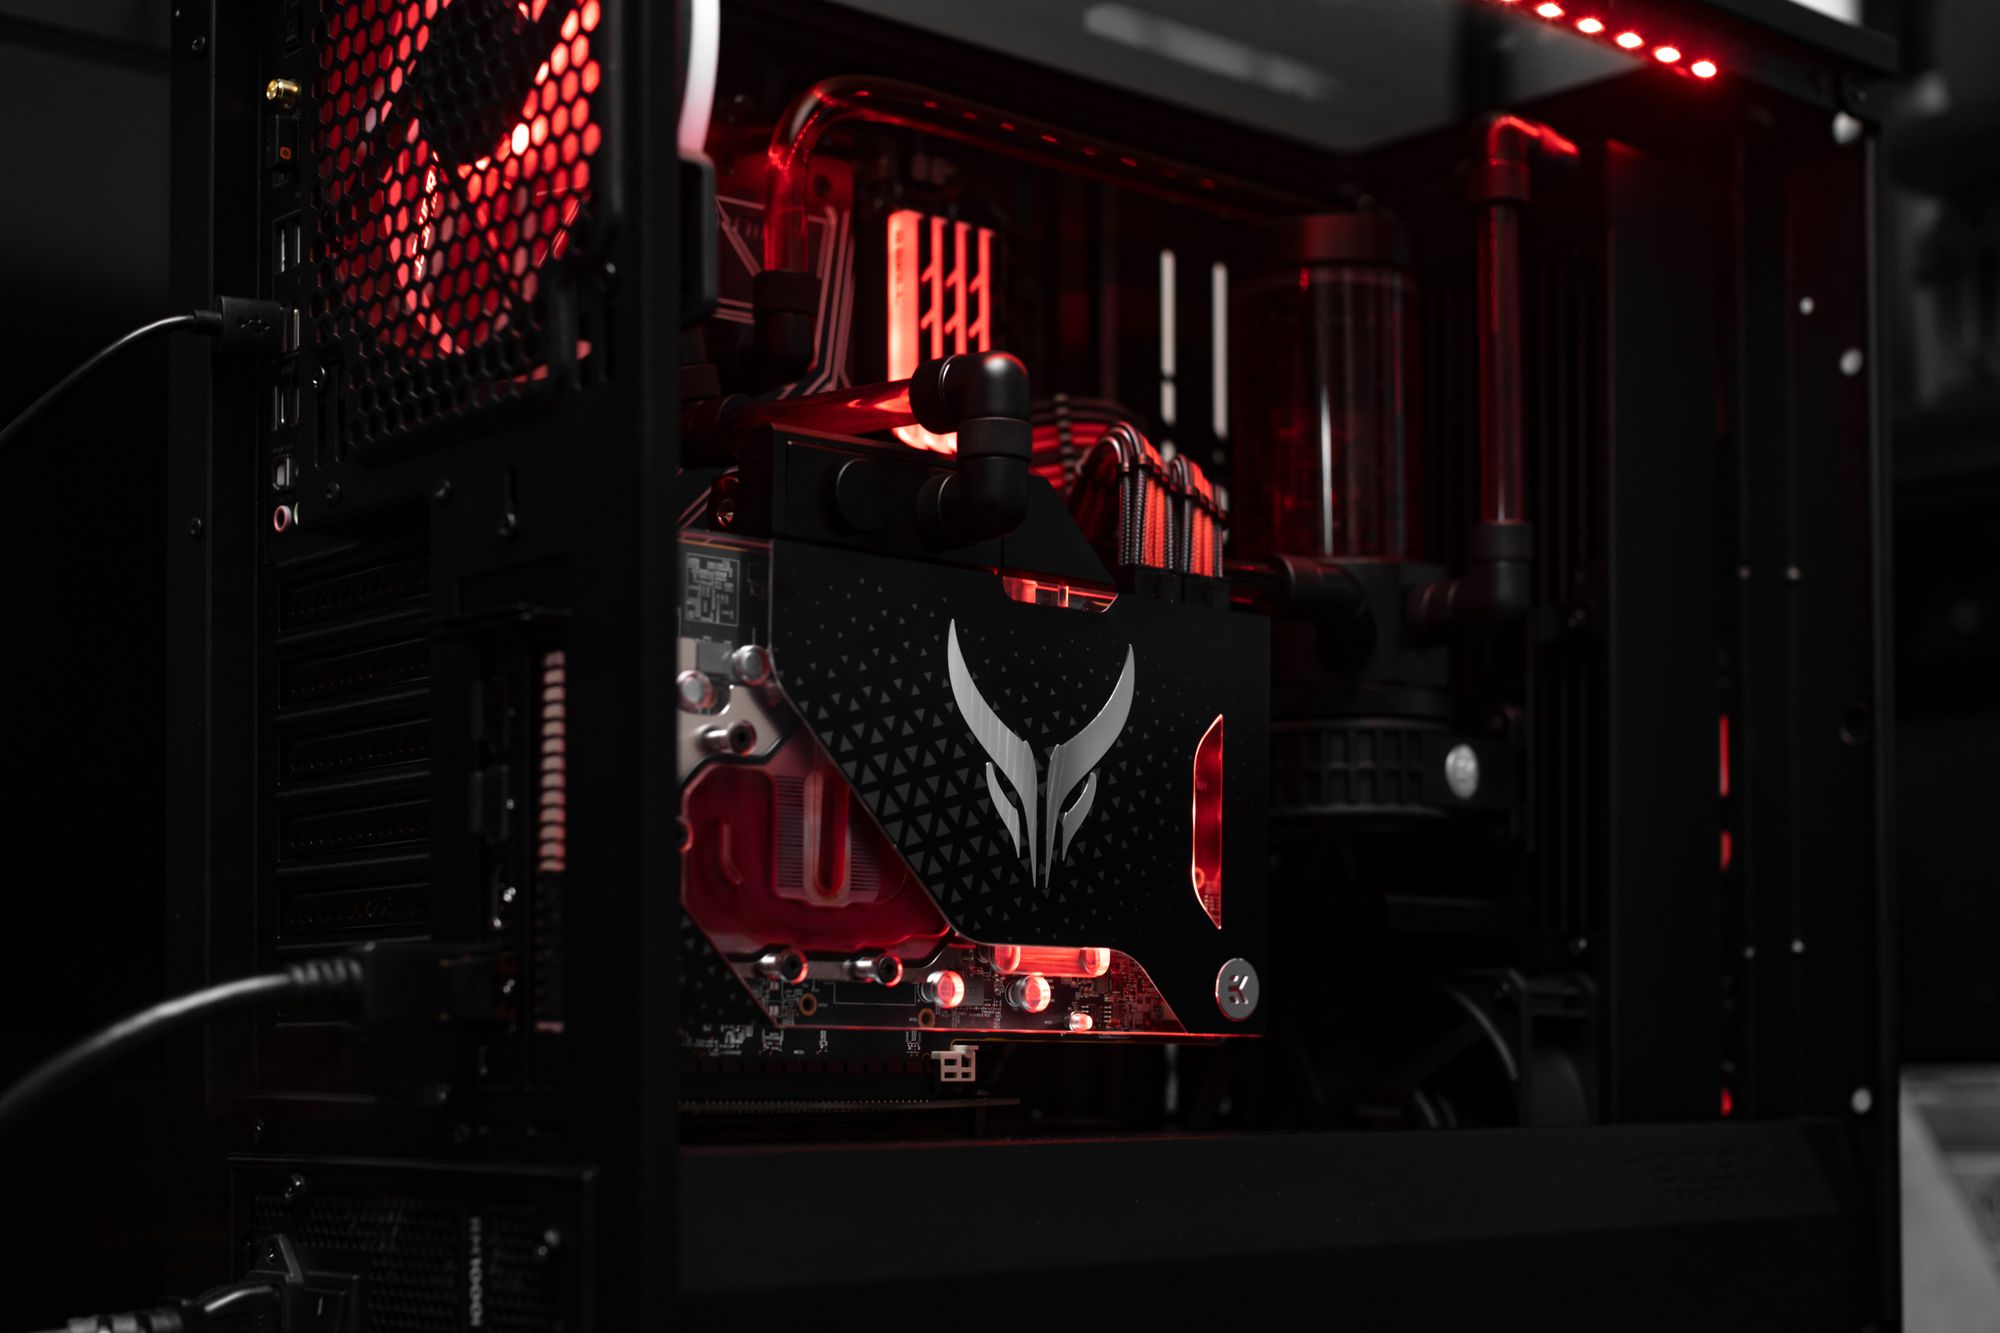
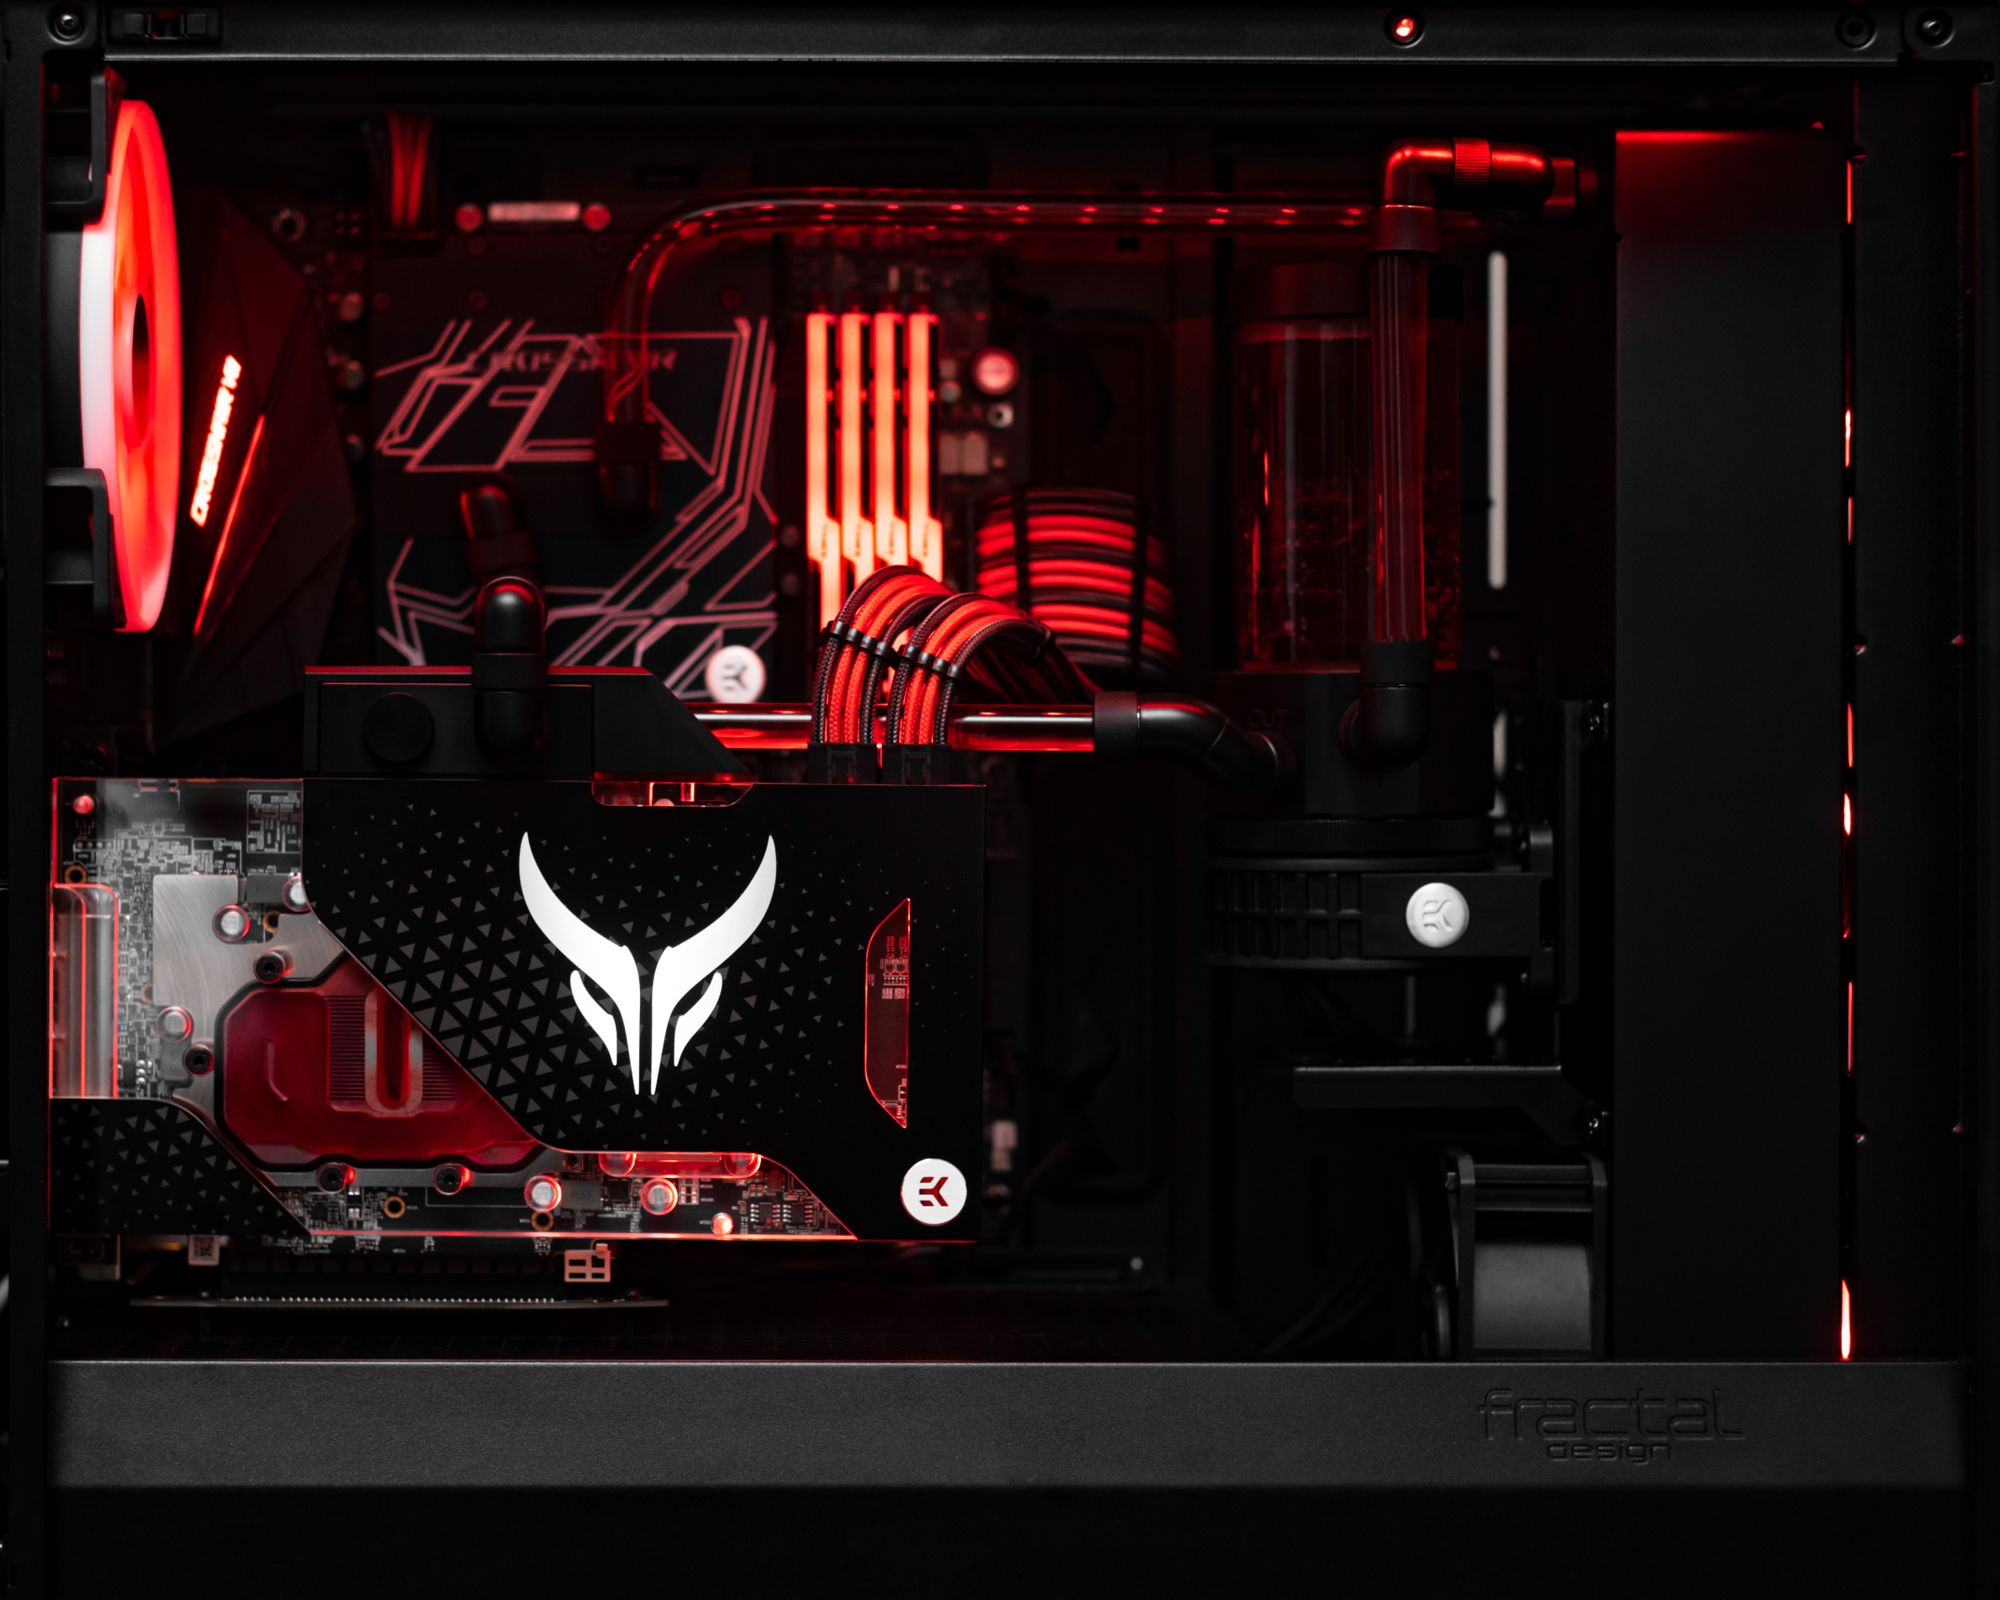
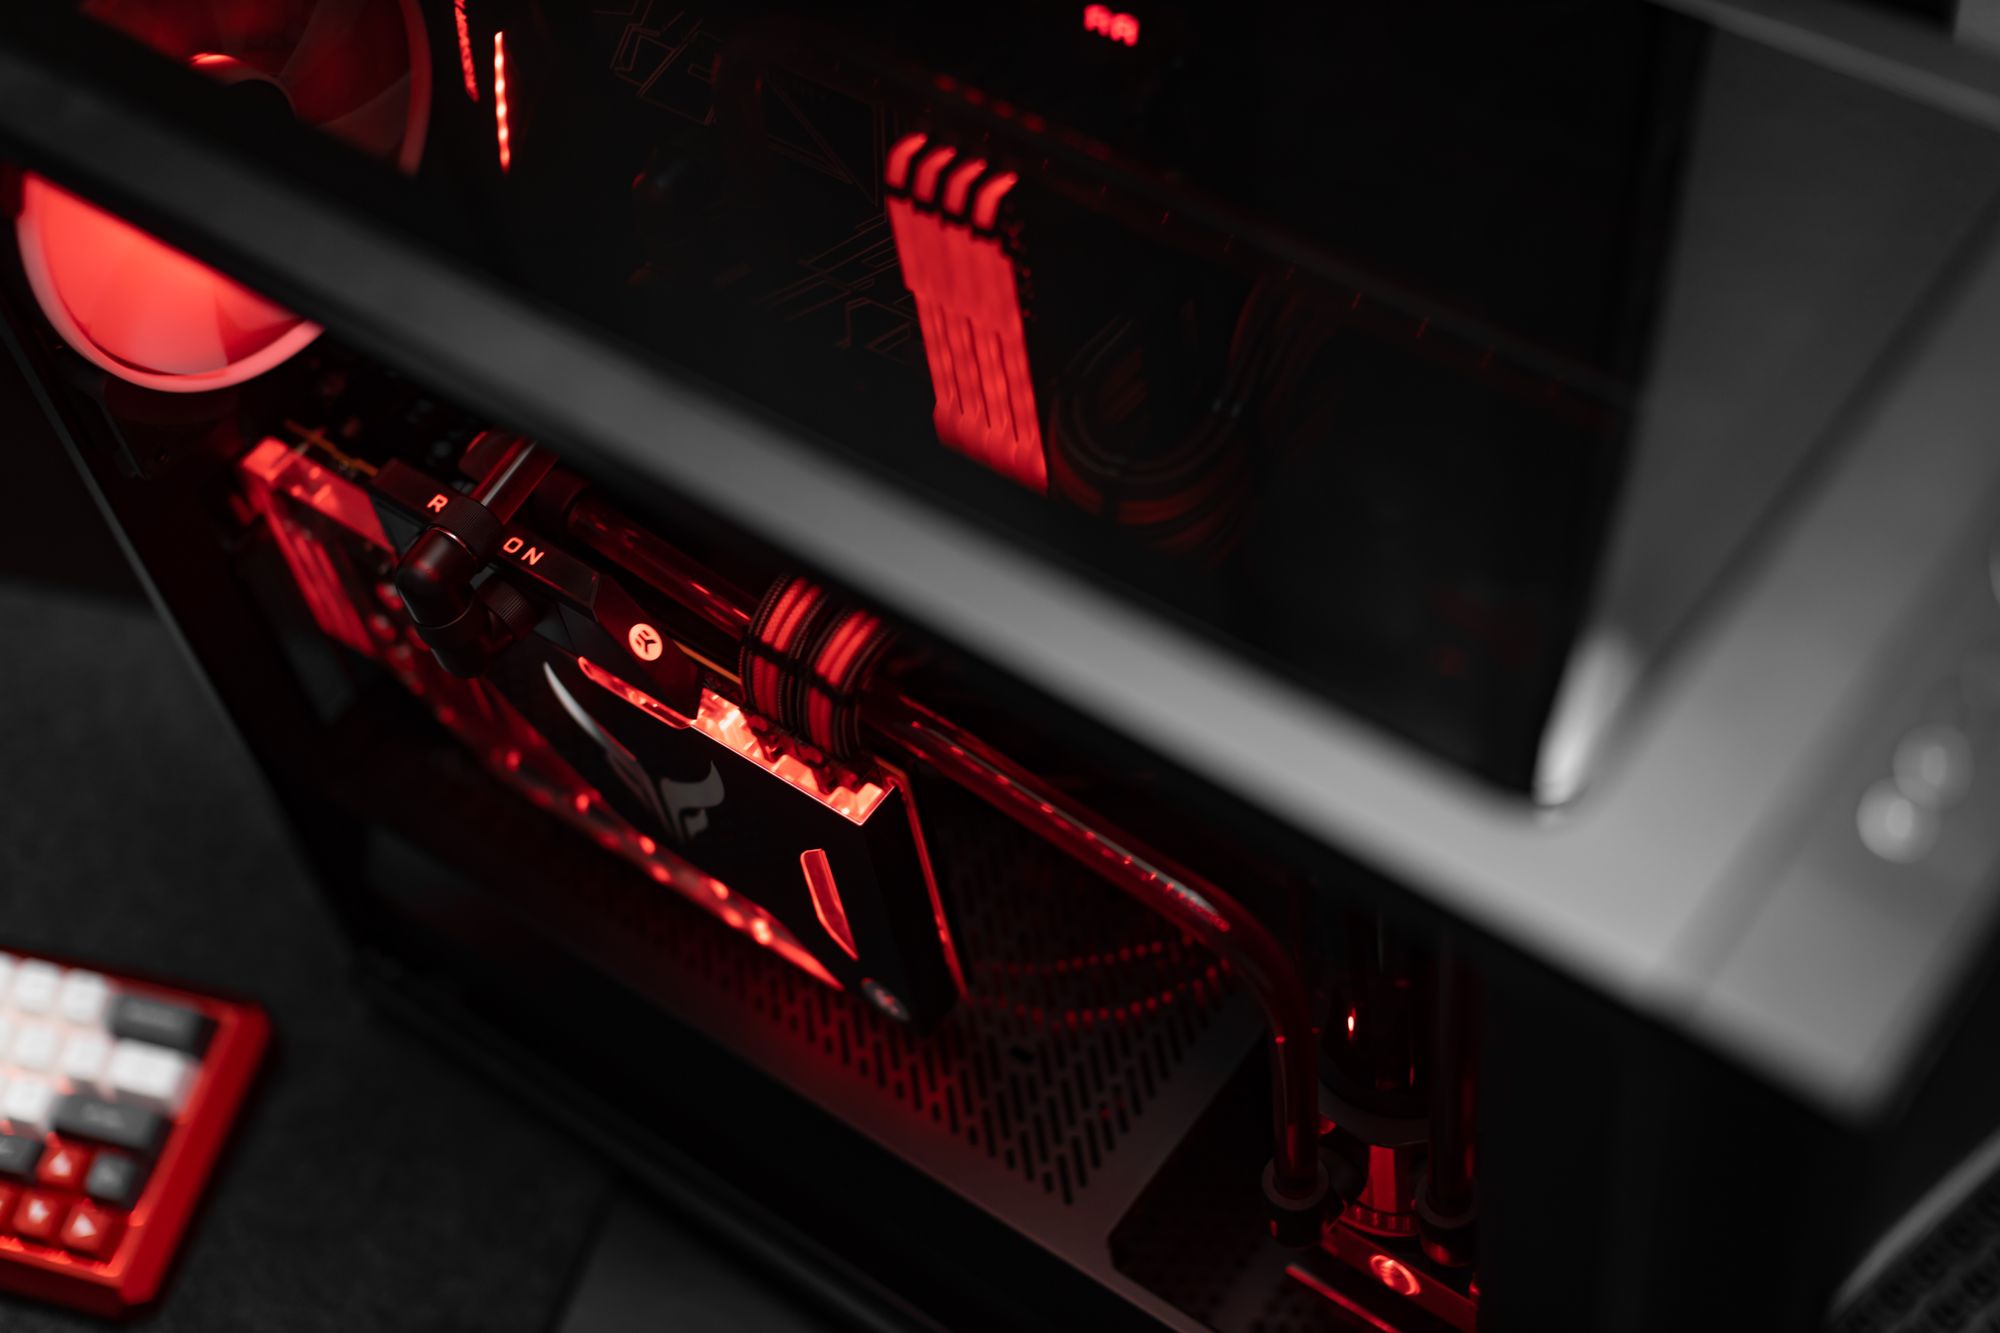
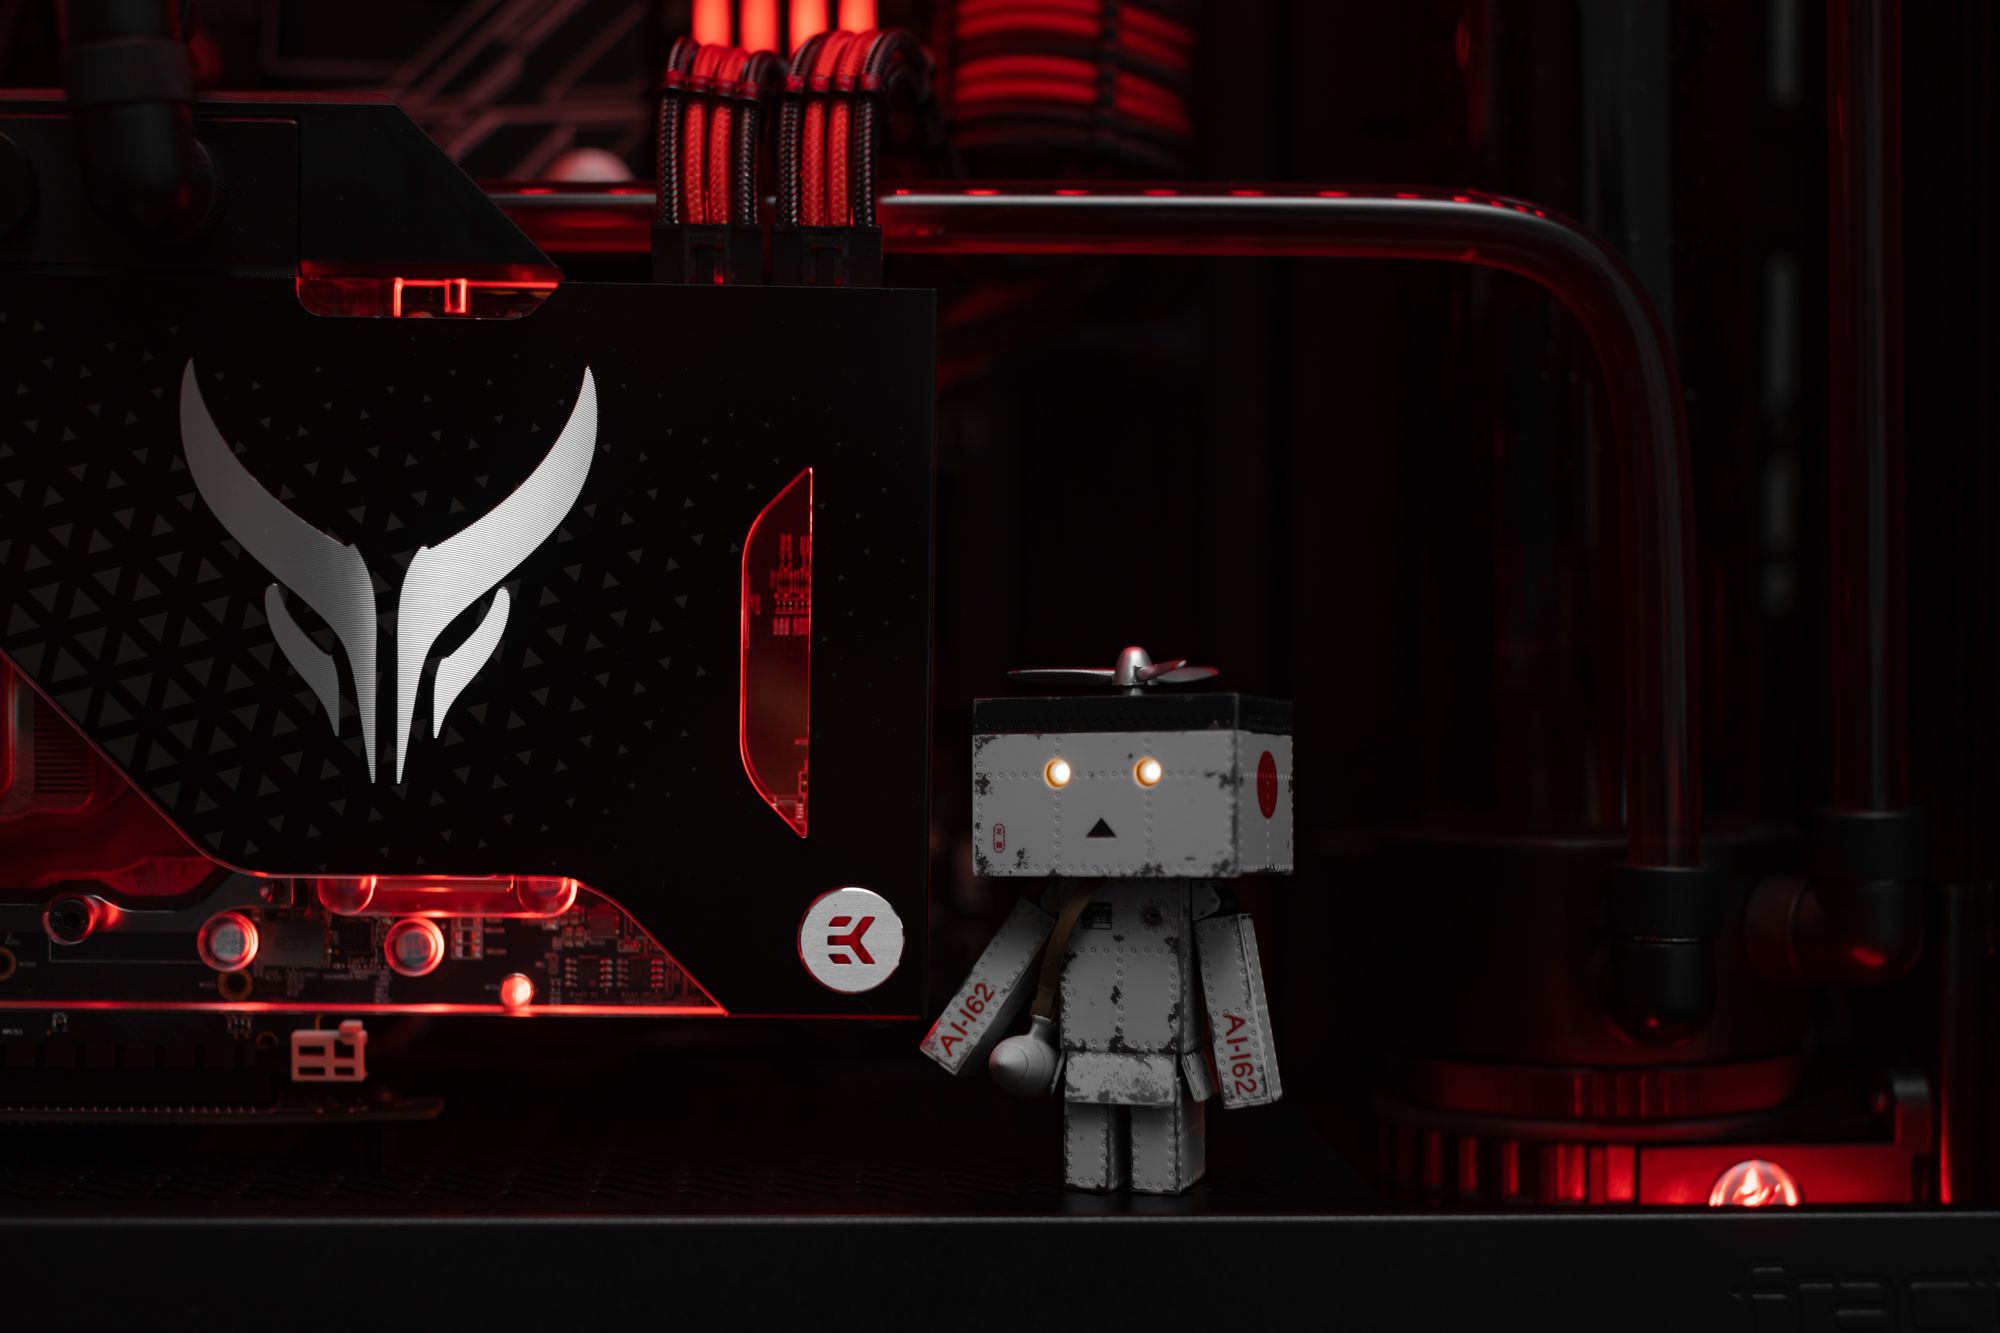
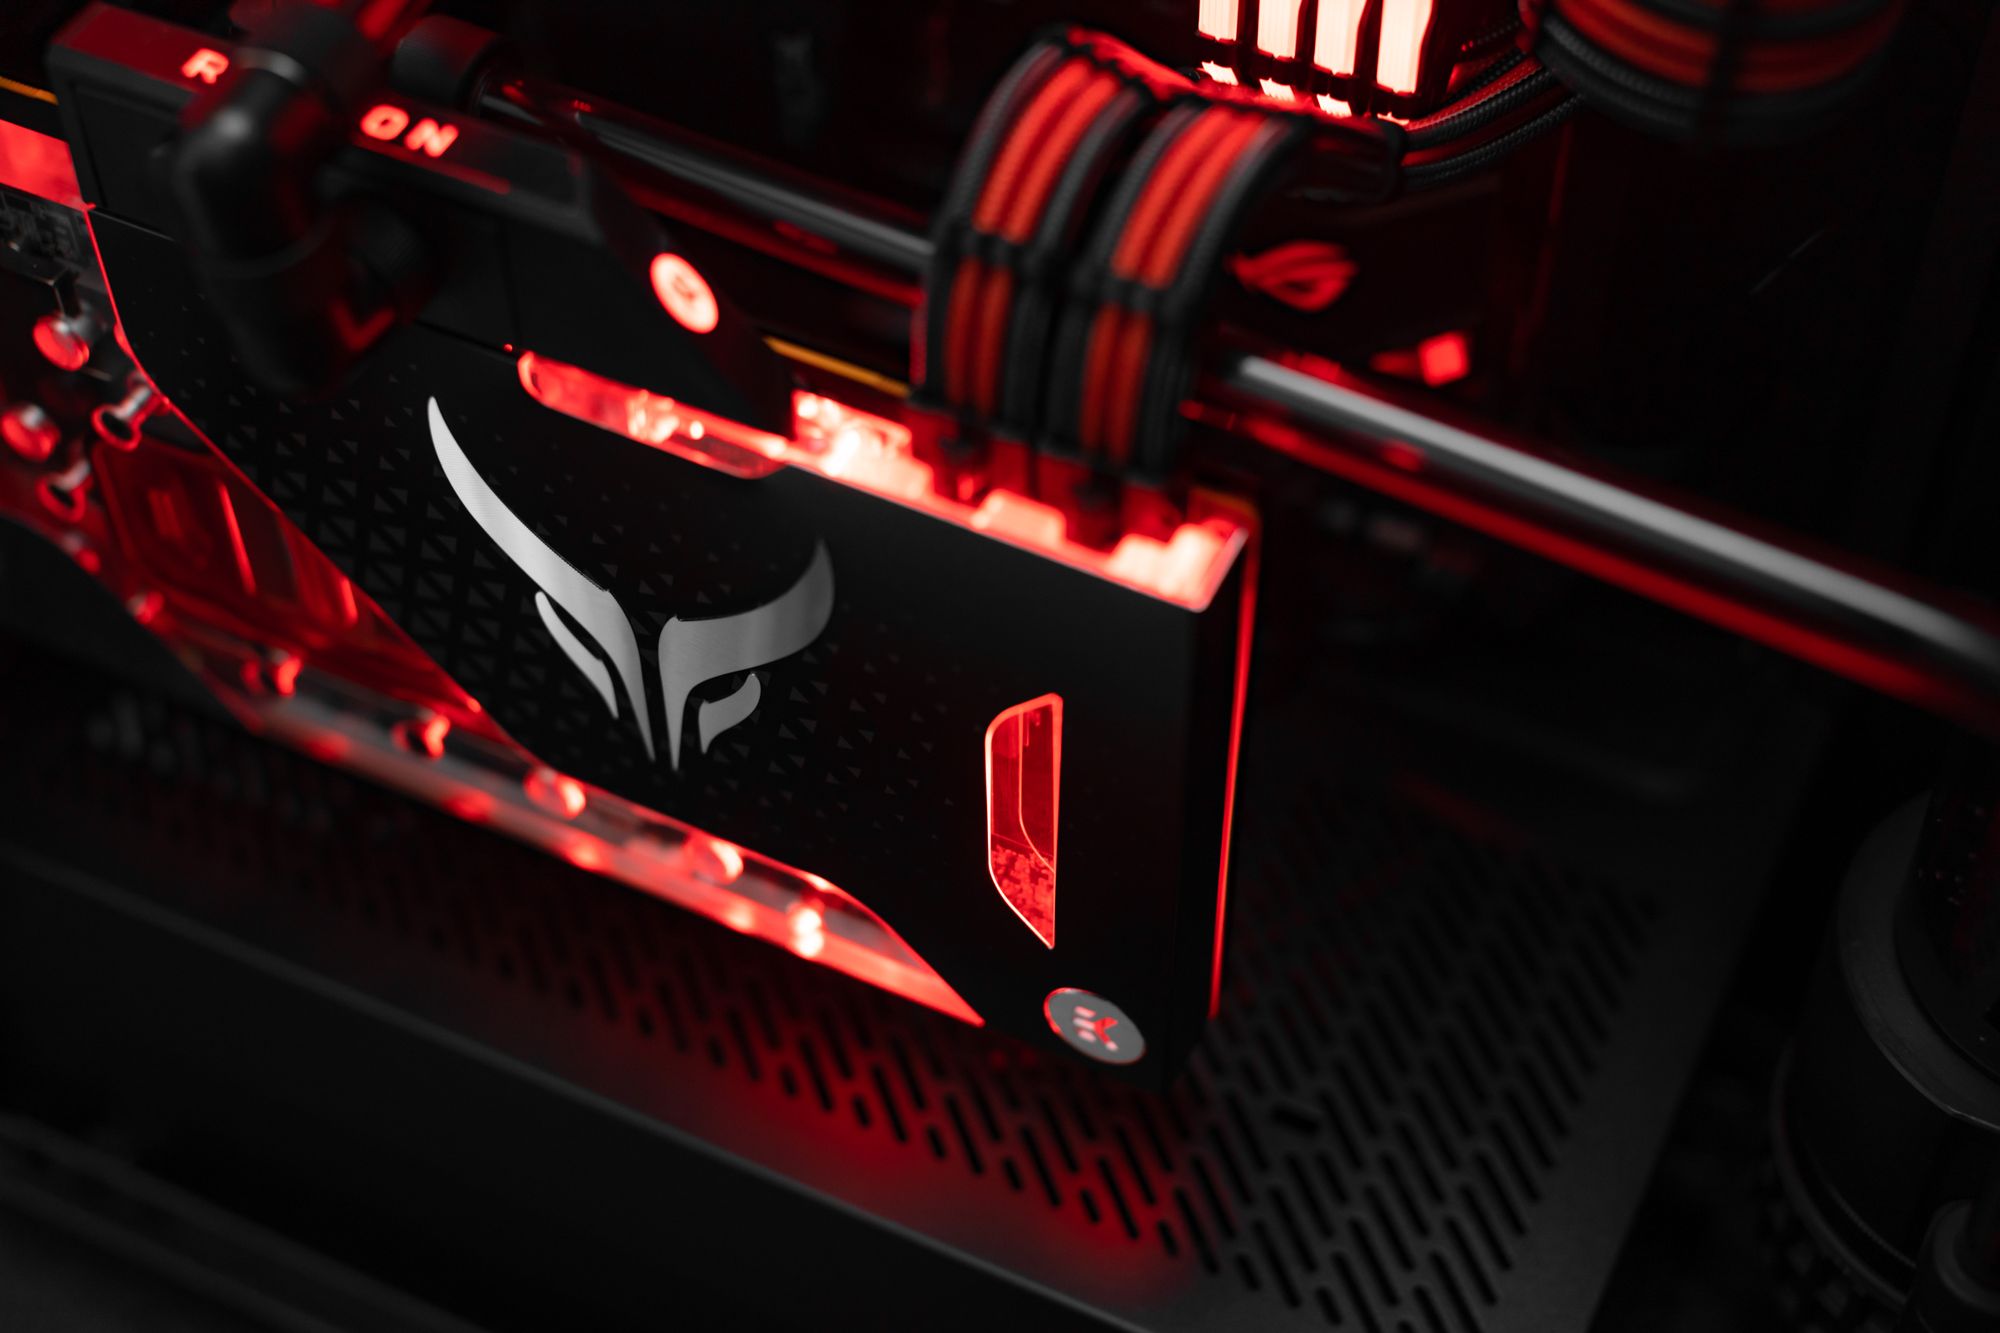
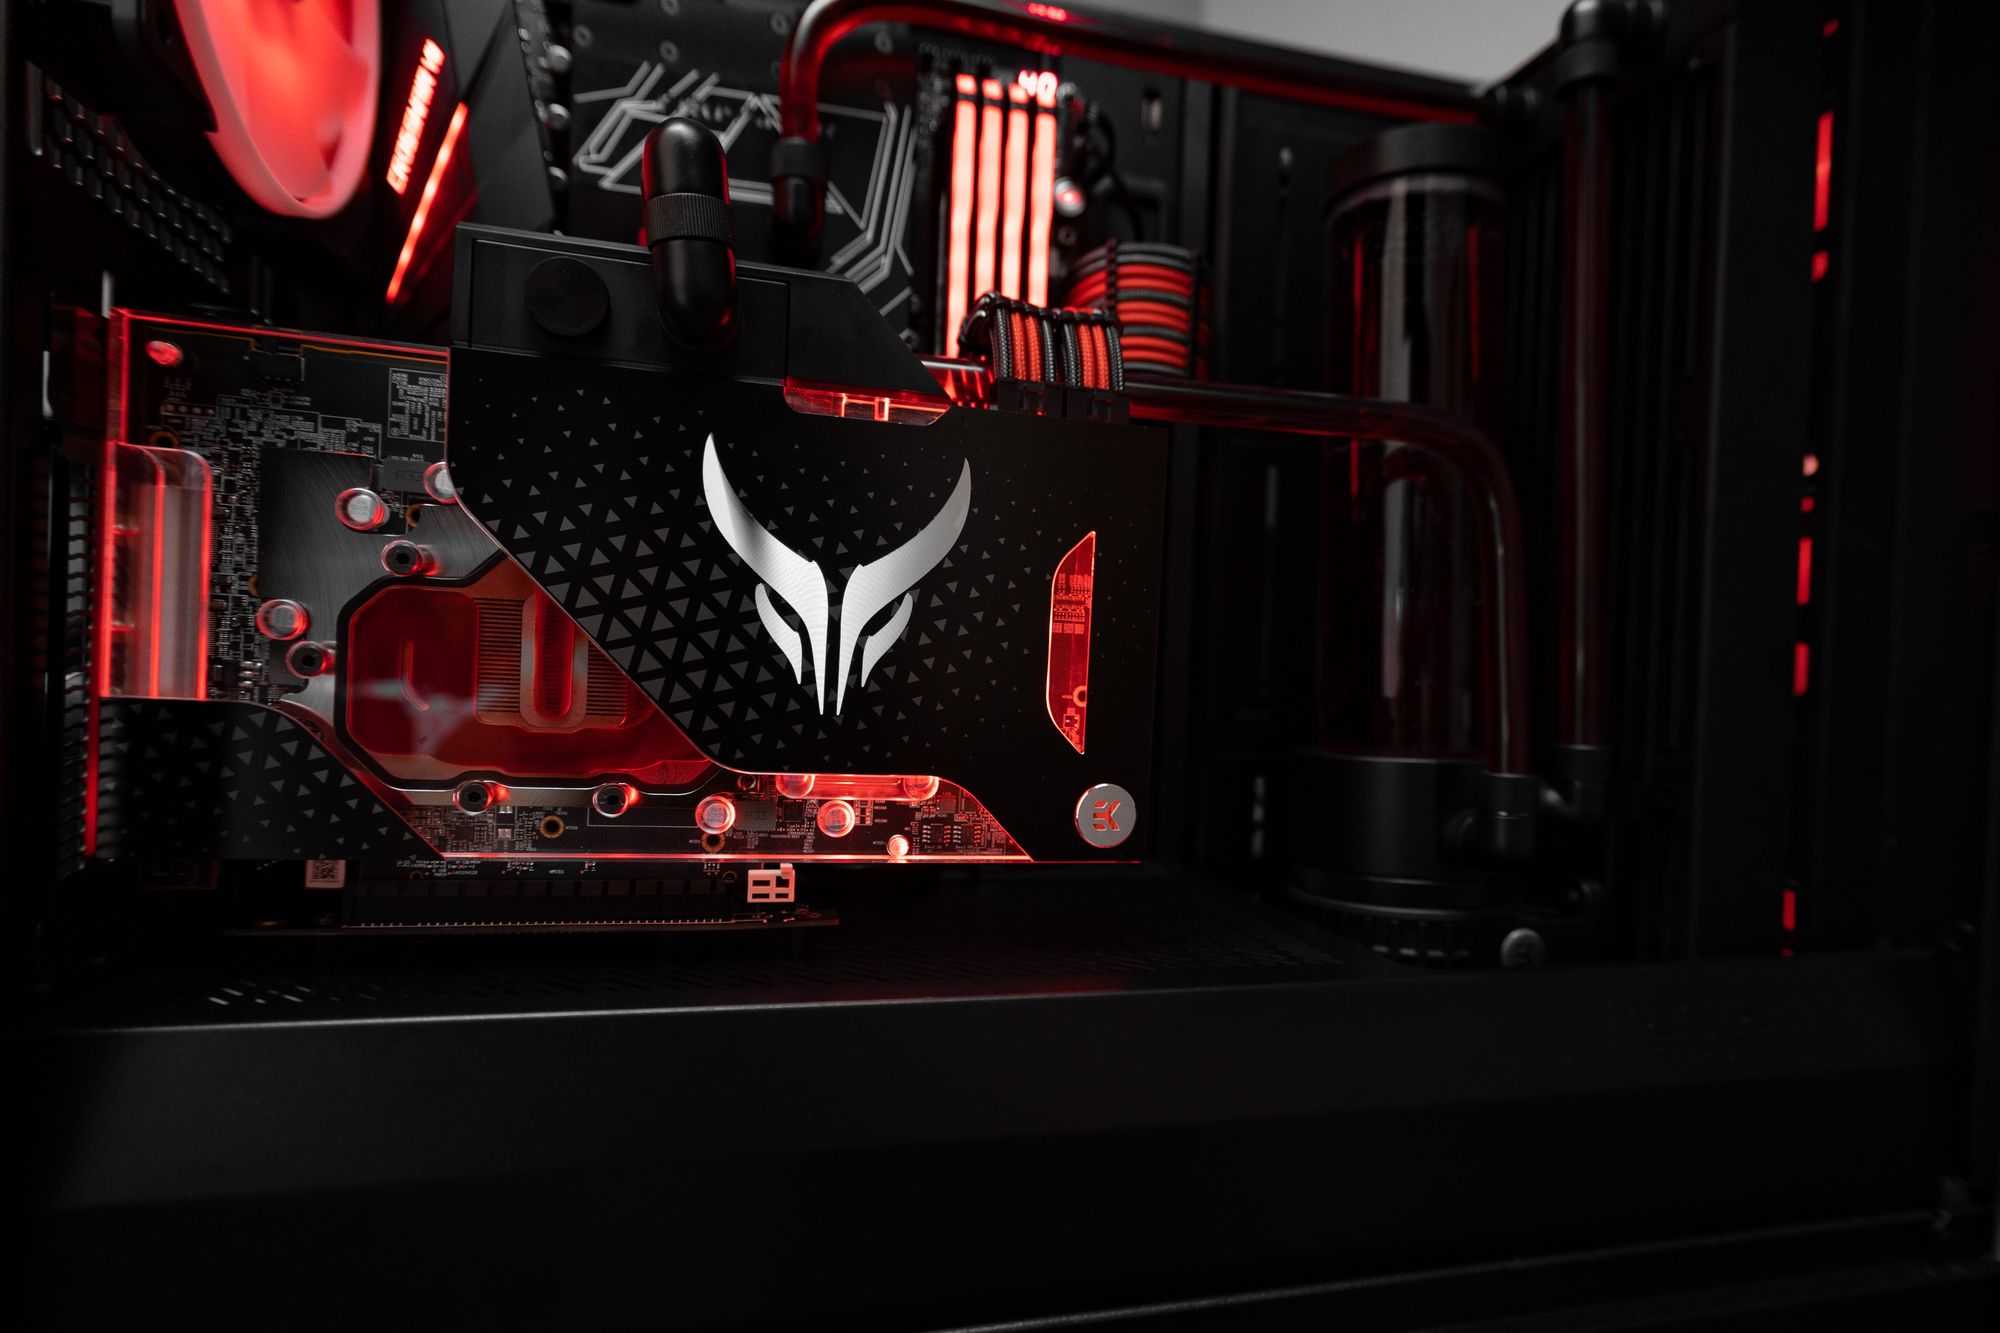
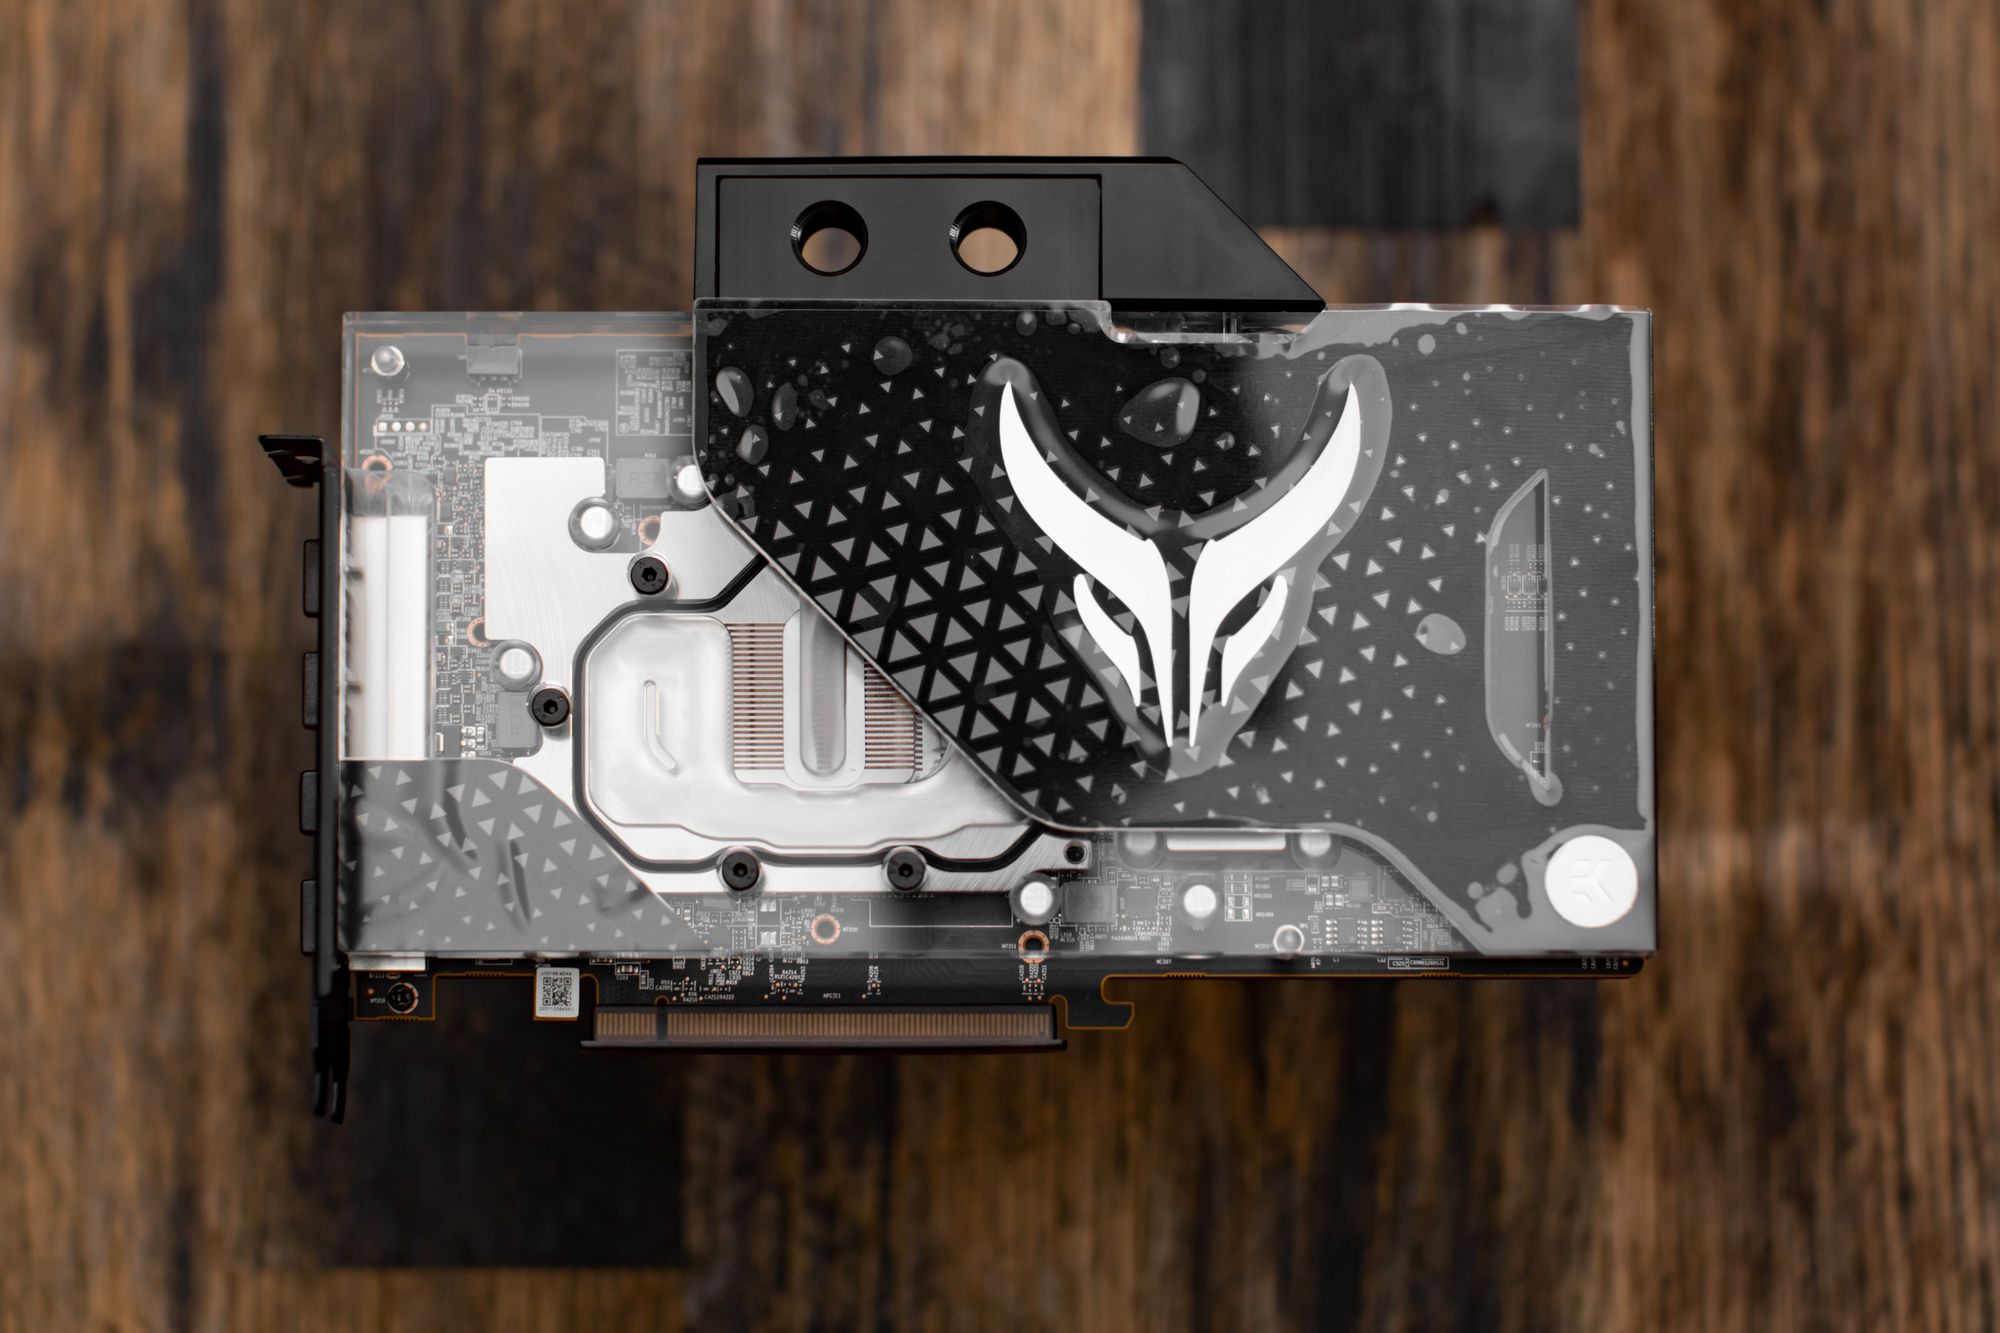
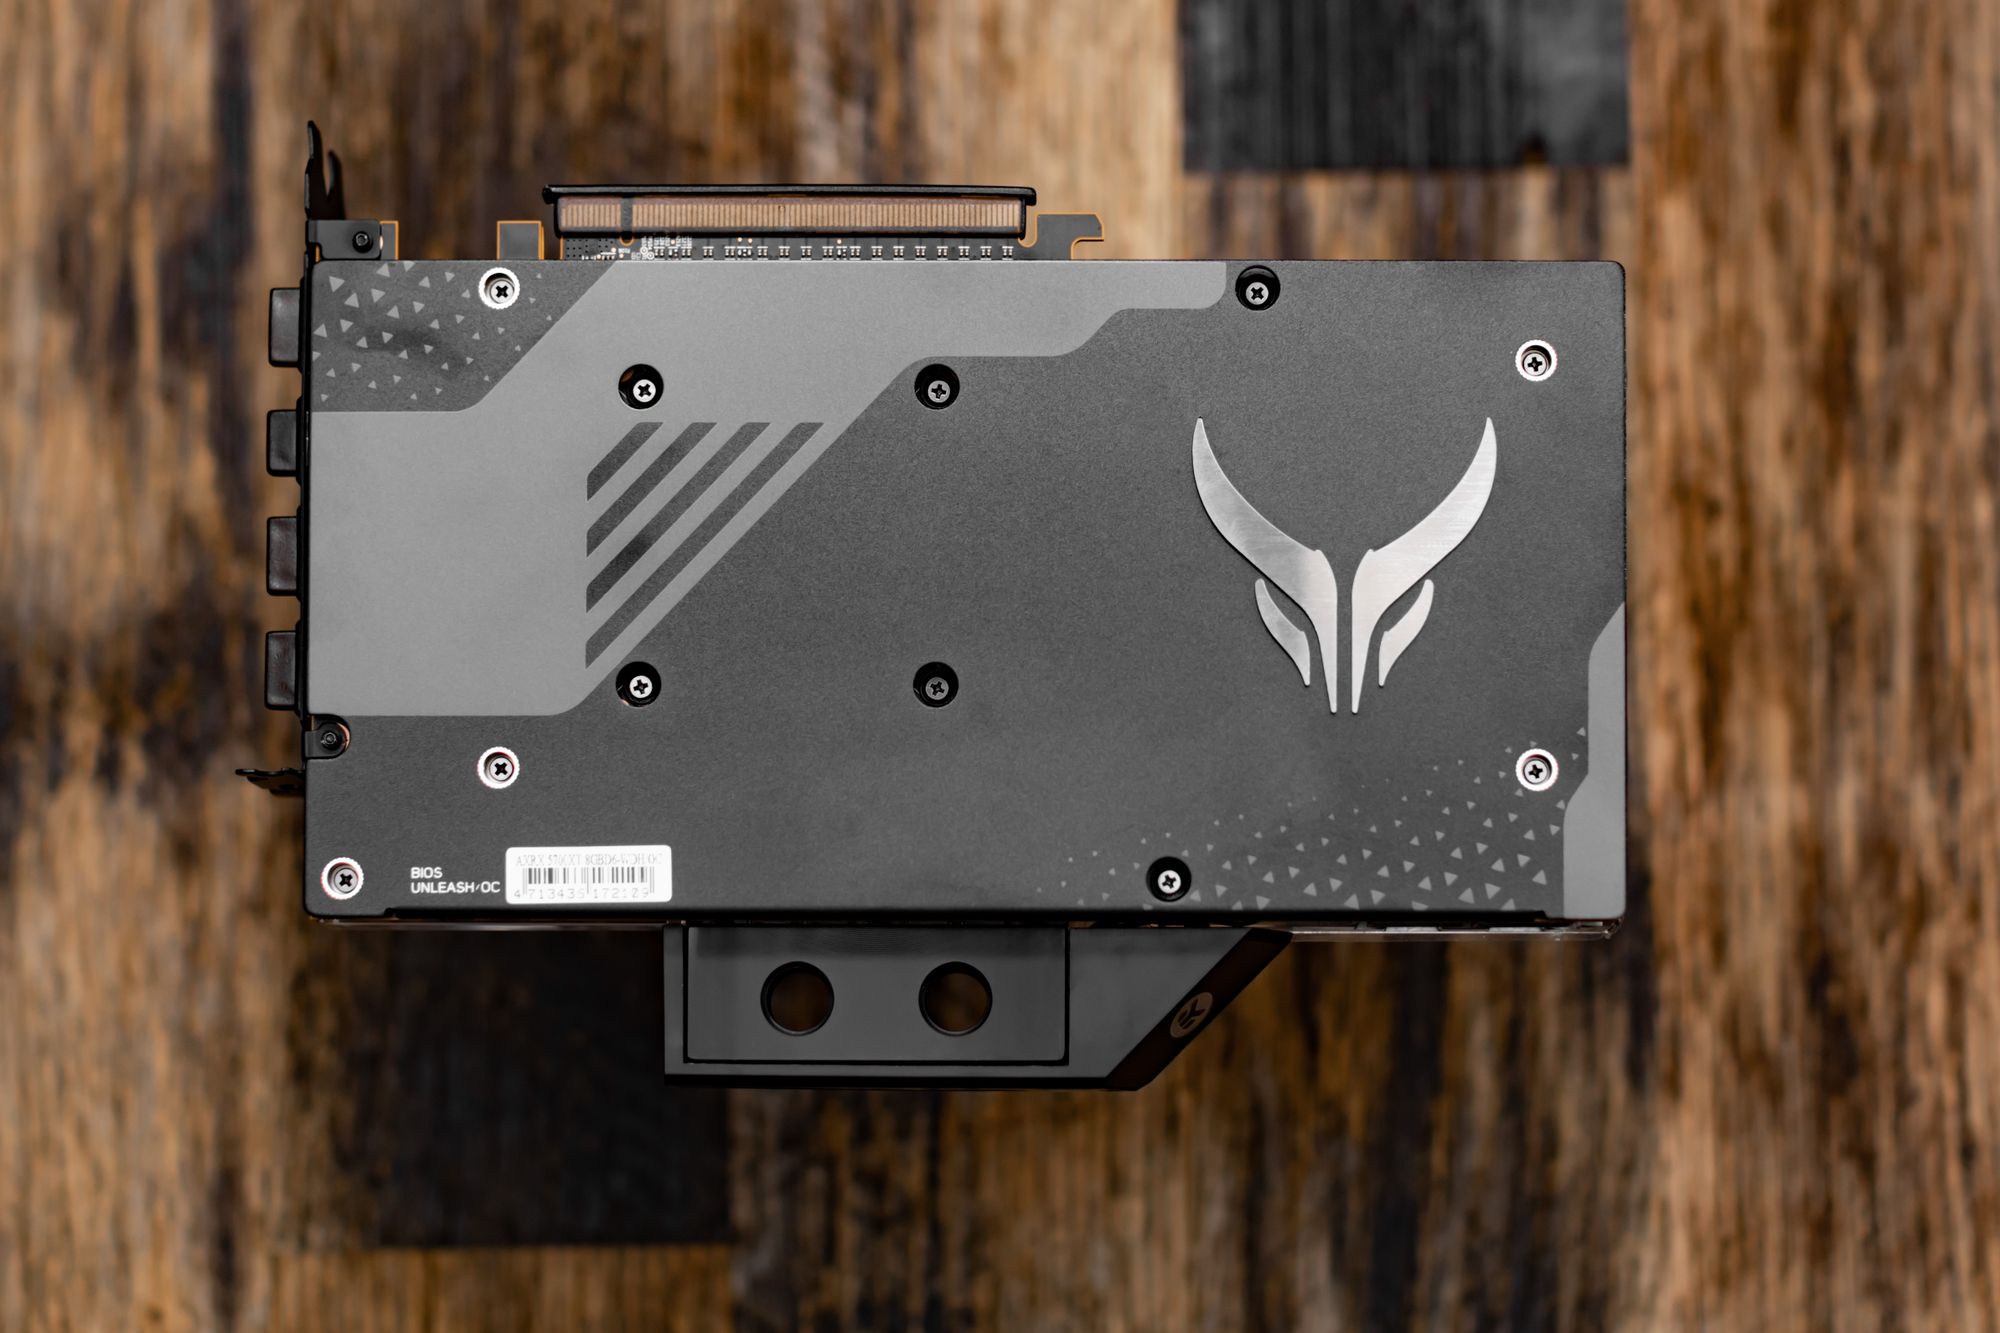
PowerColor Radeon 5700XT 8GB Liquid Devil (Provided by PowerColor)
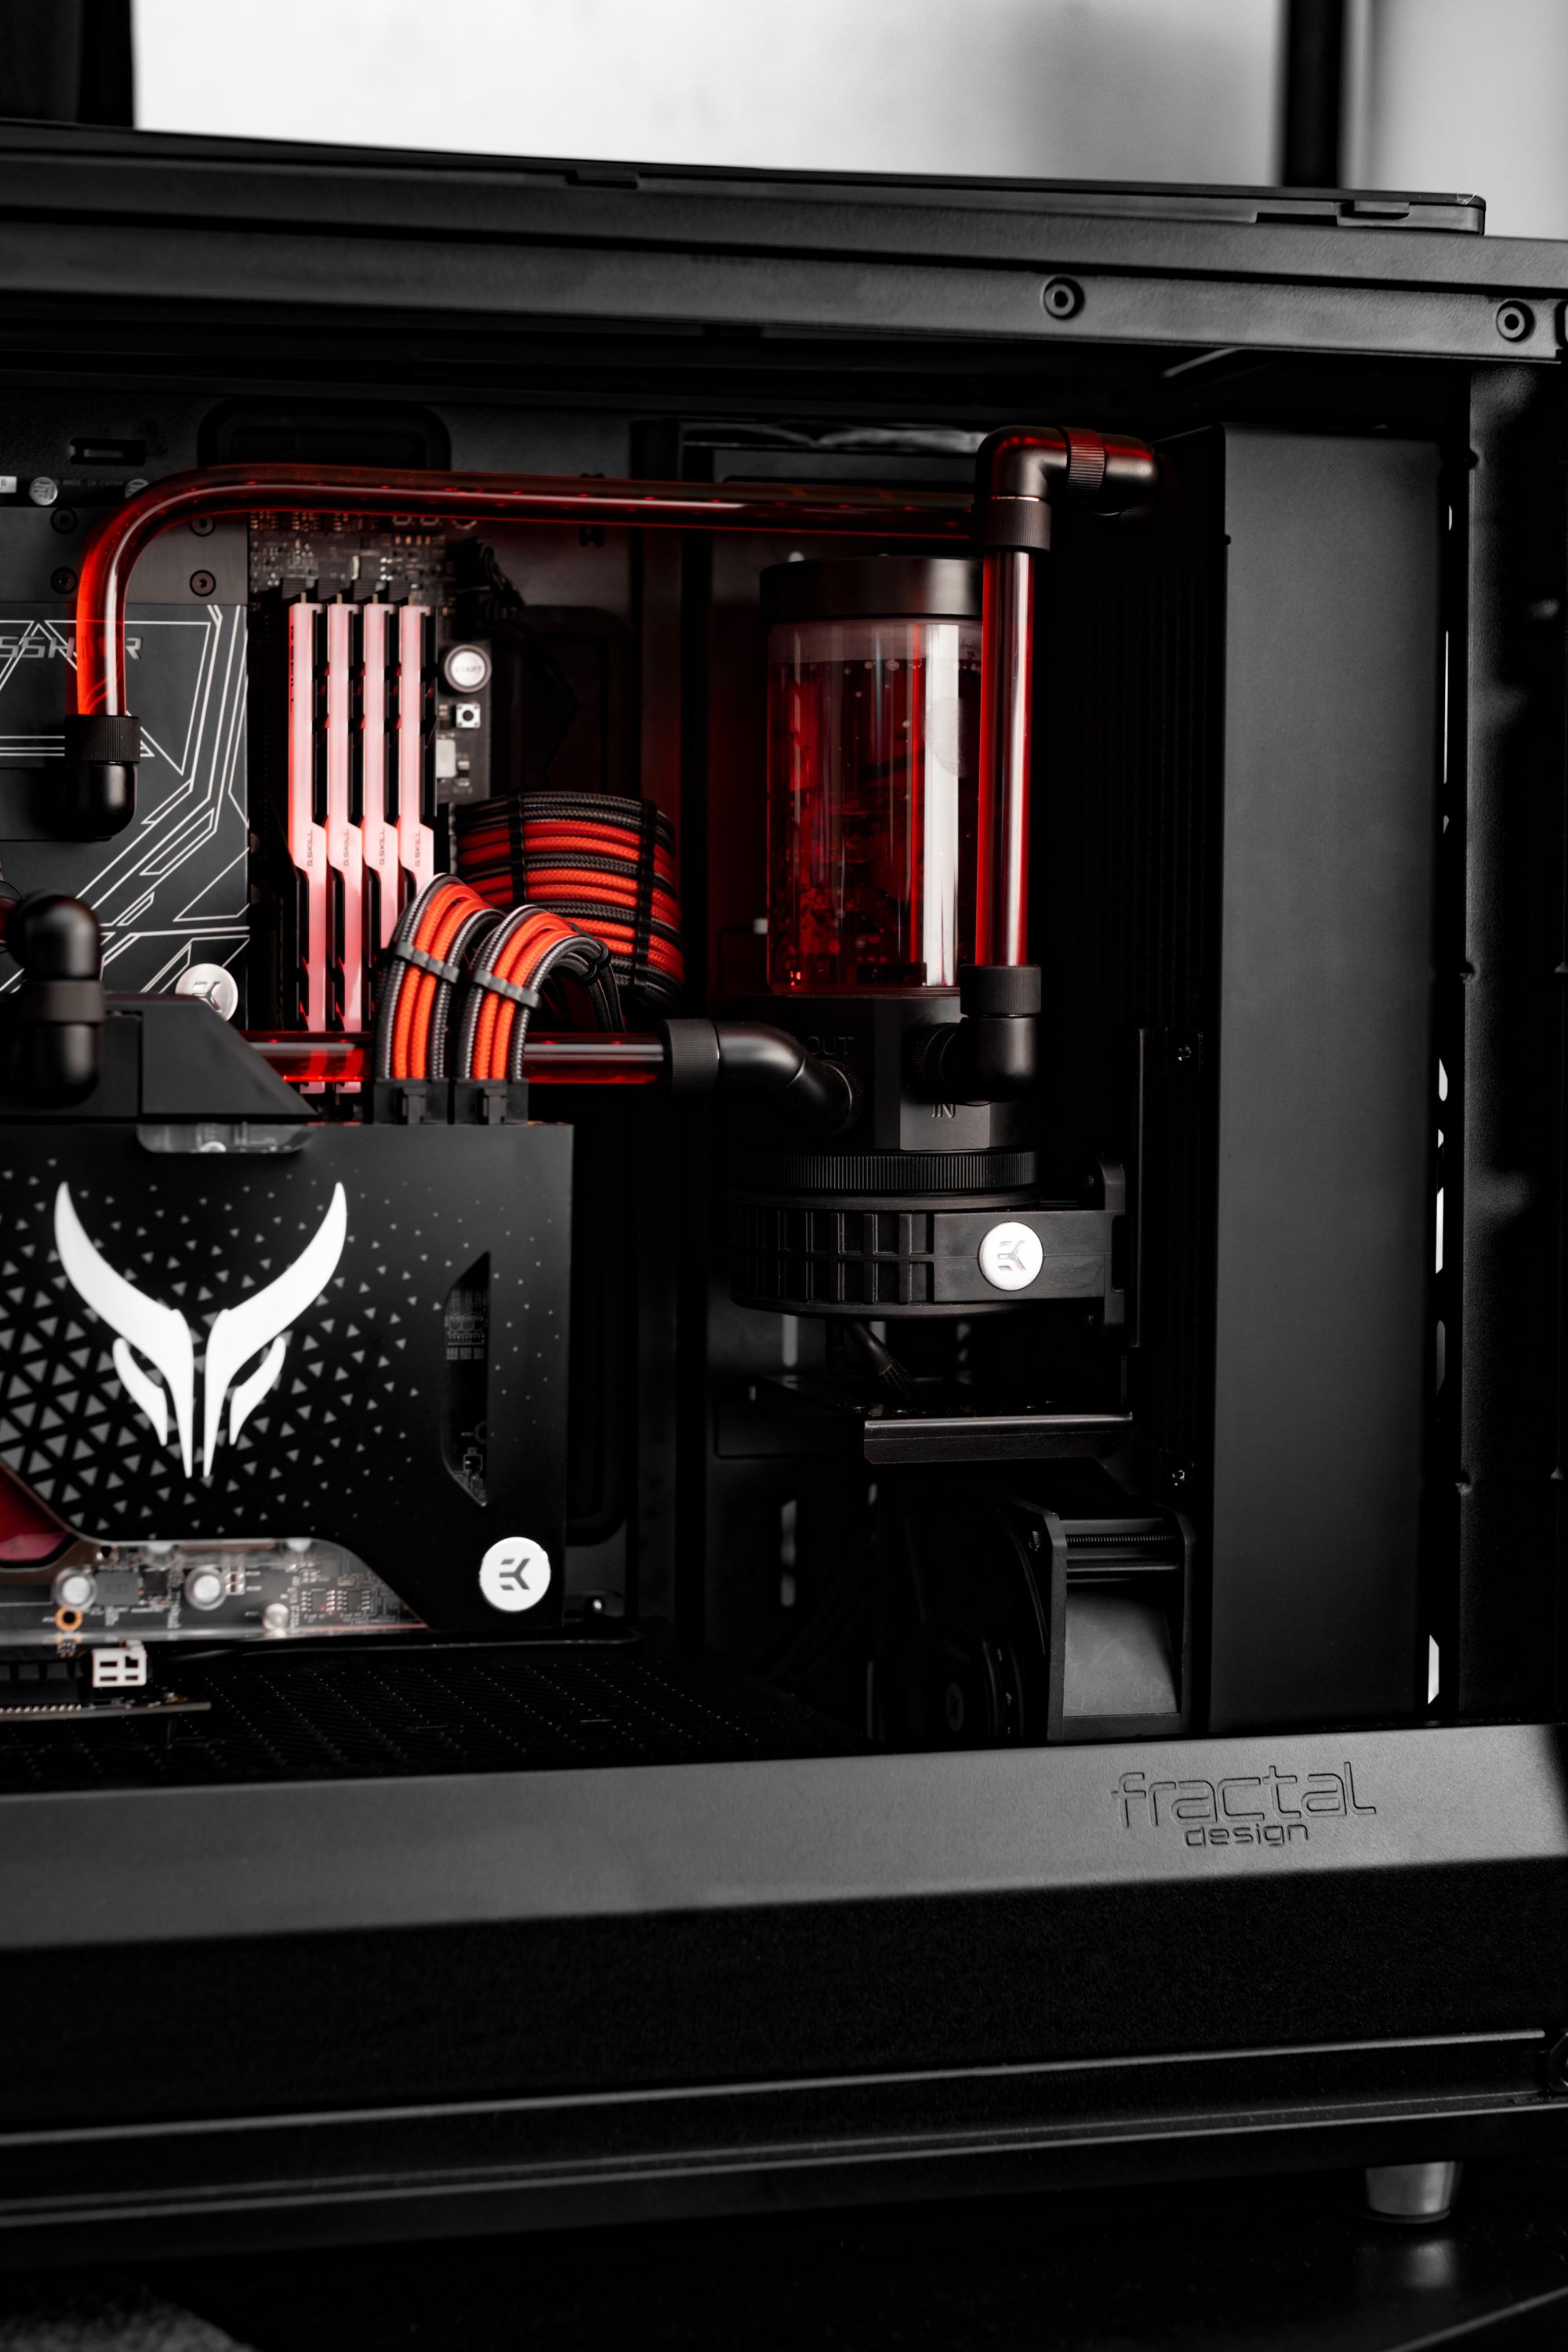
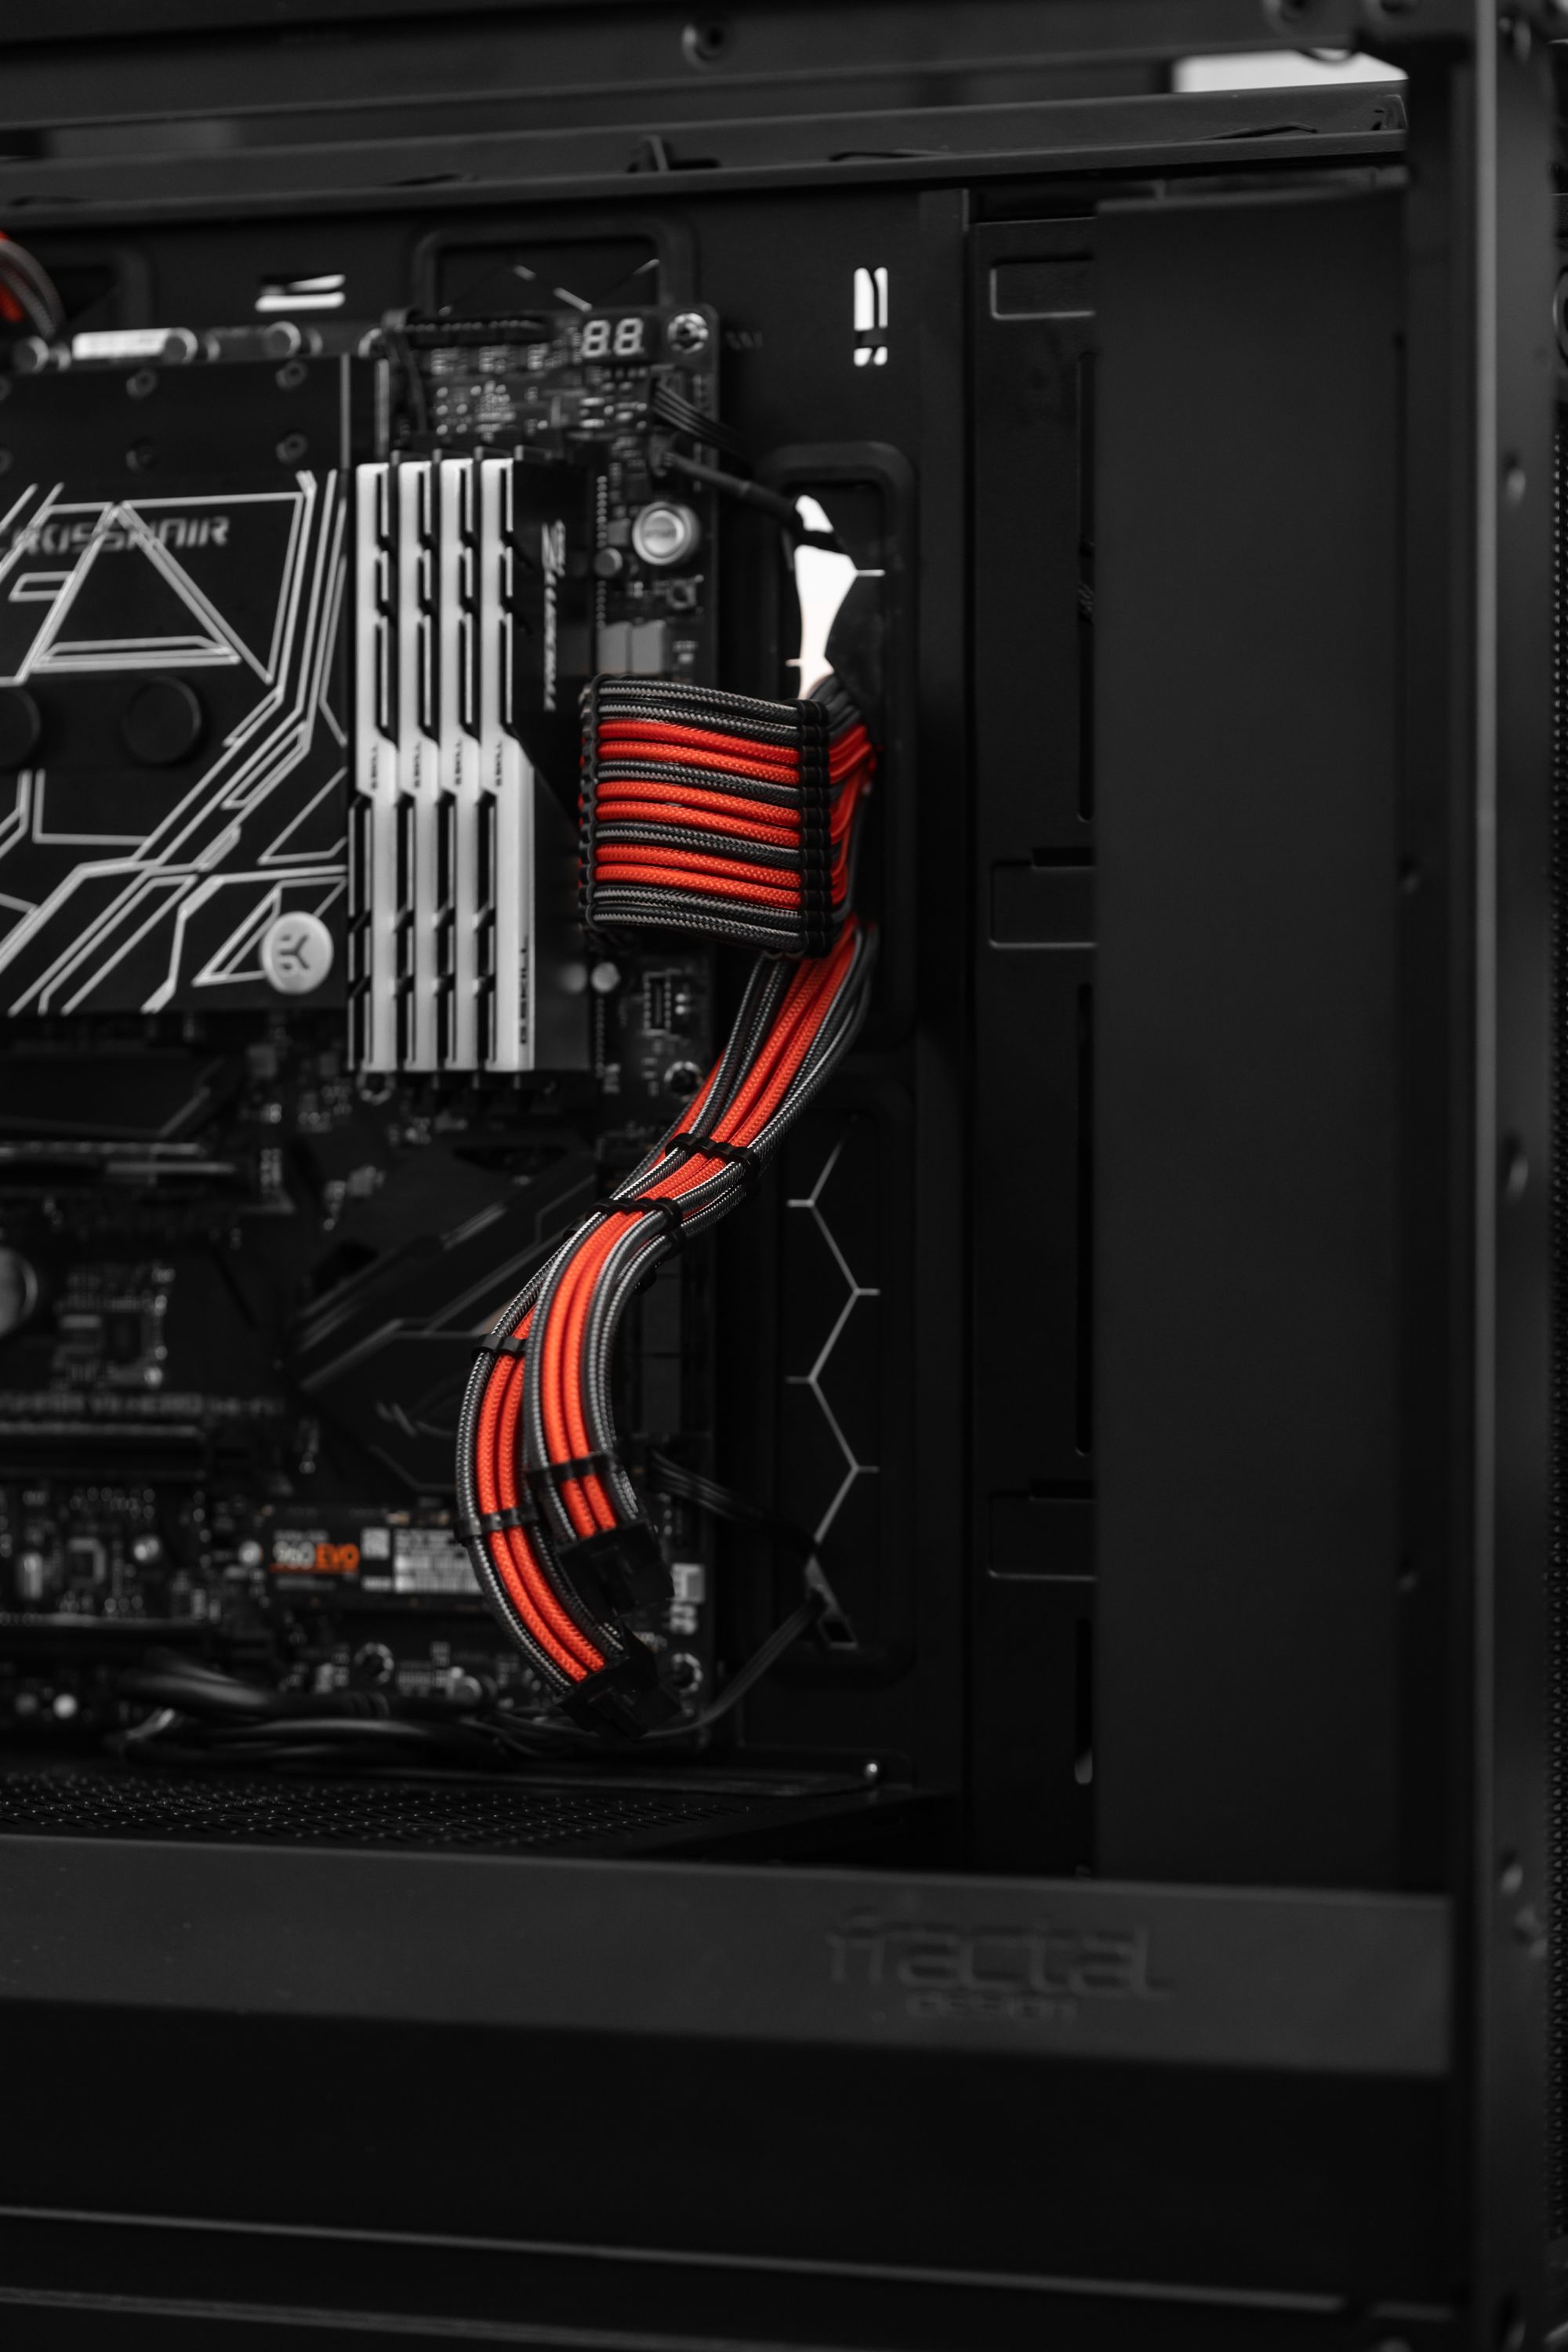
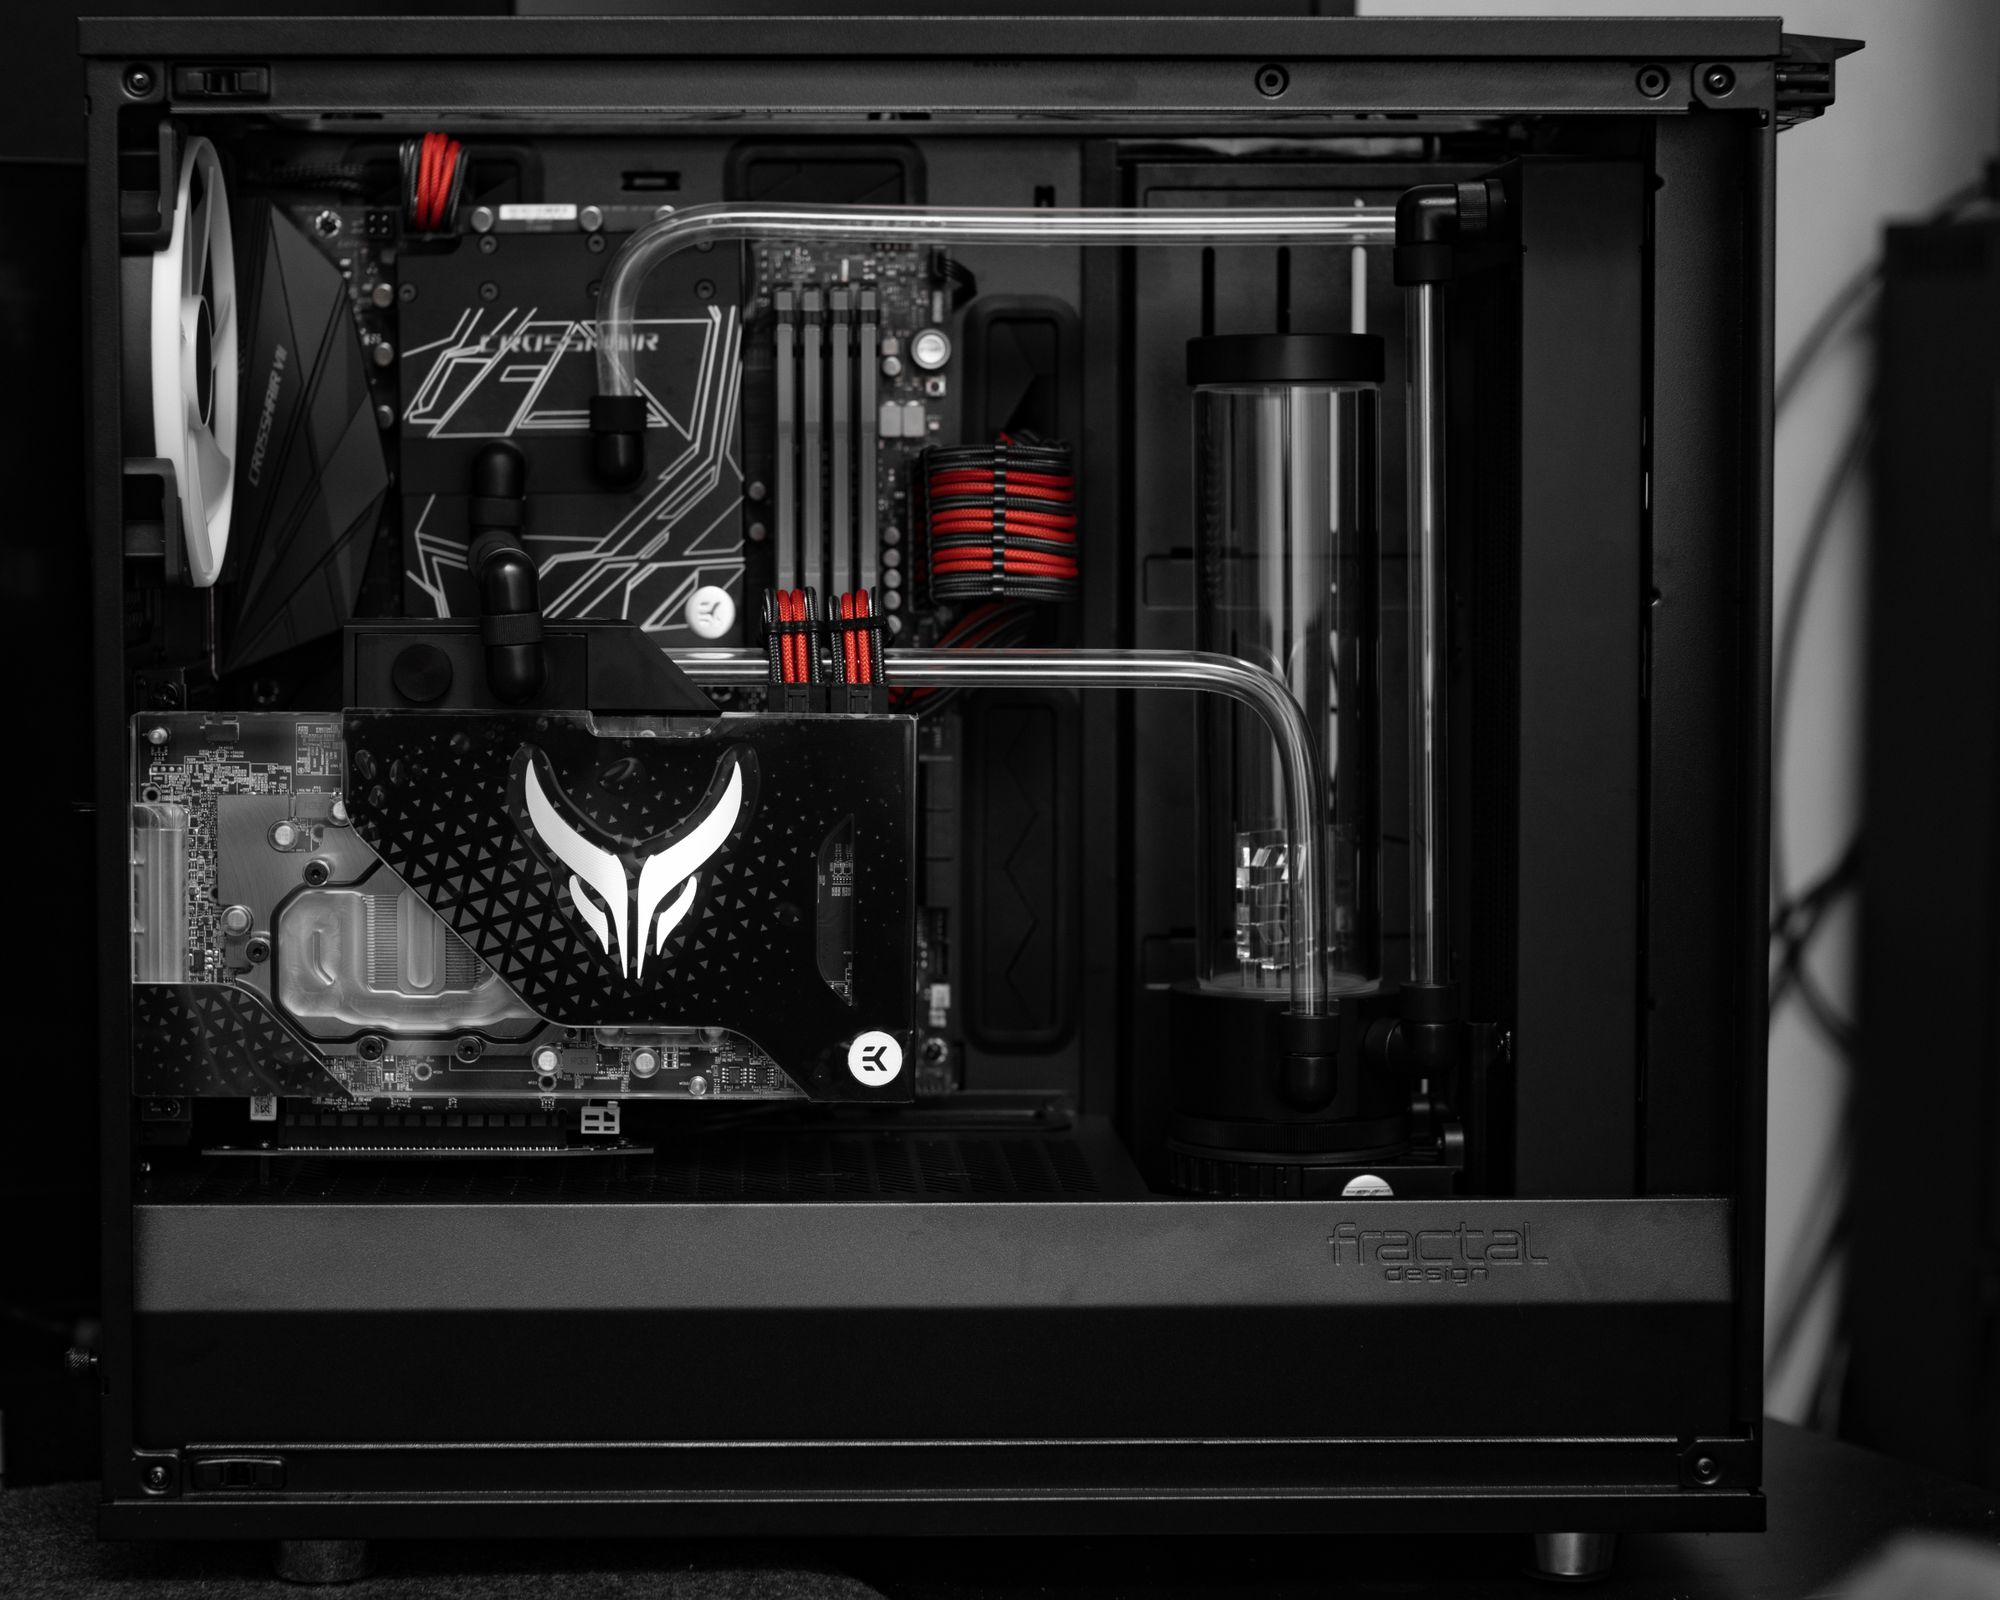
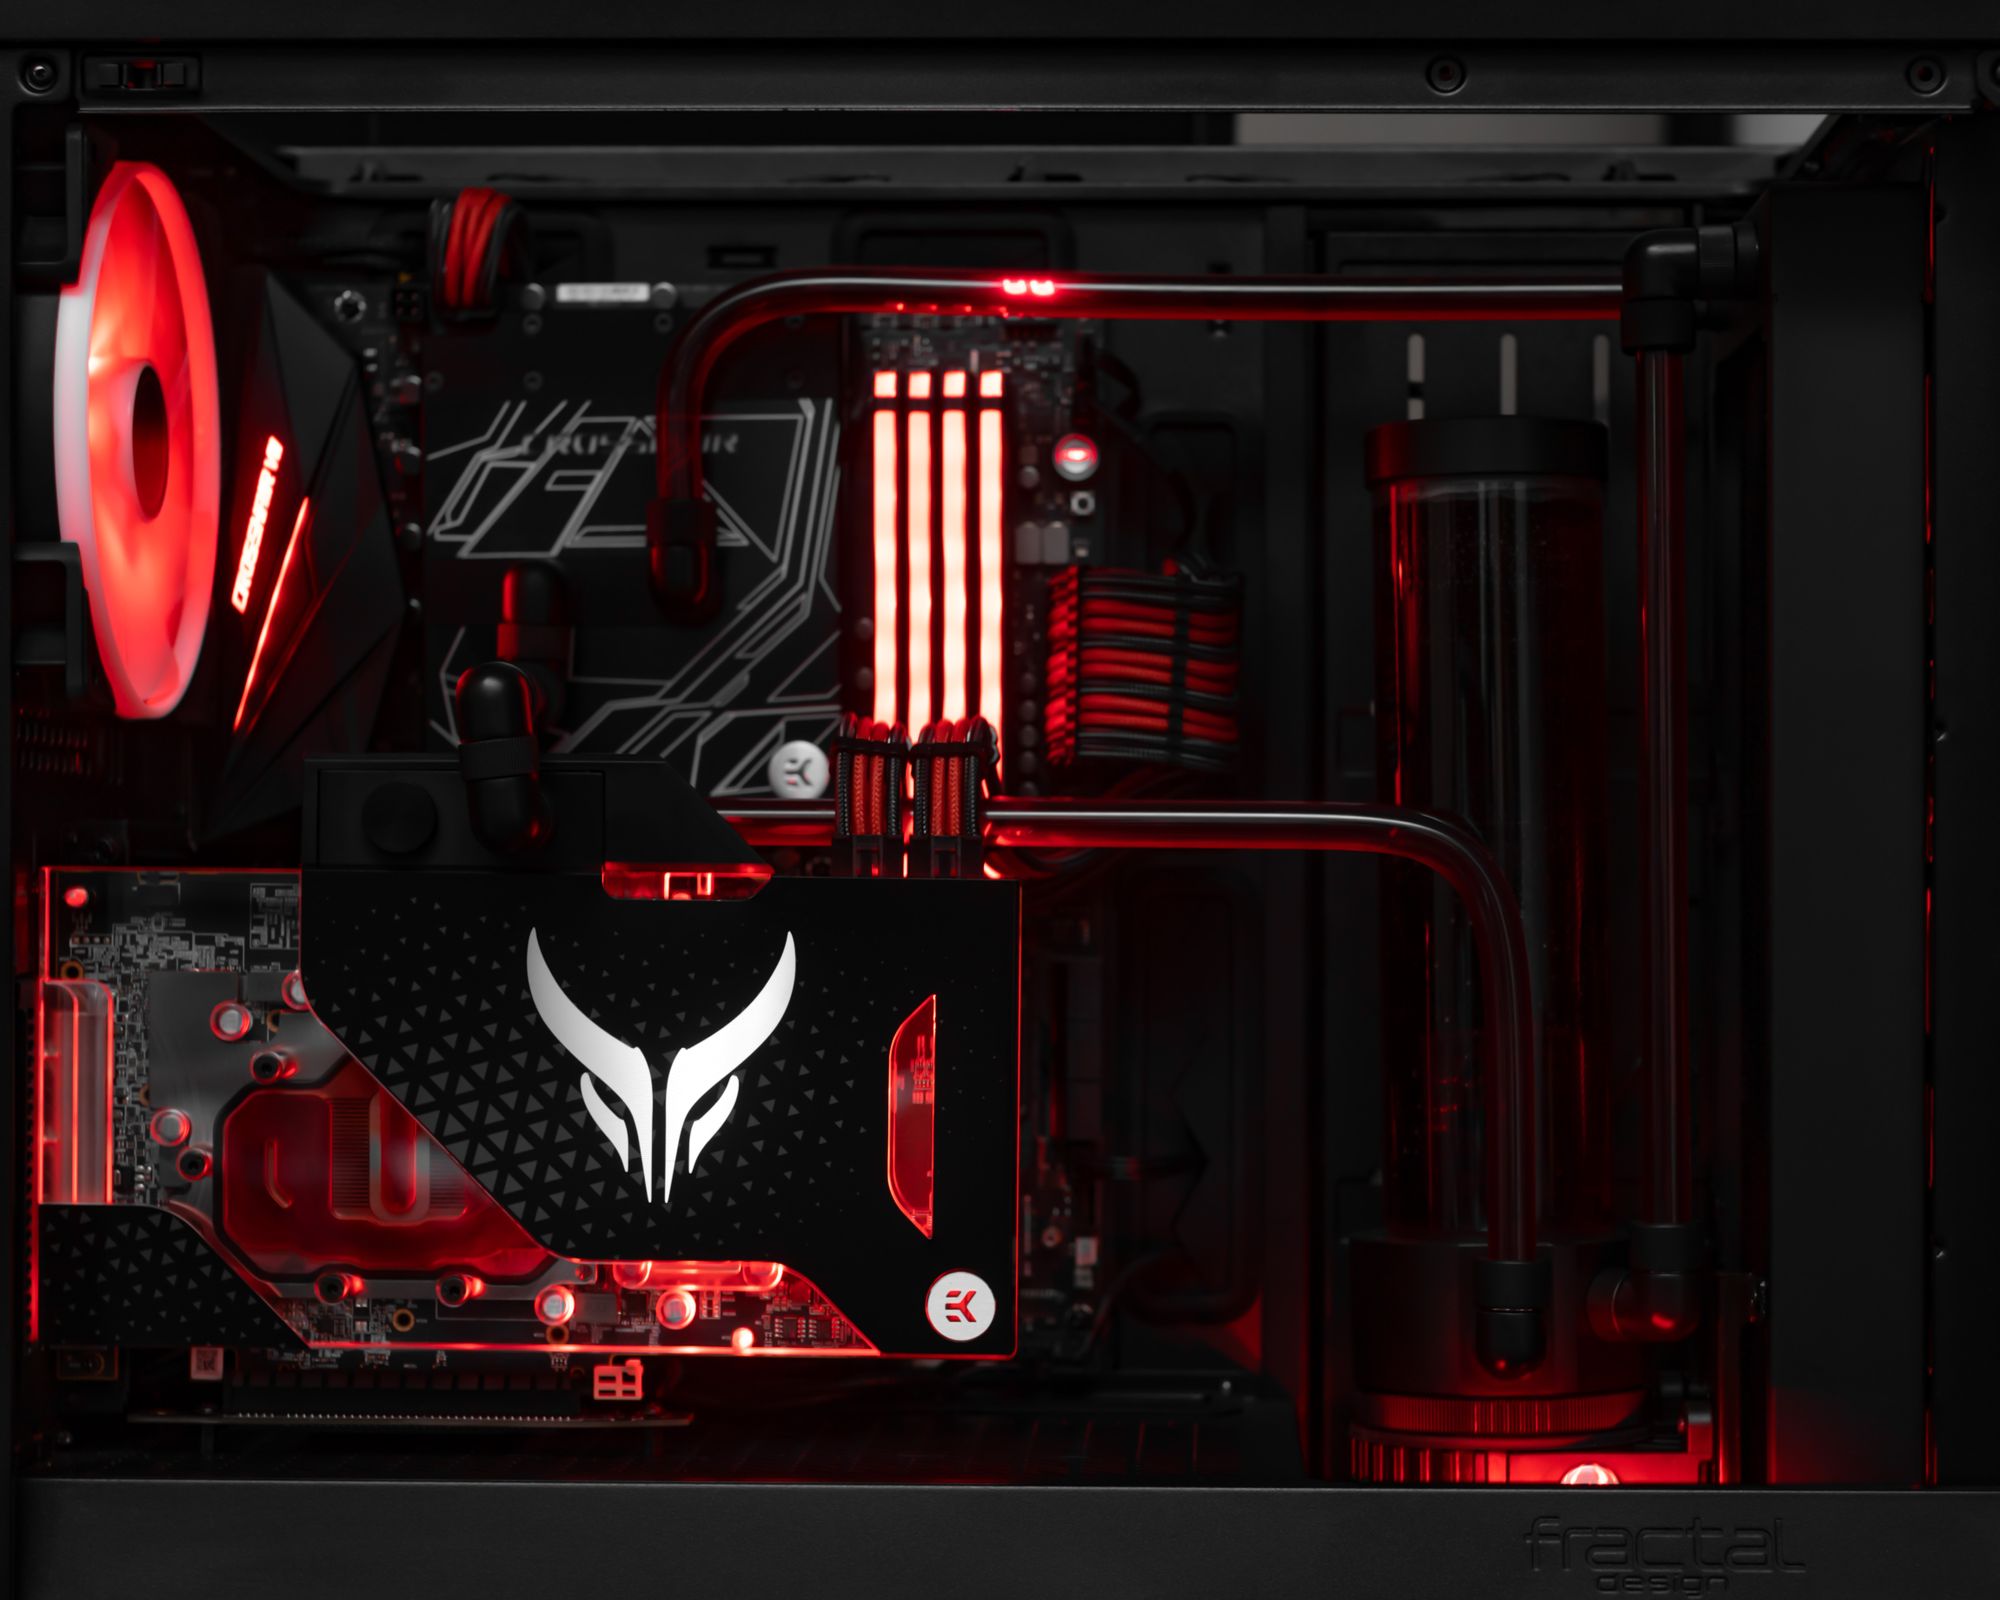
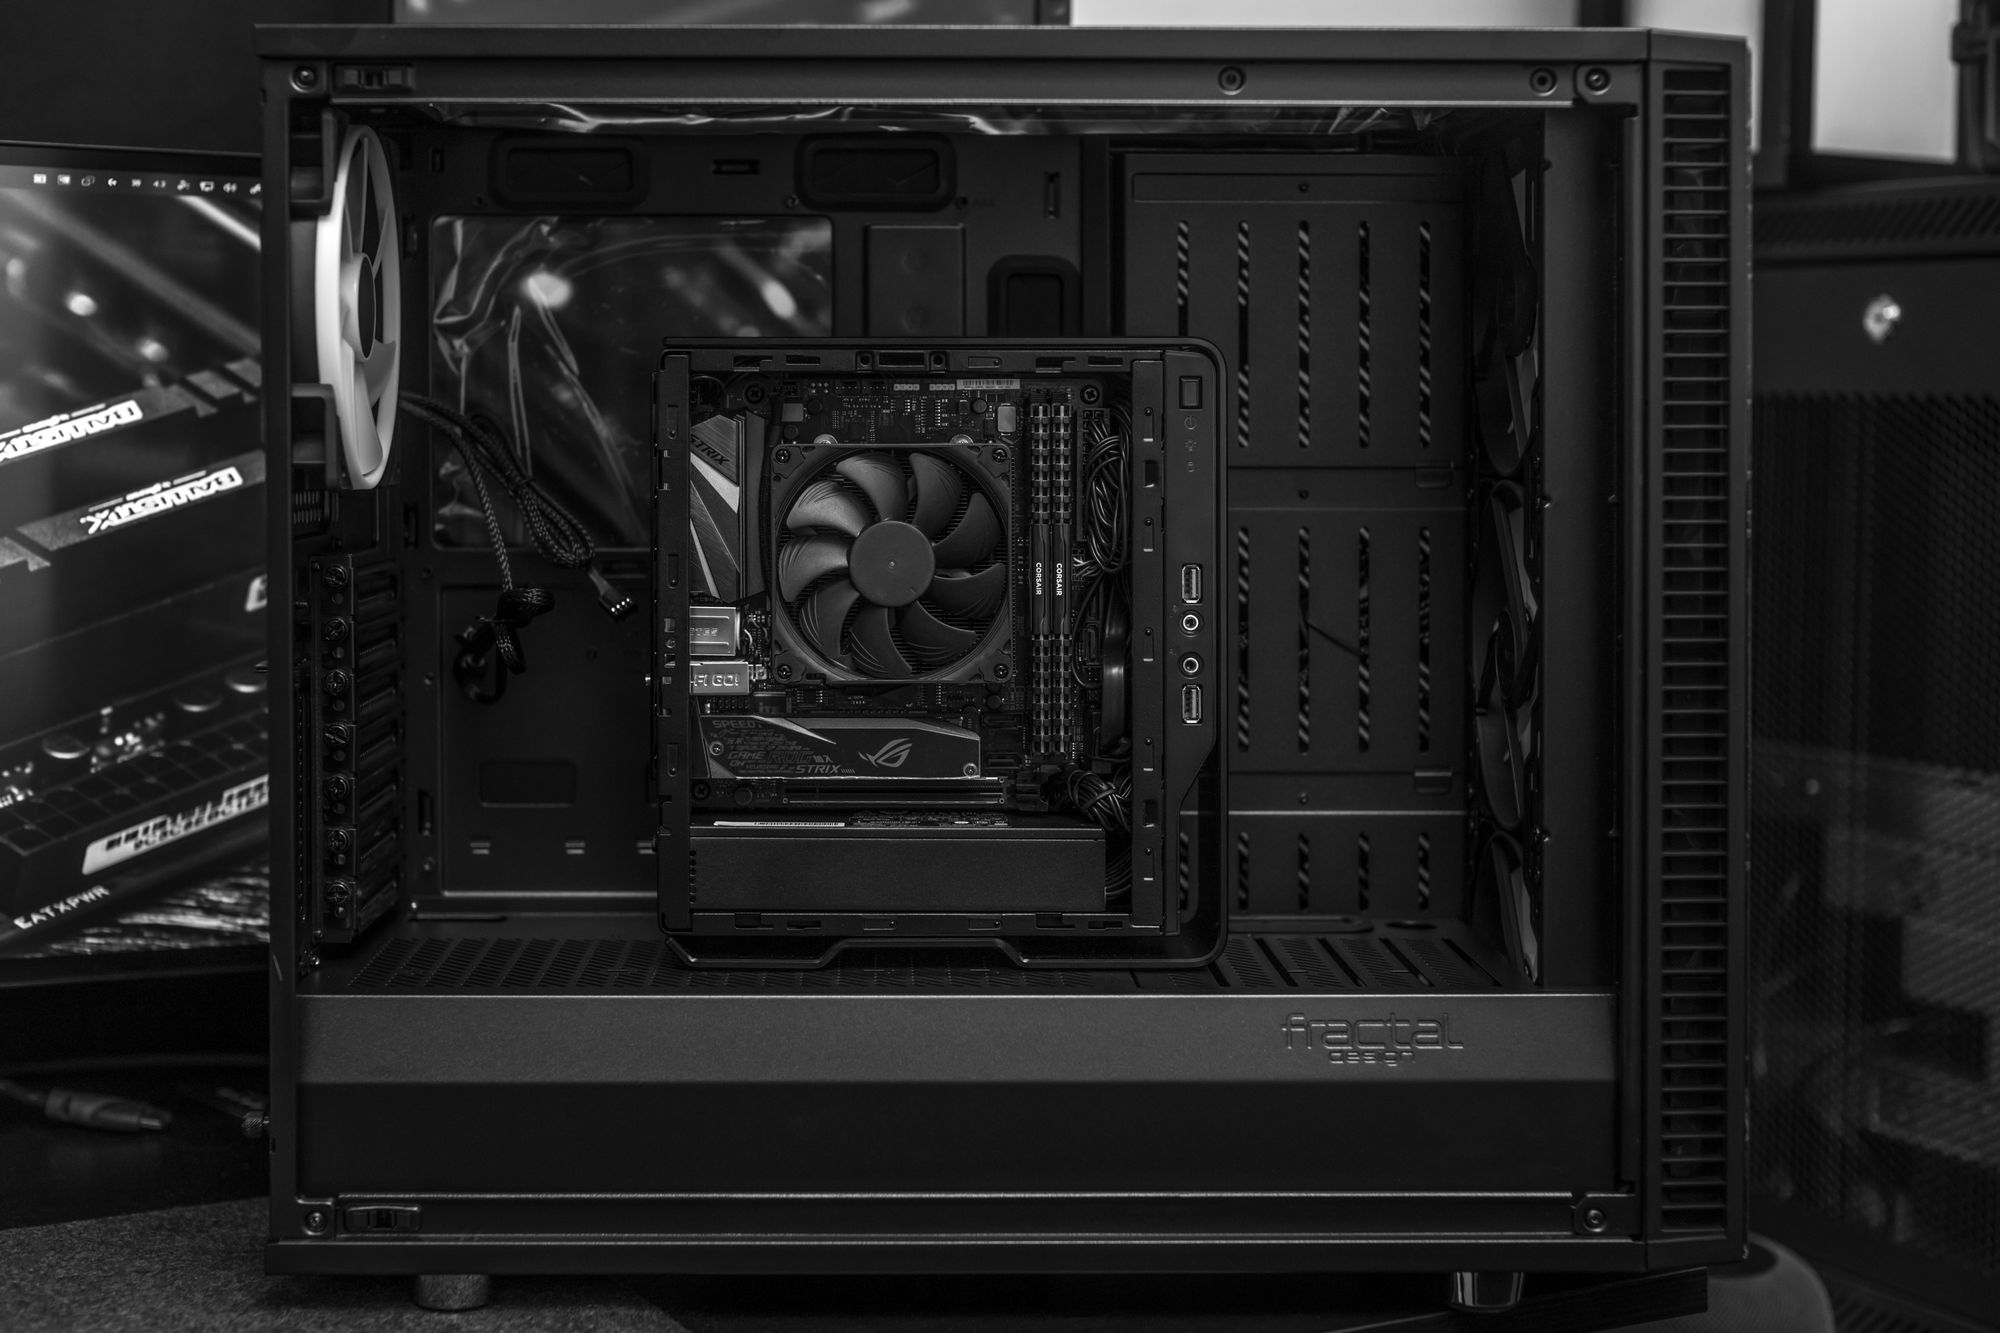
Fractal Define S2 Vision RGB
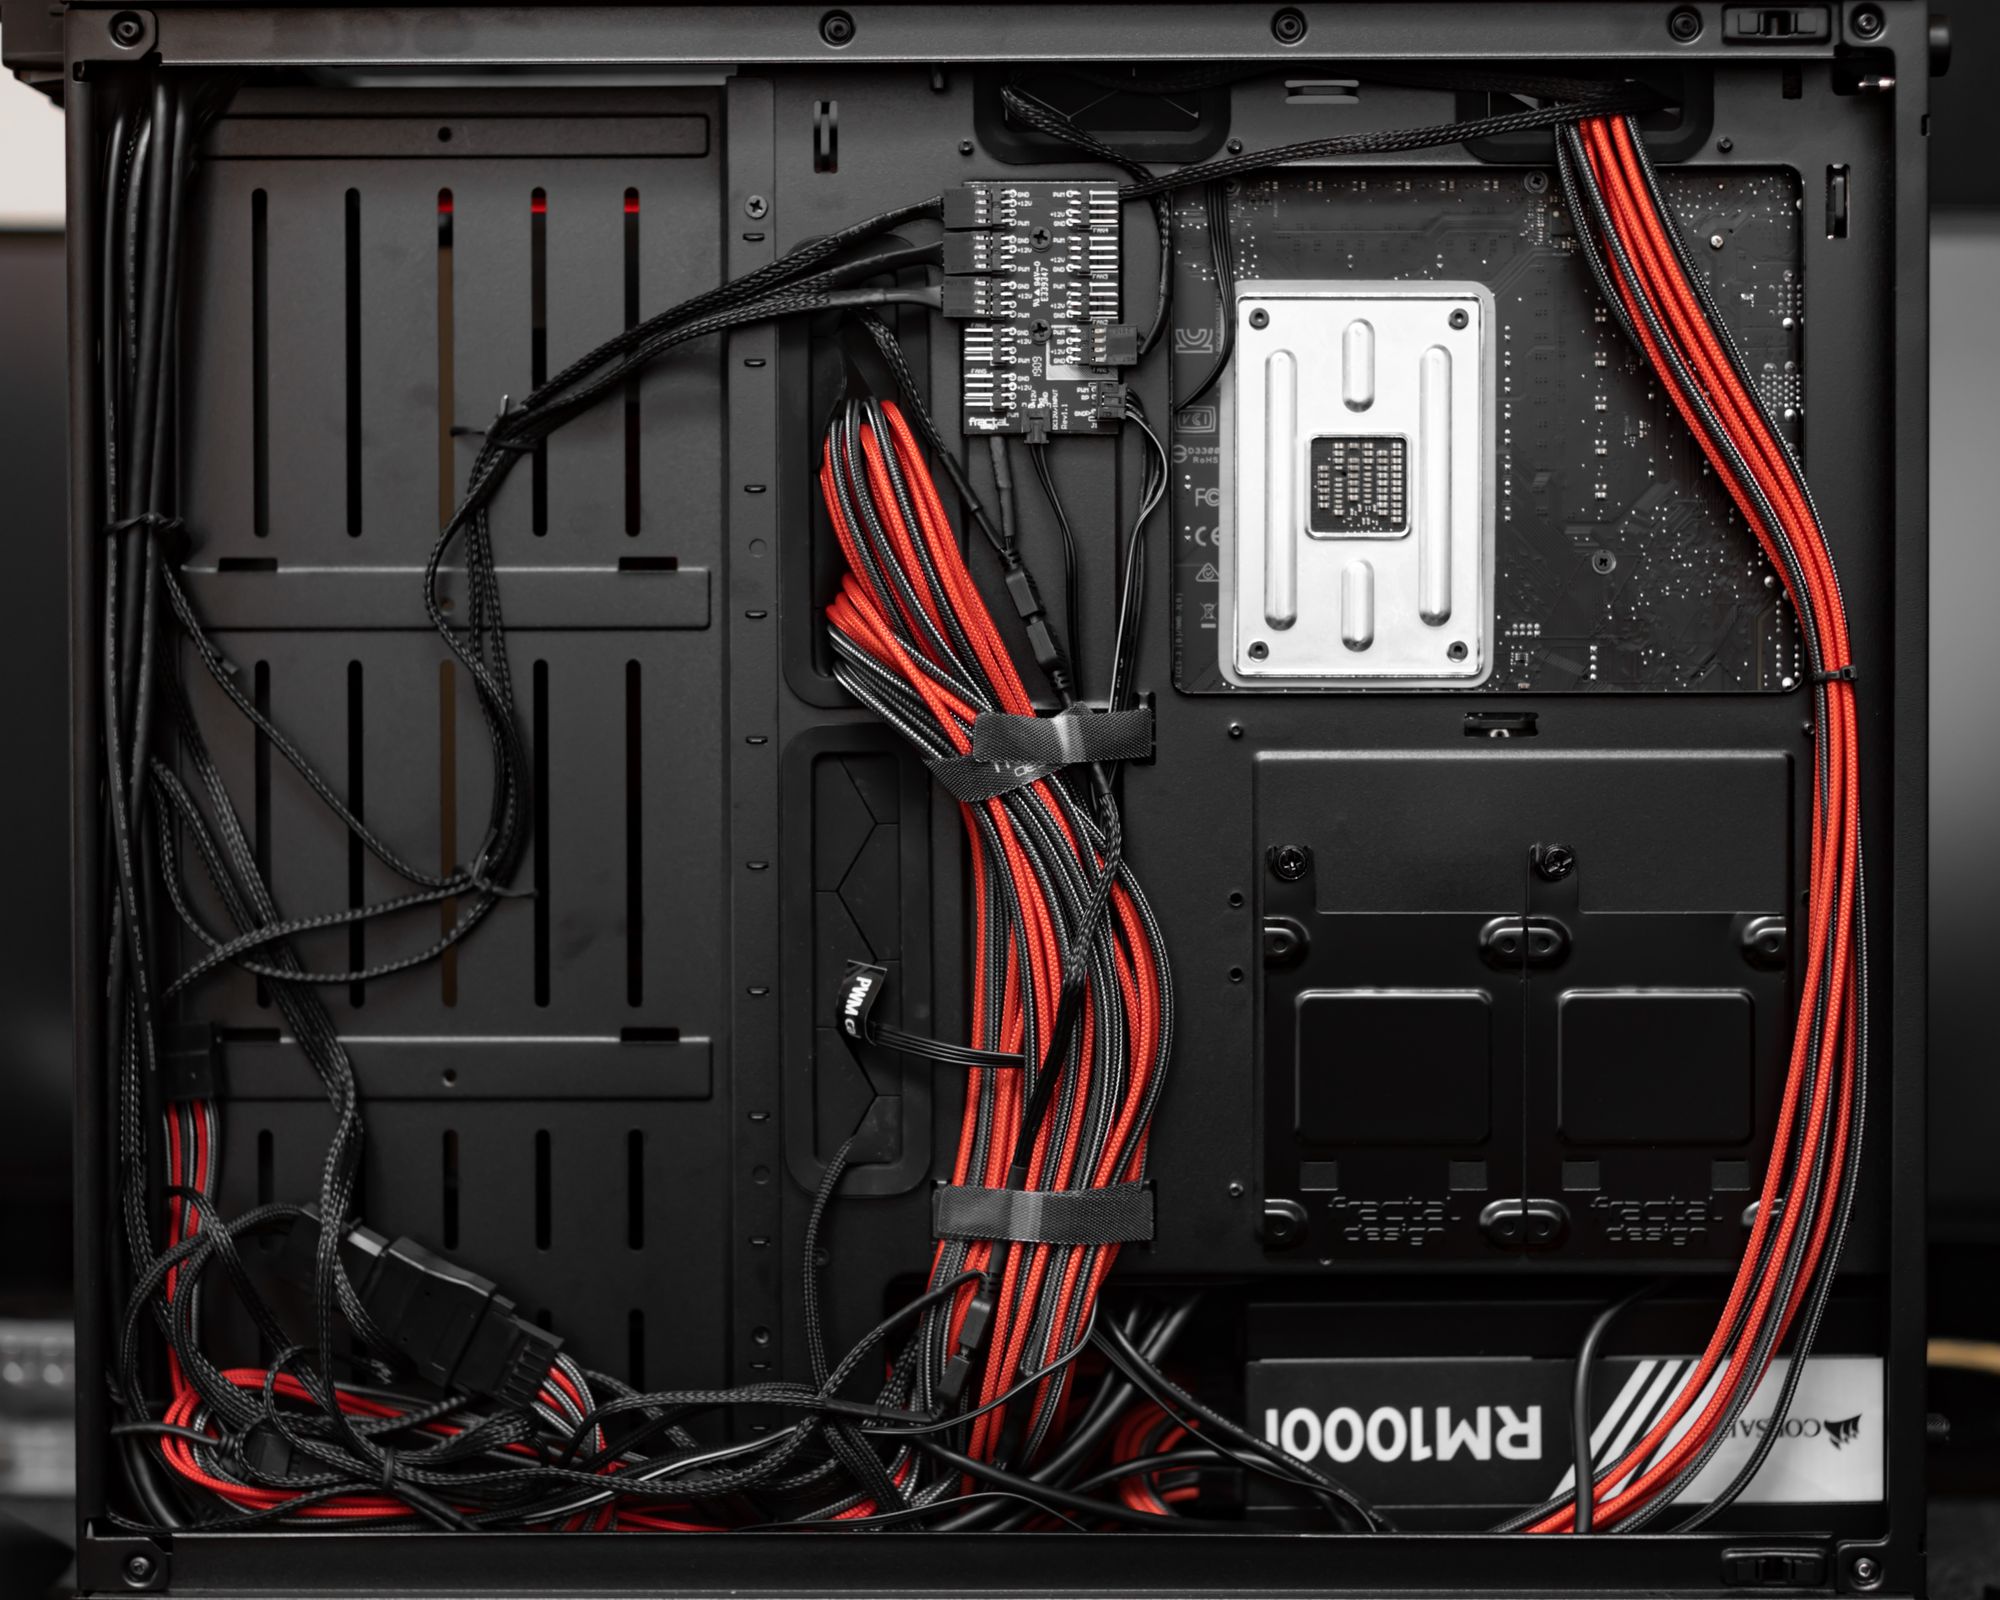
Corsair RM1000i 1000 Watt Gold Modular Power Supply
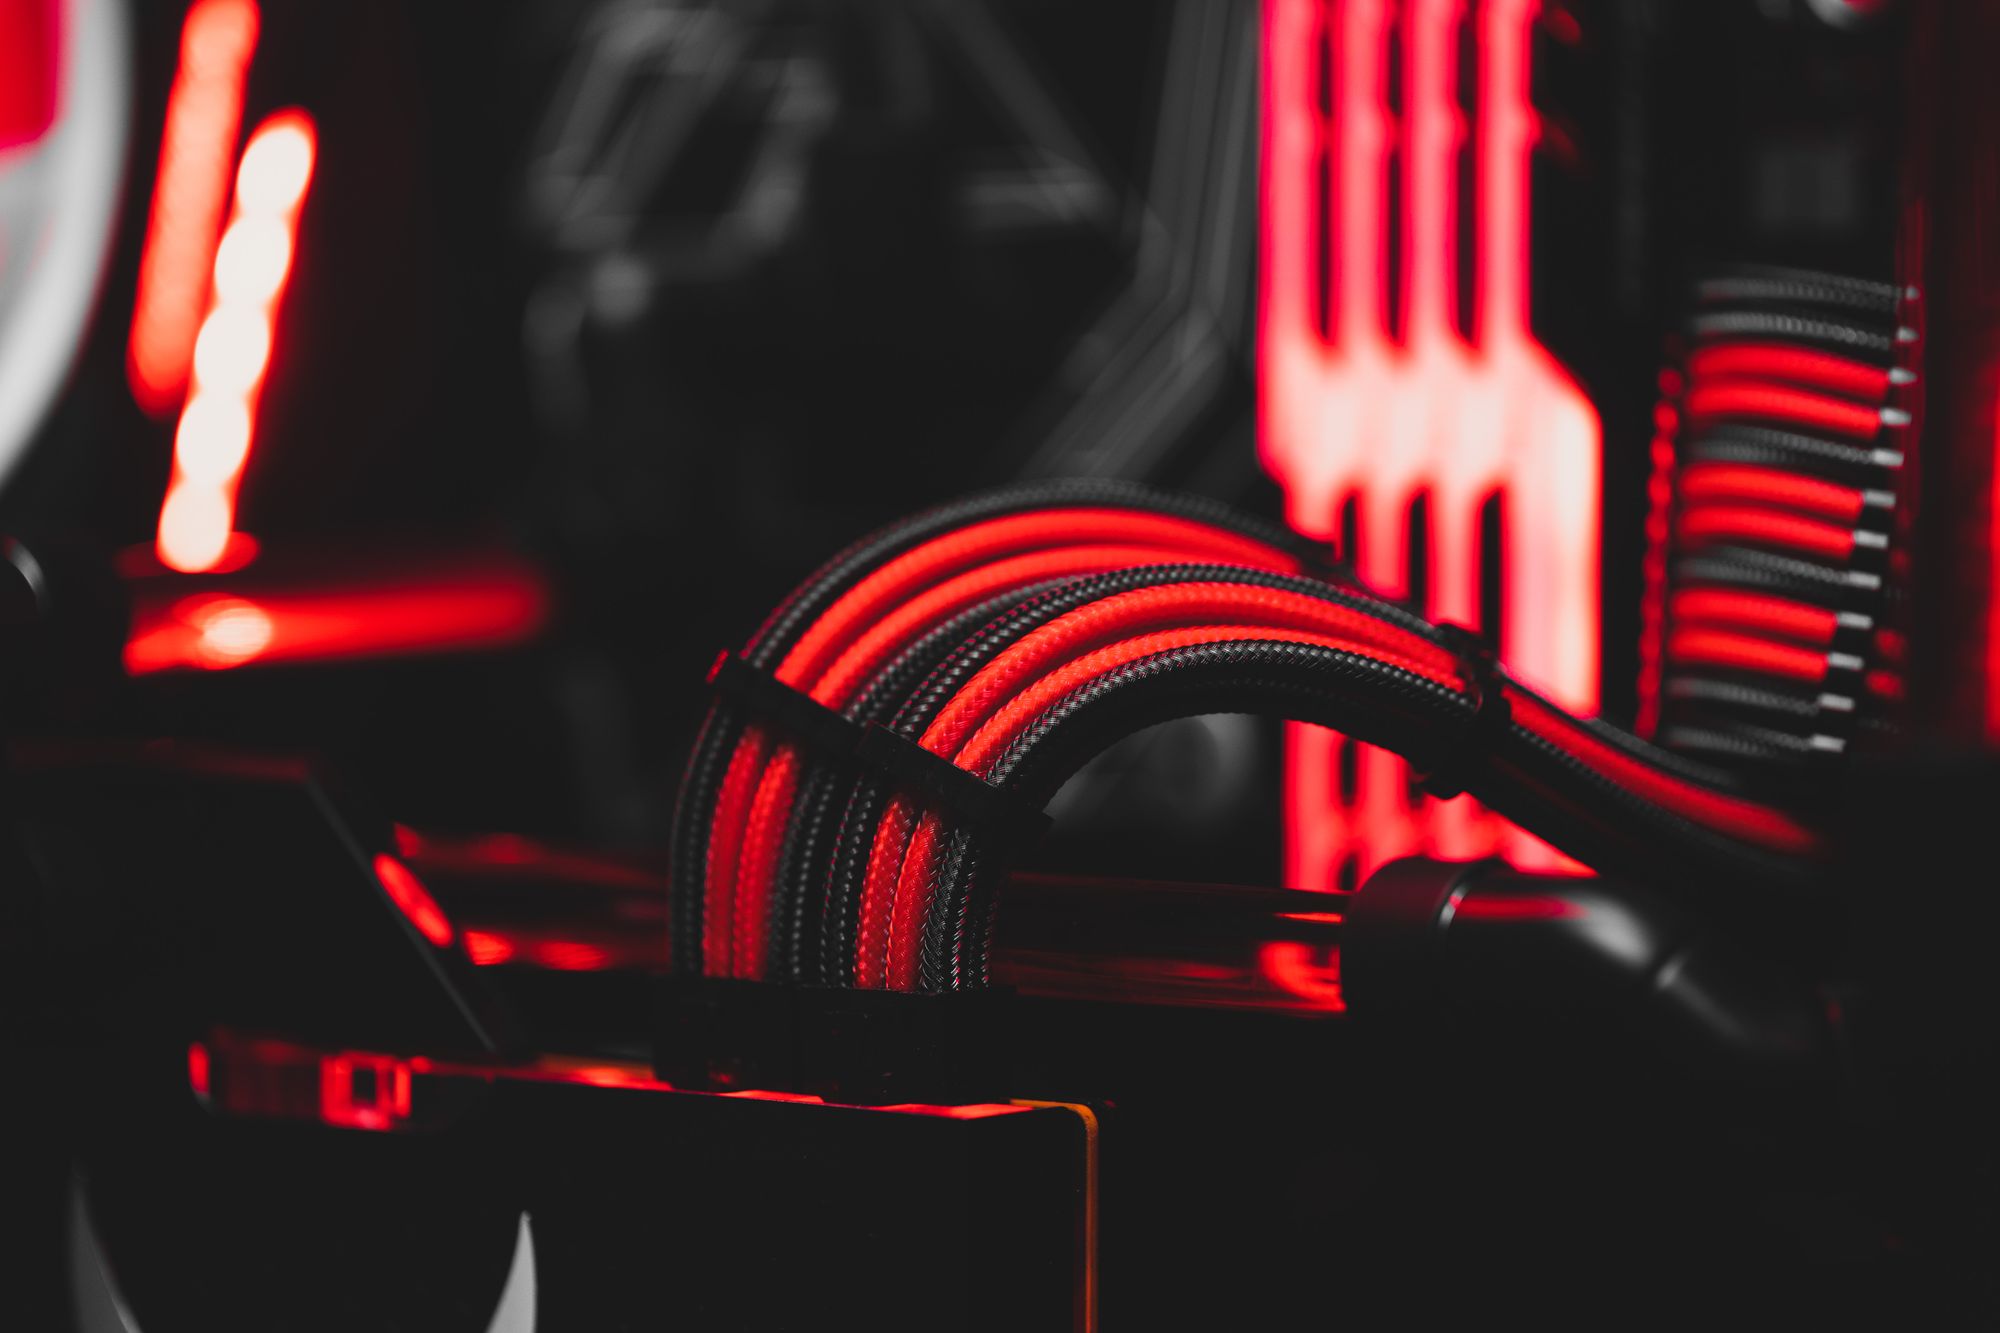
CableMod PRO ModMesh C-Series RM Cable Kit (Black/Blood Red)
Fractal Design Flex VRC-25 - PCI-E Riser
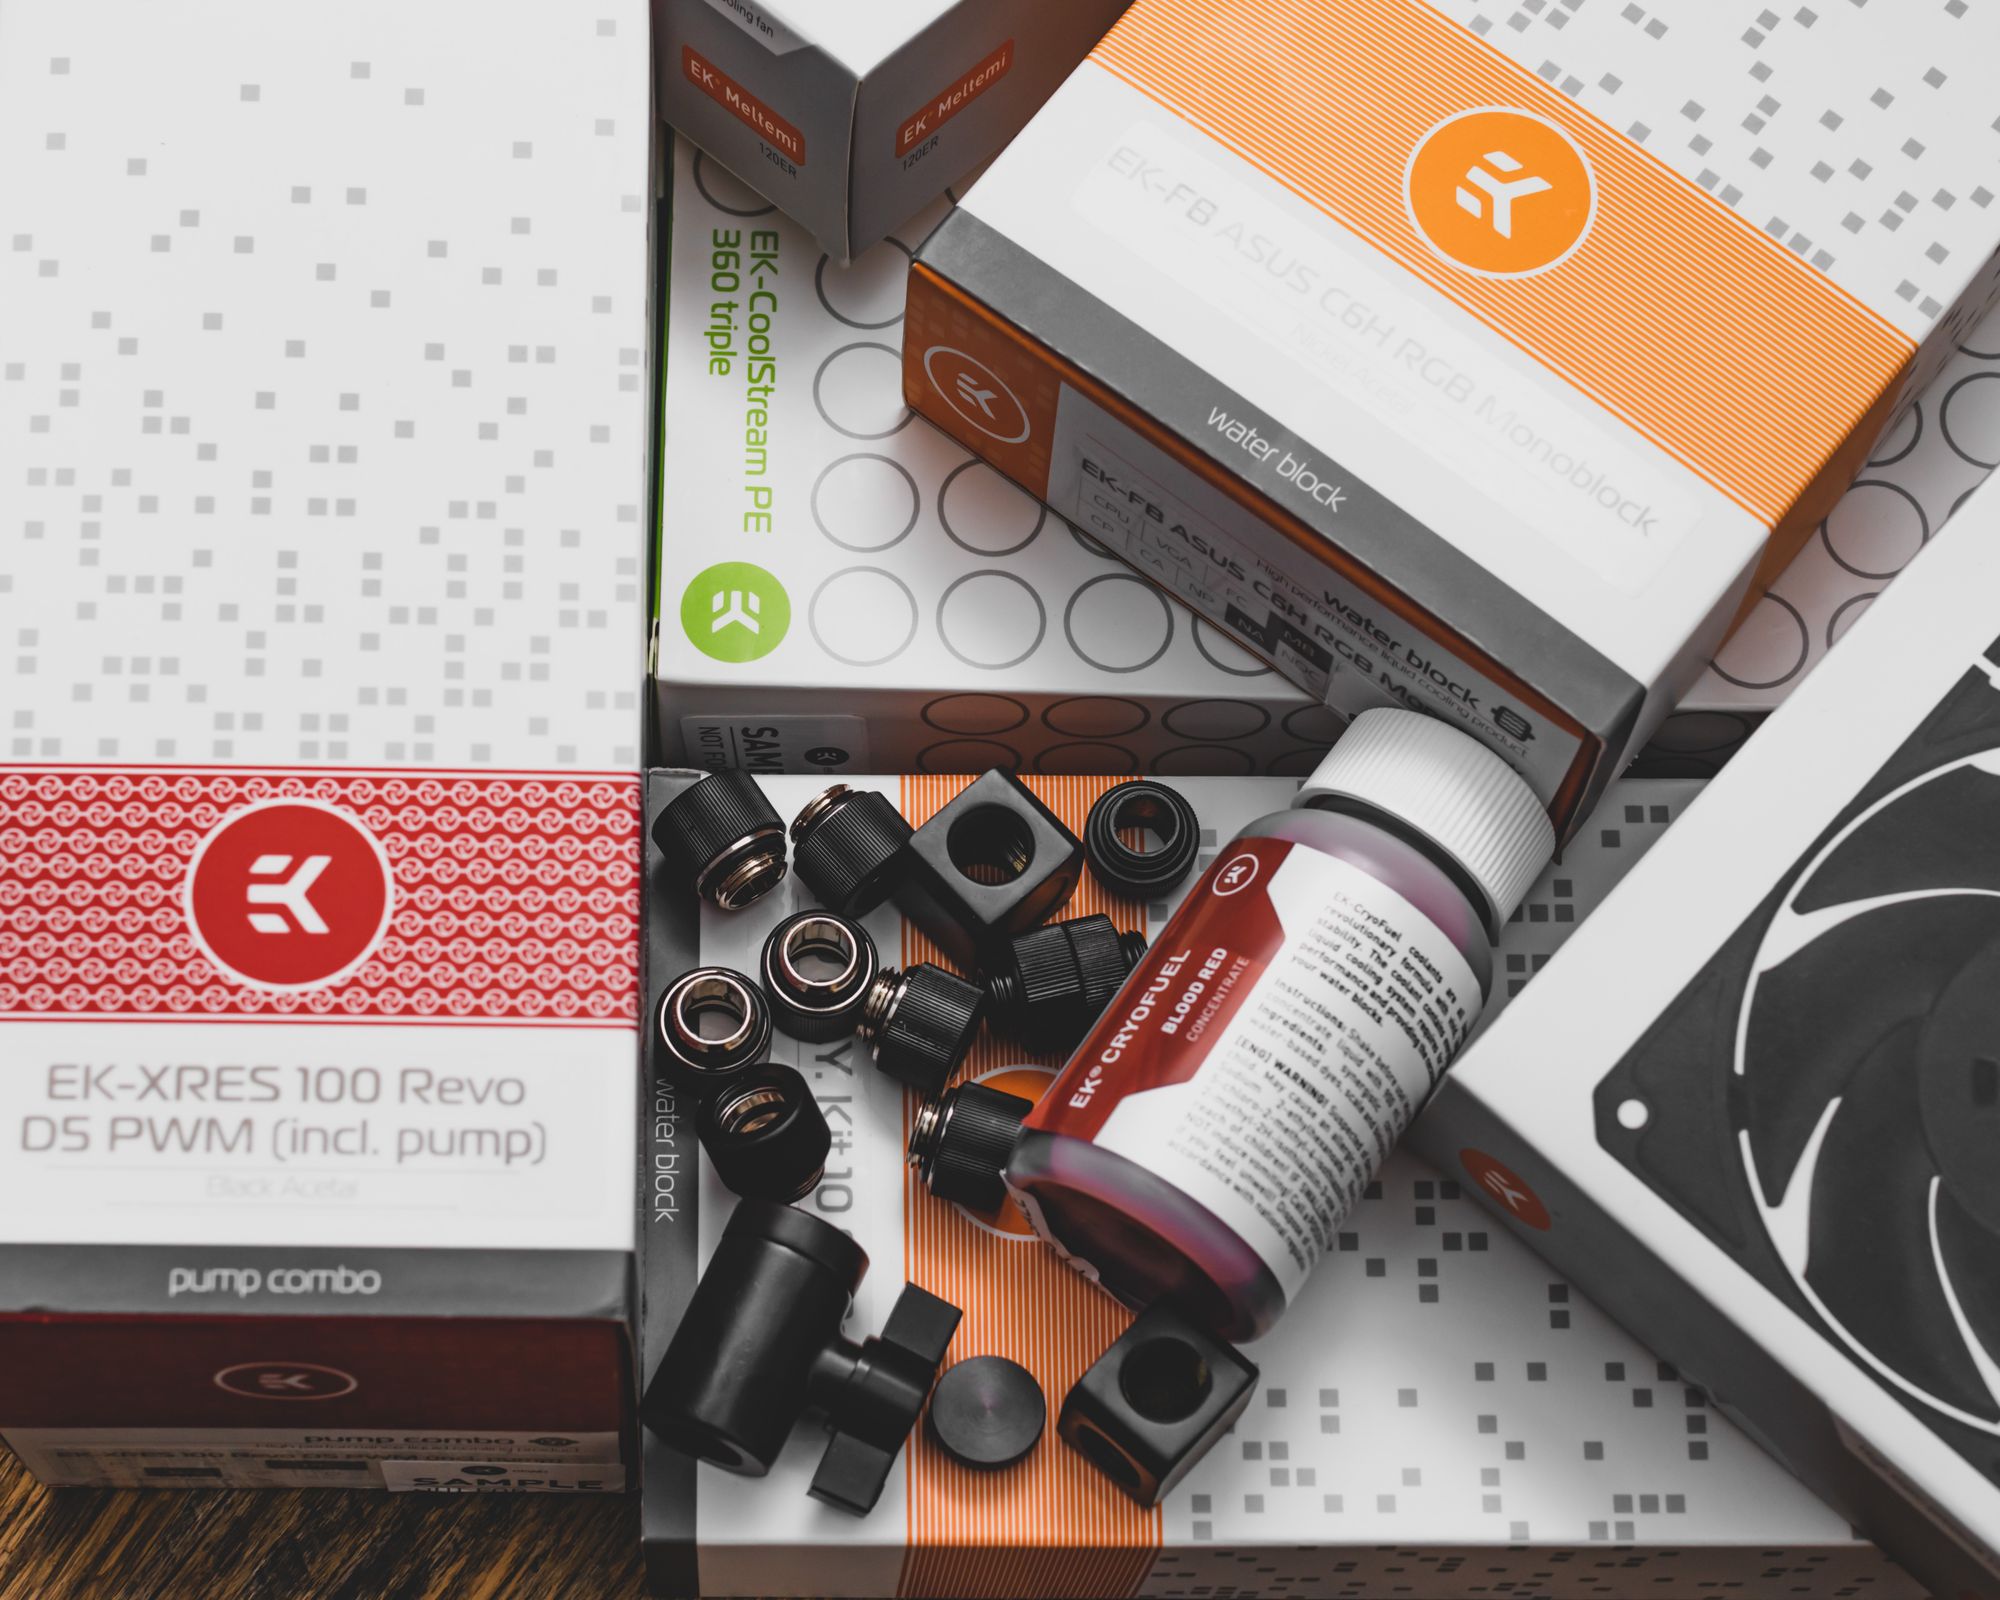
Custom Loop Parts (Most Provided by EK)
EK-XRES 100 Revo D5 PWM (incl. pump)
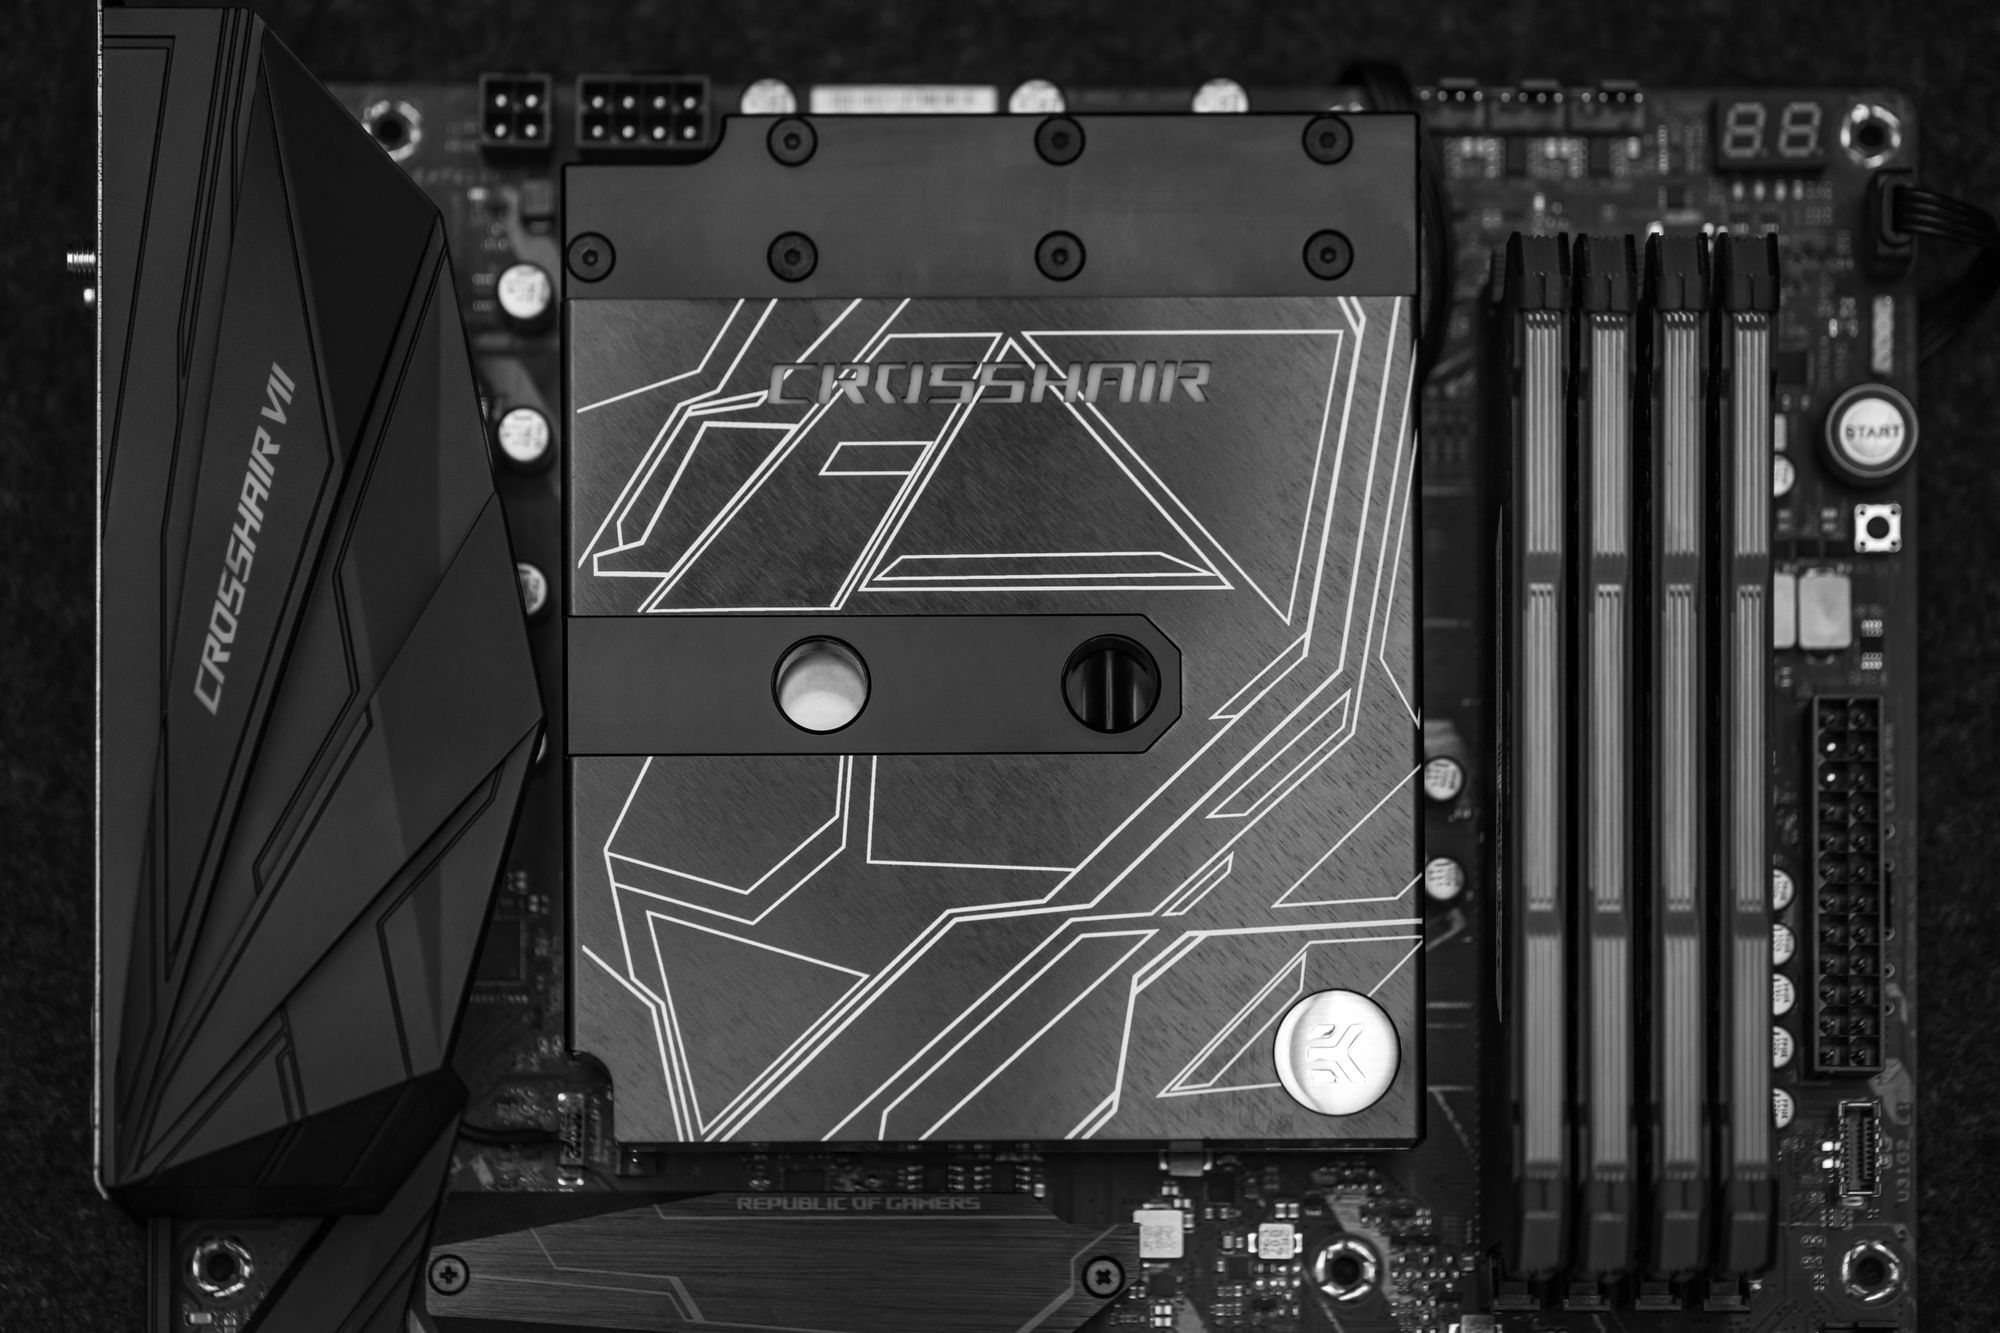
EK-FB ASUS C6H RGB Monoblock - Acetal+Nickel
EK-CoolStream PE 360 (Triple)
EK-HD Tube 10/12mm 500mm (4x)
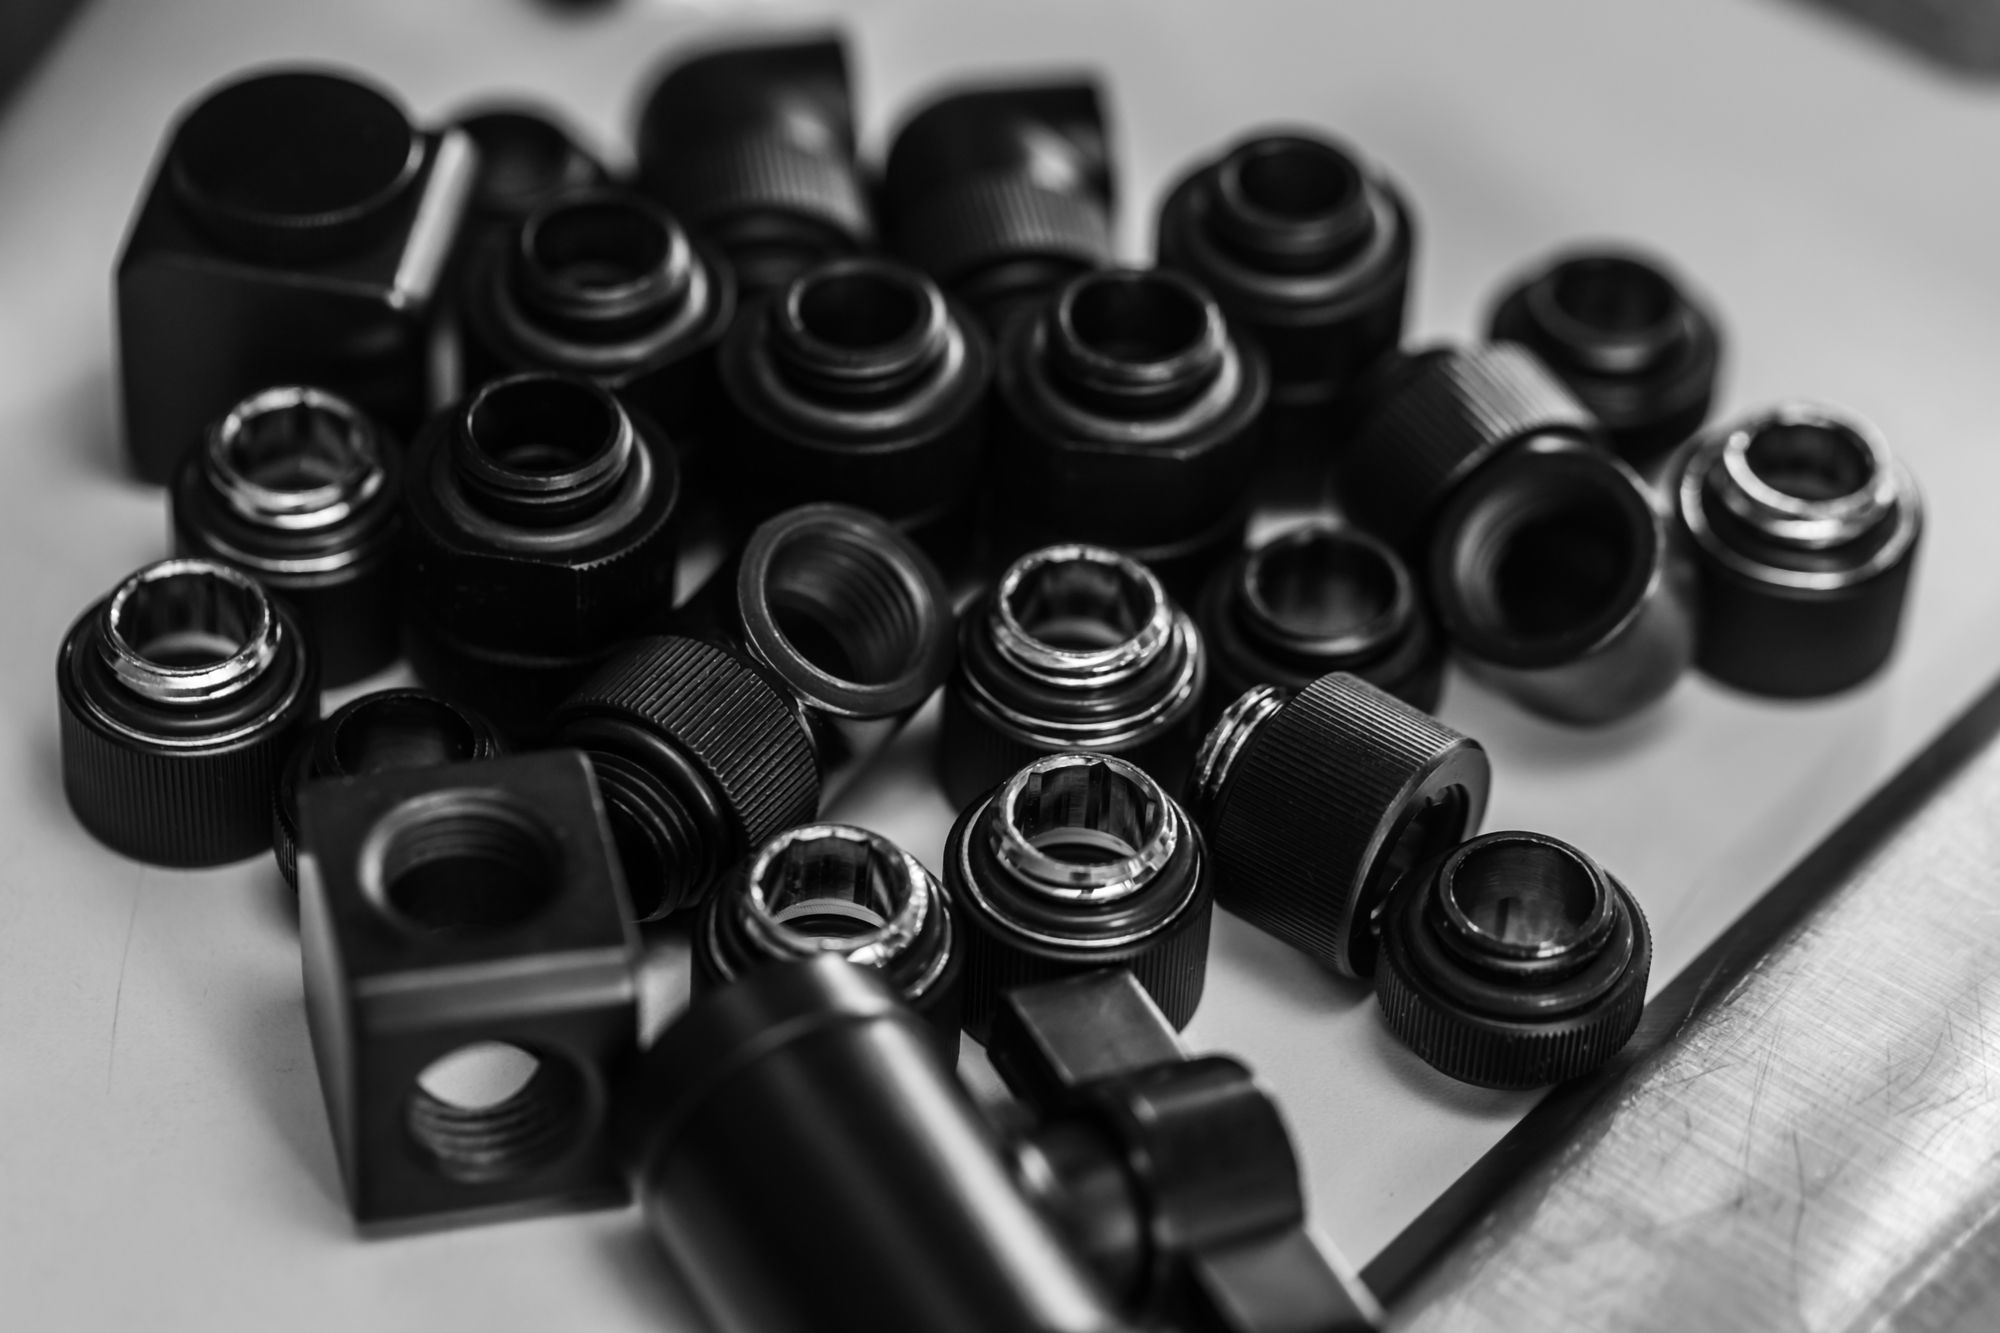
EK-HTC Classic 12mm – Black (9x)
EK-AF T-Splitter 3F G1/4 - Black
EKWB EK-AF G1/4" 6mm Male to Male Extender Fitting, Black (2x)
EKWB EK-AF G1/4" 90° Angled Fitting, Black (8x)
EK-CSQ Plug G1/4 - Black
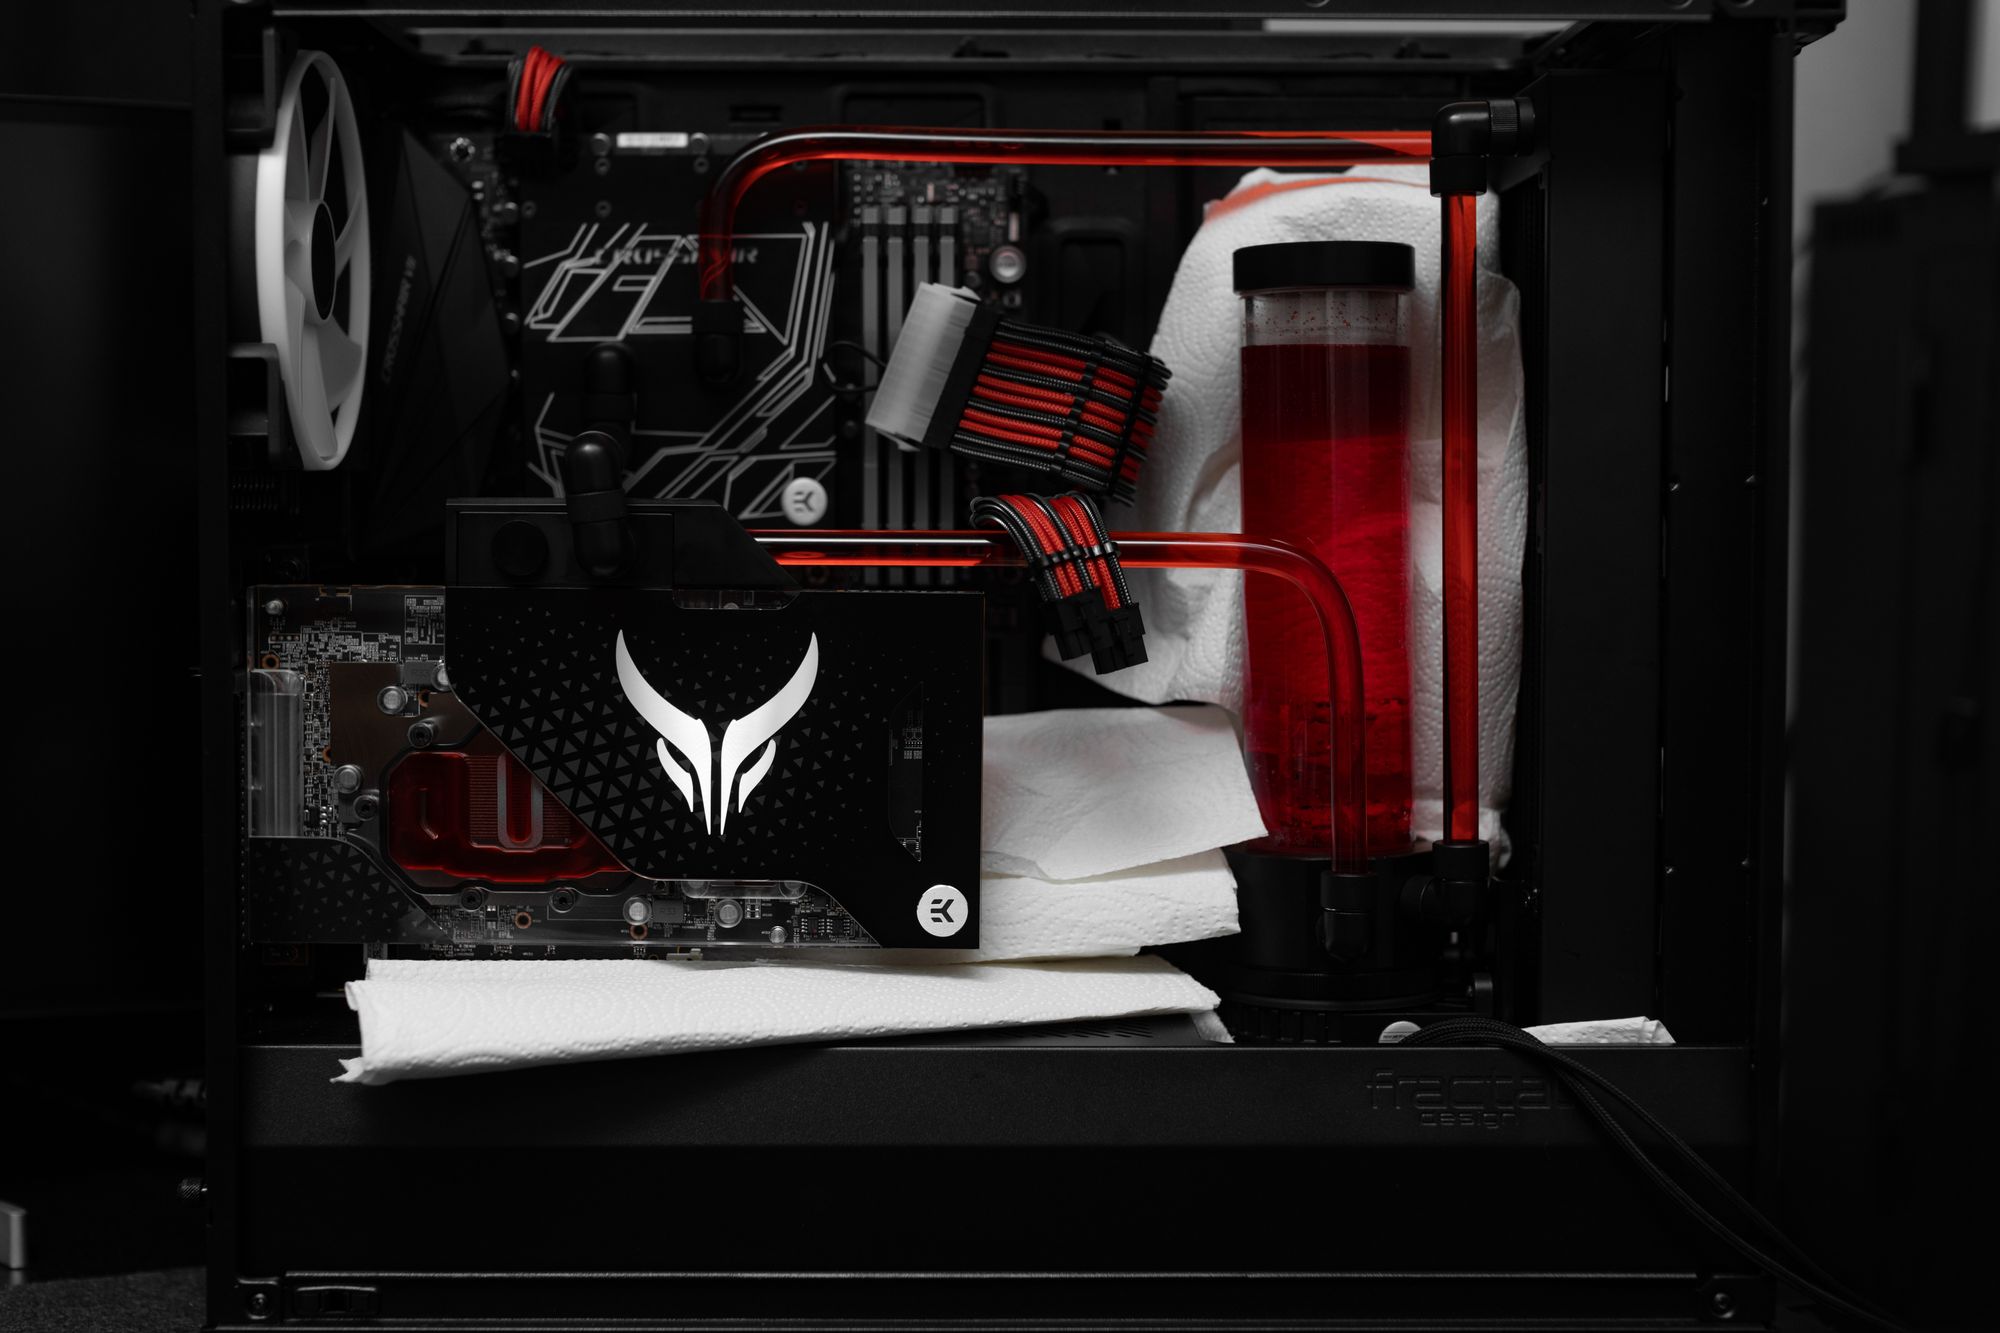
EK-CryoFuel Blood Red (Concentrate 100mL)
EK-ATX Bridging Plug (24 pin)
EK-RES X3 - TUBE 250 (204mm)
EKWB EK-UNI Pump Bracket (120mm Fan) Vertical
Things I loved about the build:
- Custom loop! Let’s get the obvious out the way. This is my first custom loop and for that I will never forget it. If I had to sum it up in 1 sentence it would be “Why did I do this to myself and when can I do it again?!”
- Working in a Fractal case. I’ve always admired the Fractal Design Define series but felt like I needed to do a custom loop to justify it. When I first got this thing, I stuck my Etude ITX build in there and it was hilarious. That said, I am VERY happy with the choice I made in this case. Opinions are mixed on the S2 Vision, but this was a showcase build and I think it fits the bill perfectly.
- Creativity. This by far was the best part about all this. In the end I made a lot of safe choices since this was my first custom loop, but the constant stimulation of planning, changing, and implementing was a thrill. A lot happens when you’re going with the flow. The tube that sits beneath the GPU power cables was originally just going to run along the floor of the case, but I rested a length of tube underneath the cables while I was measuring, and it looked great! This also ended up saving me a bend or fitting that no one would have seen had I gone with the original plan.
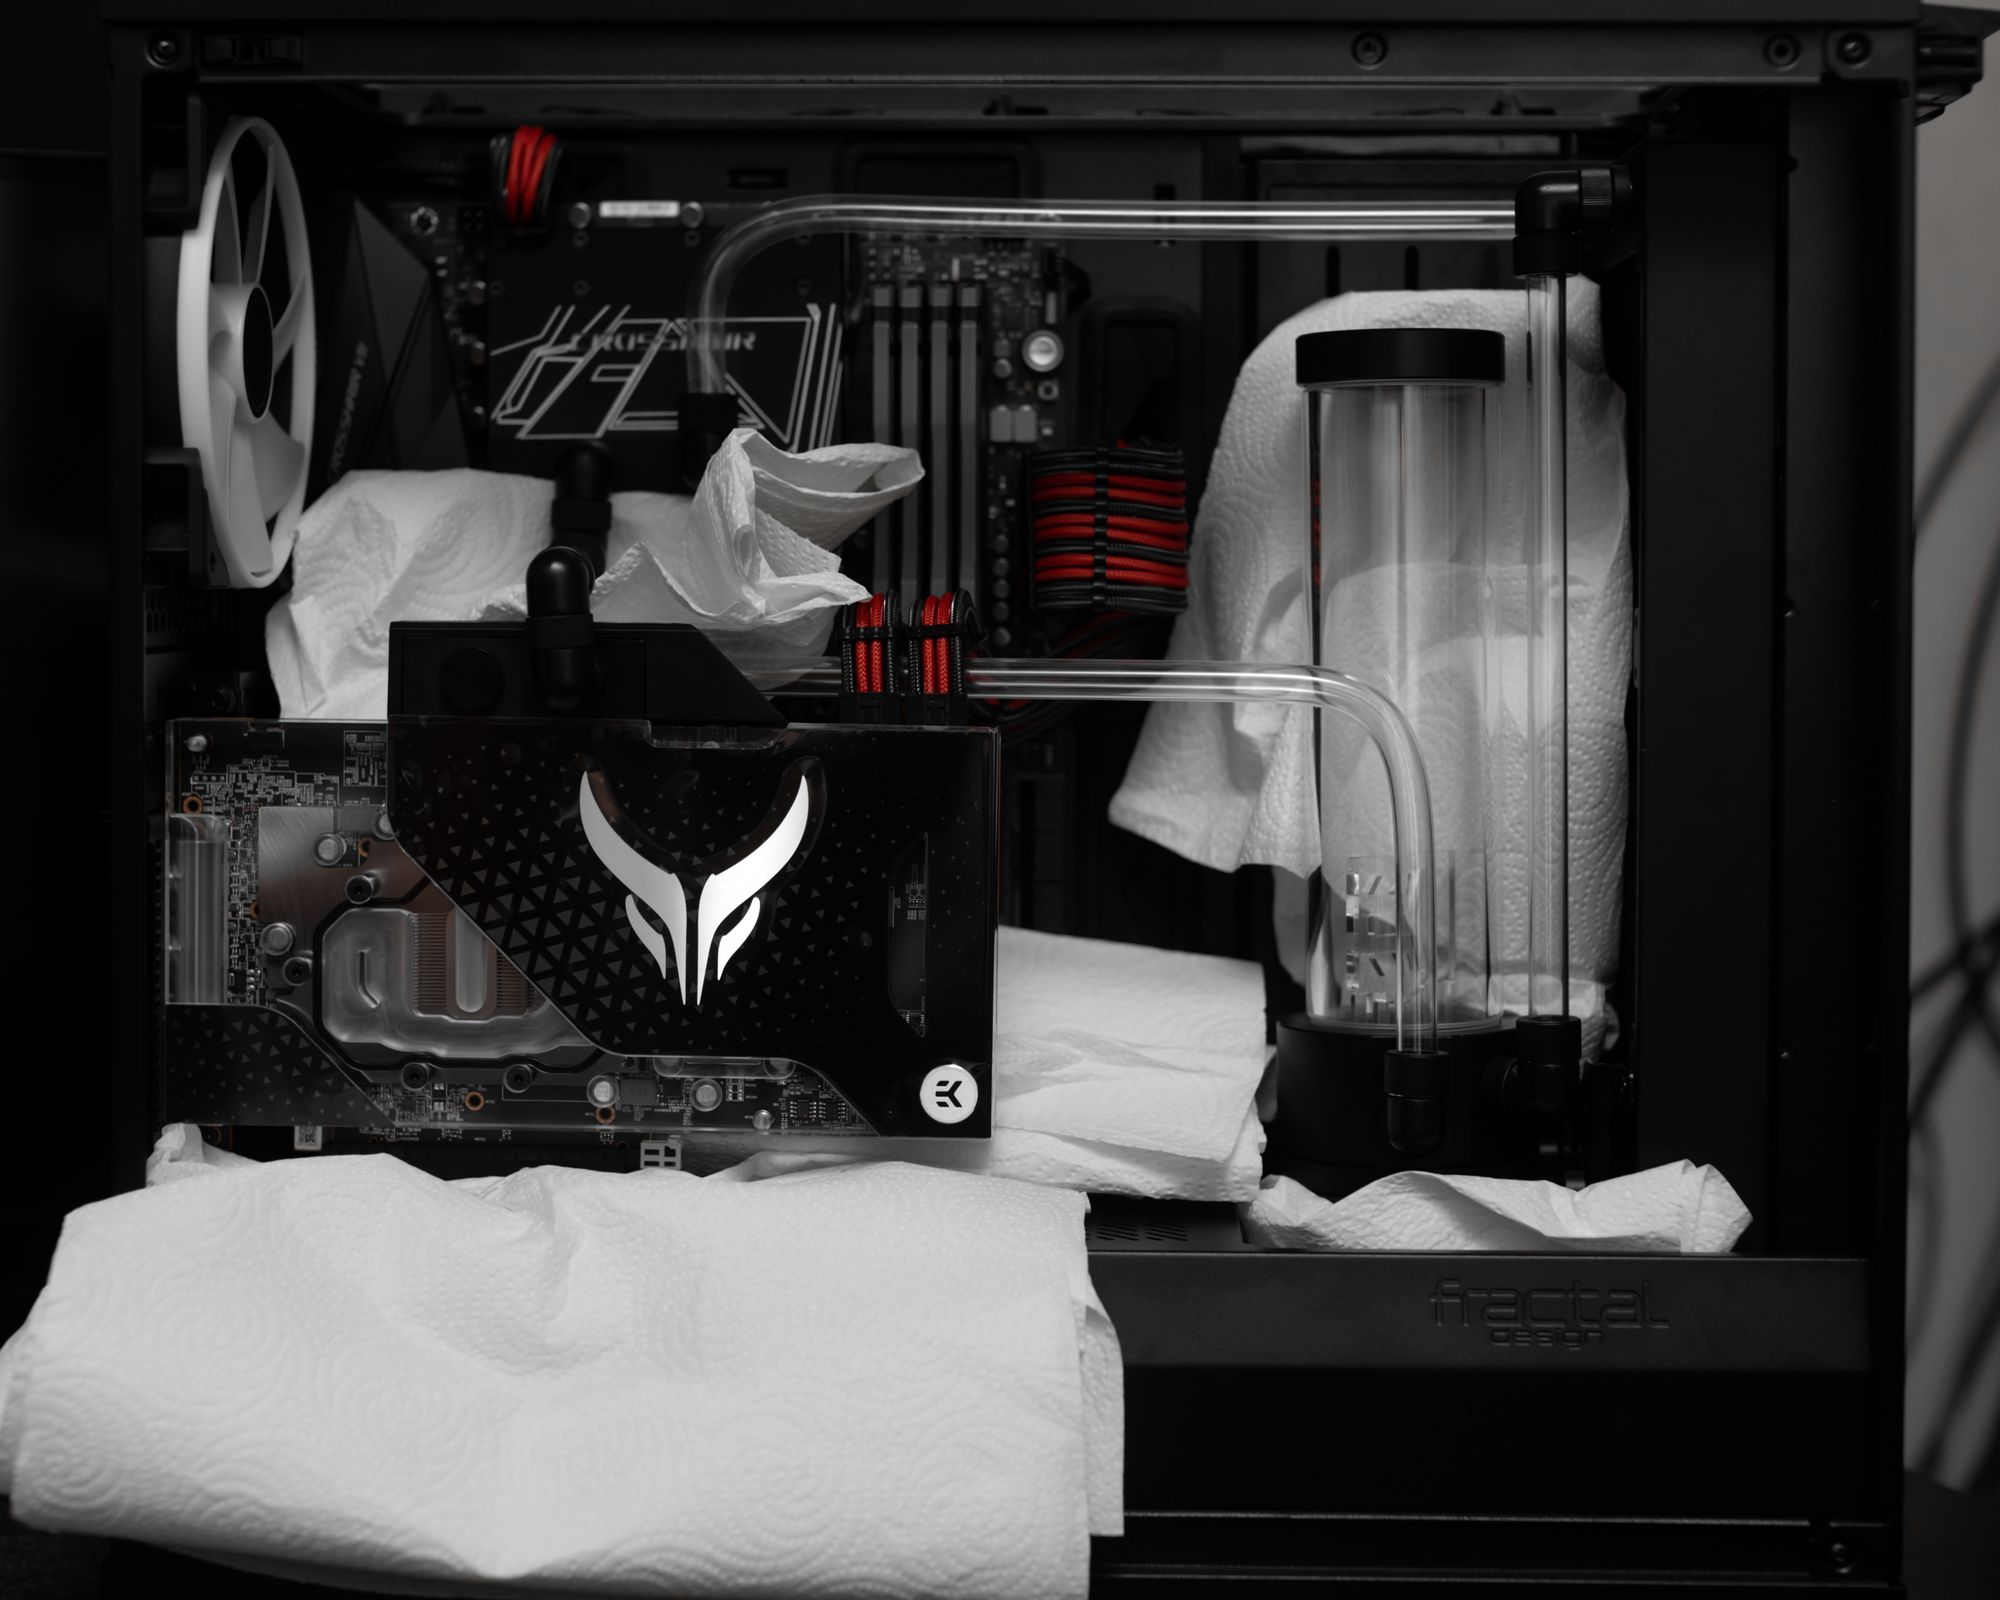
- The amount of things I learned and misconceptions/fears assuaged. In the back of my mind, I ALWAYS have concerns of reliability. Even with AIOs. This was not helped by the many deaths my Enermax AIOs suffered when Threadripper came out. My anxiety levels were through the roof when the 3rd one failed. I know this is down to coolant mistakes Enermax made, but the fear is very real. That said, the D5 has a great track record. As far as leaks go, that is a legitimate concern, BUT working with fittings and seeing just how well the O-rings seal gives me a good deal of peace of mind. It gave me a chance to simulate a leak under control and if it does happen, the way I have everything laid out means there is a good chance minimal damage will be done. At some point I must place a bit of faith in the decades of experience and R&D these companies have. As niche as water cooling is, it’s also quite common now. Lots of refining has gone on with design and reliability has gone up in a big way.
Challenges & Mistakes:
- Loop Layout. It all seemed so obvious when I was envisioning it in my head. Then I did a test fit and EVERYTHING changed. I write this as a challenge because it was, but this was honestly the most fun part. Even now I have ideas of how I would immediately change it. There is so much freedom in doing a custom look. You can put thing where you want and how you want (within reason). I can see why so many people are hooked. You can show as much or as little of yourself in the build as you want.
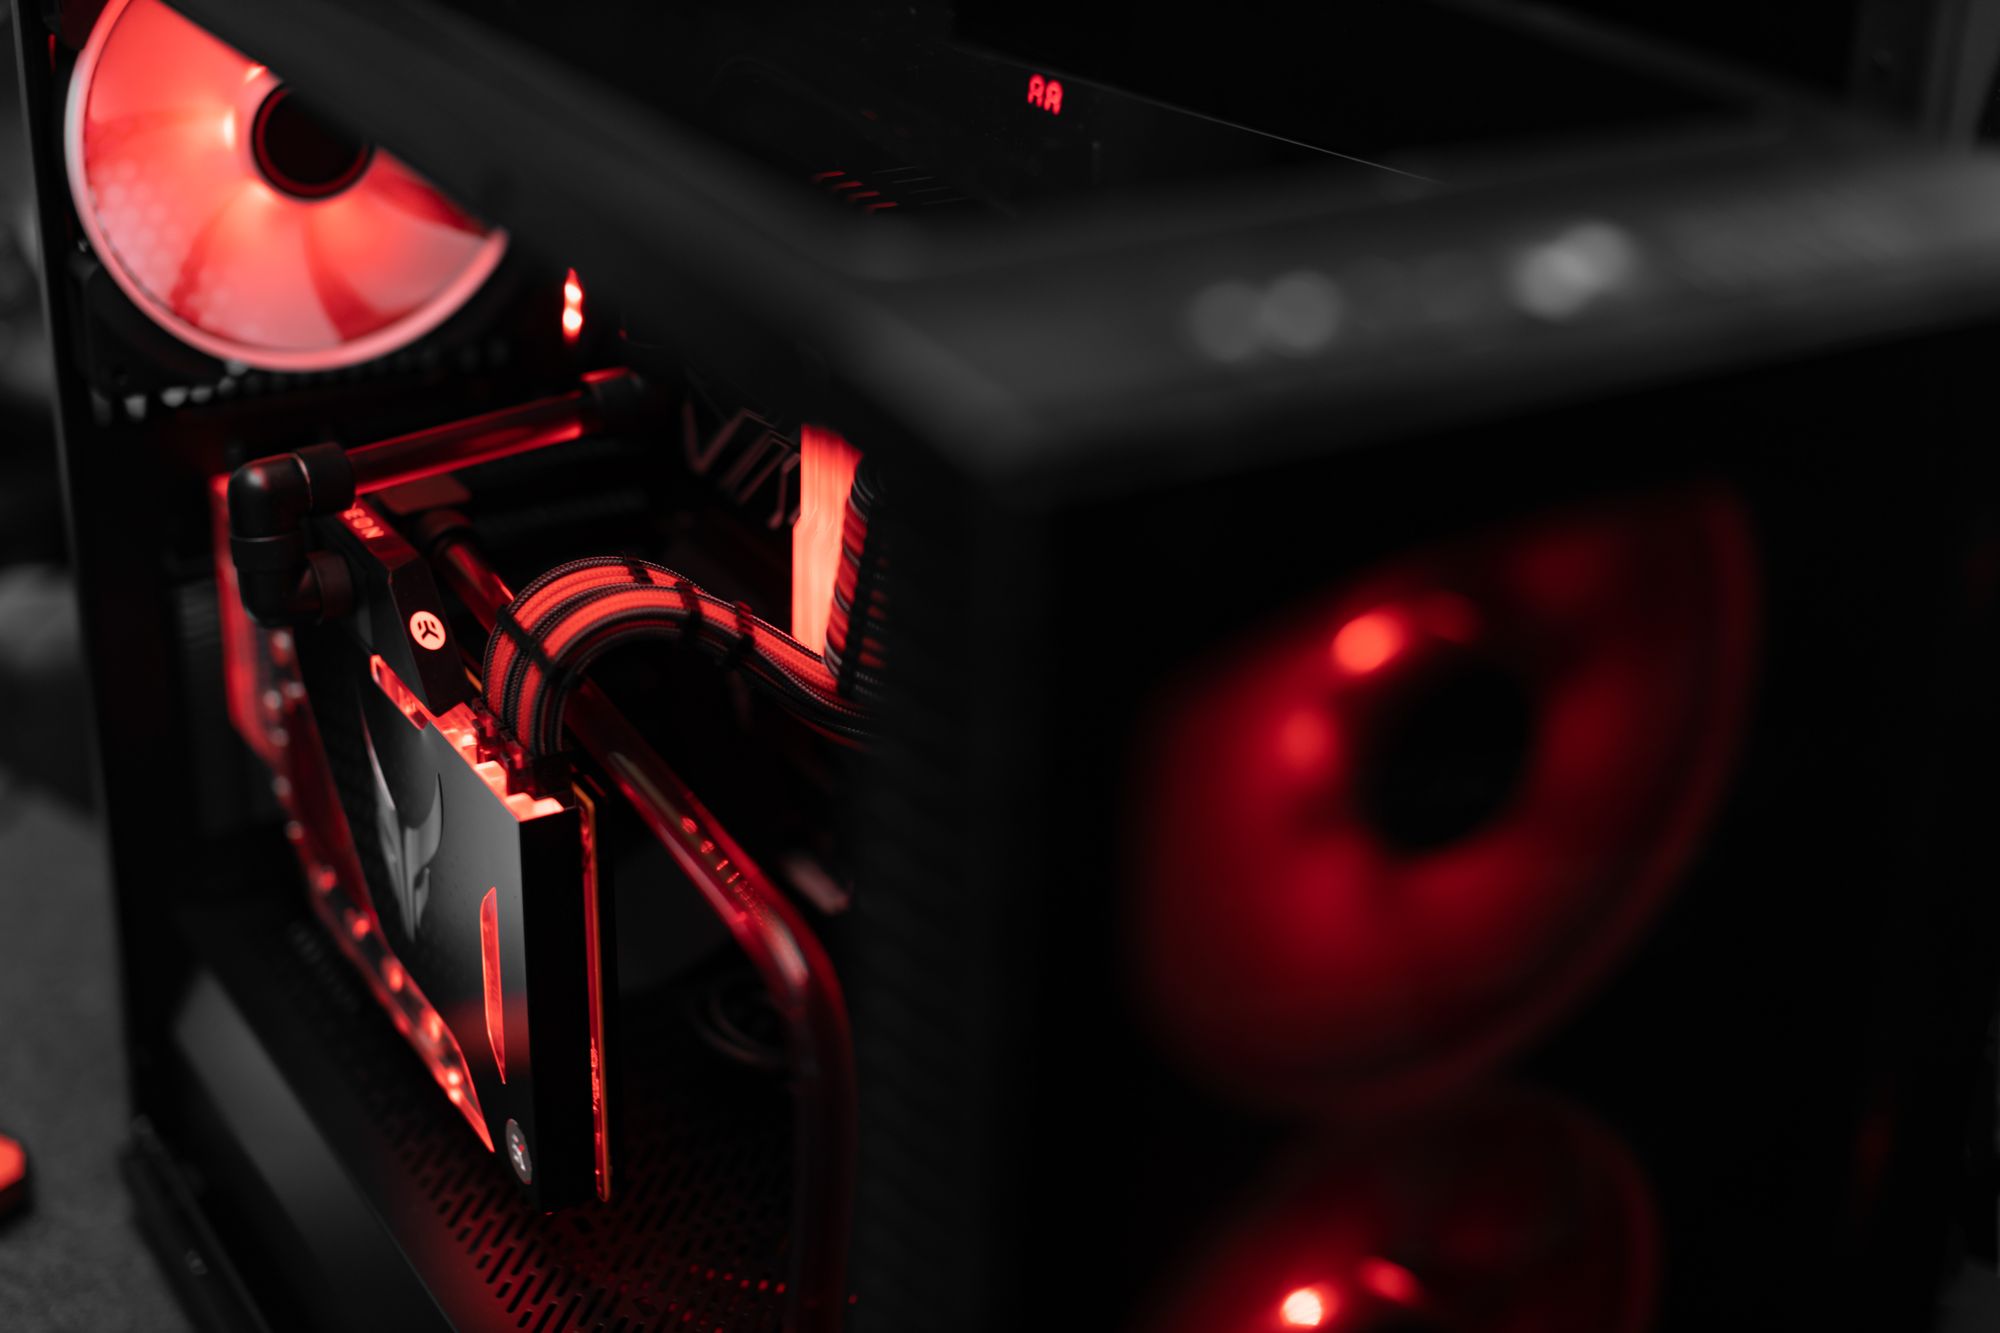
- Working with PETG. I didn’t have any bad bends, but I did cut a run too short TWICE. I also scratched that same tube pretty badly with one of the fittings. Didn’t realize that was a thing. Glad it ended up being on a piece of scrap though. There’s lots of little things like this to look out for. Cutting and sanding was also a bit of a chore. This can mostly be traced down to tool choice. I had a PETG cutter, but you couldn’t really use it on super small cuts, so the hacksaw and sandpaper ended up being the way I went when making small adjustments. So much of a learning experience. I had watched a ton of videos beforehand, but nothing prepares you like doing it yourself. Again, I have this as a challenge, but it was a BLAST! I played it pretty safe with single 90 degree bends, but I’ll get more adventurous next time.
- Component choice. This was one area where I figured I would make mistakes due to my lack of experience. I had fitting anxiety after I had gotten my stuff from EK and ordered a bunch of 90s. That turned out to be a good move because I used every last 90 I thought would be extra. Stuff just plain does not line up in real life like it does in your imagination lol. The reservoir I picked also ended up looking quite silly in the S2 Vision. It was the 100 and boy did it look inadequate. I think it’s in one of the progress pics. Luckily a 204mm tube was available and that ended up looking great.
- Drain port. I knew I should have put one in. I bought the parts to put one in. I planned to put one in. Then I filled the loop after jumping the gun. Looked over everything with a smile after the leak test passed annnnnnnnnnnd yup. Totally forgot the drain port. I could kick myself. I plan to rectify this when I install the 3950X.
Small details:
- The monoblock does have RGB, but I disabled it because I prefer it didn’t take too much attention. It looks nice just chilling back there. When lit, the LEDs aren’t very well diffused, and it doesn’t look very appealing.
- The 2nd strip that comes with the monoblock so that you have both the RGB 12V and aRGB option was used in the shroud area underneath the D5 to give it some under glow. This seemed fitting considering the GPU.
- The front 3 fans are pressure mounted using dense foam on either side of the fans. The S2 Vision has some changes in the front that make a 420 impossible, yet it comes with 140mm fans.
- Slapping a 3950X in there for sure.
- Frosted tubing. I saw some while browsing custom loops and it just looks amazing.
Planned changes and considerations:
- Definitely Adding a drain port.
- Likely swapping in an XE radiator since I don’t really want to add a second rad.
- Going to try a creative bend to get around that quad 90 setup going to the monoblock. Vertical mounting the card meant those two areas don’t line up perfectly, but I feel like there’s a better way to attack it.
Conclusion:
Just like anything truly worth it in life, water cooling is truly complicated. In the age of efficiency, it’s isn’t all that necessary, but where necessity has fallen, art has risen from the ashes. I never thought it would be this fun (and Jayztwocents did make it look fun!). I never thought it would be so stimulating. The first thing I did after finishing the build was go back and watch some custom loop videos I had seen before. Even with the brief experience I have, re-watching was so eye opening. So many more ideas I want to try in the future and so many things I could have only understood, laughed at, or shared anguish with after having done it. I also have a new appreciation for anyone that’s done it. Watching Paul’s Hardware’s Artic Panther builds (the last two iterations) where he went from newb to quite masterful was so great. Anyway… if you were ever on the fence about it, please just trust me and go for it. "When you die and your whole life flashes before your eyes, how much of it do you want to NOT have custom loops?"


Comments?
Leave us your opinion.